
Why Analytics & Conversion Tracking Matters in 2025
In 2025, proper analytics and conversion tracking isn't optional—it's the foundation of data-driven growth. Every marketing dollar, every product decision, every optimization needs to be backed by accurate, reliable data. Yet most businesses are flying blind, relying on vanity metrics that don't connect to revenue.
The problem? Google Analytics 4 (GA4) is fundamentally different from Universal Analytics, which stopped collecting data in July 2023. If you're still using the old implementation patterns, your data is incomplete, your conversions aren't tracking properly, and you're making decisions based on guesswork.
This guide will take you from zero to expert-level GA4 implementation. You'll learn how to properly configure GA4, implement conversion tracking that actually works, set up enhanced ecommerce tracking, master the data layer, and build reports that drive business decisions.
⚠️ Critical Note: Universal Analytics is Dead
Universal Analytics stopped processing data on July 1, 2023. If you haven't migrated to GA4, you're not collecting any analytics data. This guide assumes you're starting fresh with GA4 or need to fix an incomplete implementation.
What Makes GA4 Different (And Why It Matters)
GA4 isn't just an upgrade—it's a complete reimagining of how analytics works. Understanding these fundamental differences is critical to successful implementation:
Event-Based Tracking vs Session-Based Tracking
Universal Analytics organized data around sessions and pageviews. GA4 treats everything as events. A pageview is an event. A button click is an event. A purchase is an event. This event-based model provides far more flexibility and granular tracking.
Why this matters: You can track anything as an event without custom code. Want to track video plays, PDF downloads, scroll depth, form submissions, or custom interactions? GA4 has built-in enhanced measurement for most of these, and custom events are trivially easy to implement.
Cross-Platform & Cross-Device Tracking
GA4 was built for a world where users interact with your business across multiple devices and platforms—website, mobile app, tablet, even offline. GA4's identity resolution connects these touchpoints into unified user journeys.
Why this matters: You can finally see the complete customer journey. A user who discovers you on mobile, researches on desktop, and converts on tablet is tracked as one user—not three separate sessions.
Privacy-First Architecture
GA4 was designed for a cookie-less future. It uses consent mode, respects user privacy preferences, and provides modeling for gaps in data caused by users declining cookies or using privacy tools.
Why this matters: Your analytics will continue working as privacy regulations tighten and browsers block more tracking. GA4's modeling fills in gaps where traditional analytics would show incomplete data.
AI-Powered Predictive Insights
GA4 uses machine learning to predict user behavior—likelihood to purchase, likelihood to churn, predicted revenue from specific user segments. This isn't just reporting what happened; it's predicting what will happen.
Why this matters: You can proactively target users likely to churn, focus marketing spend on high-value predicted customers, and optimize for future behavior—not just past actions.
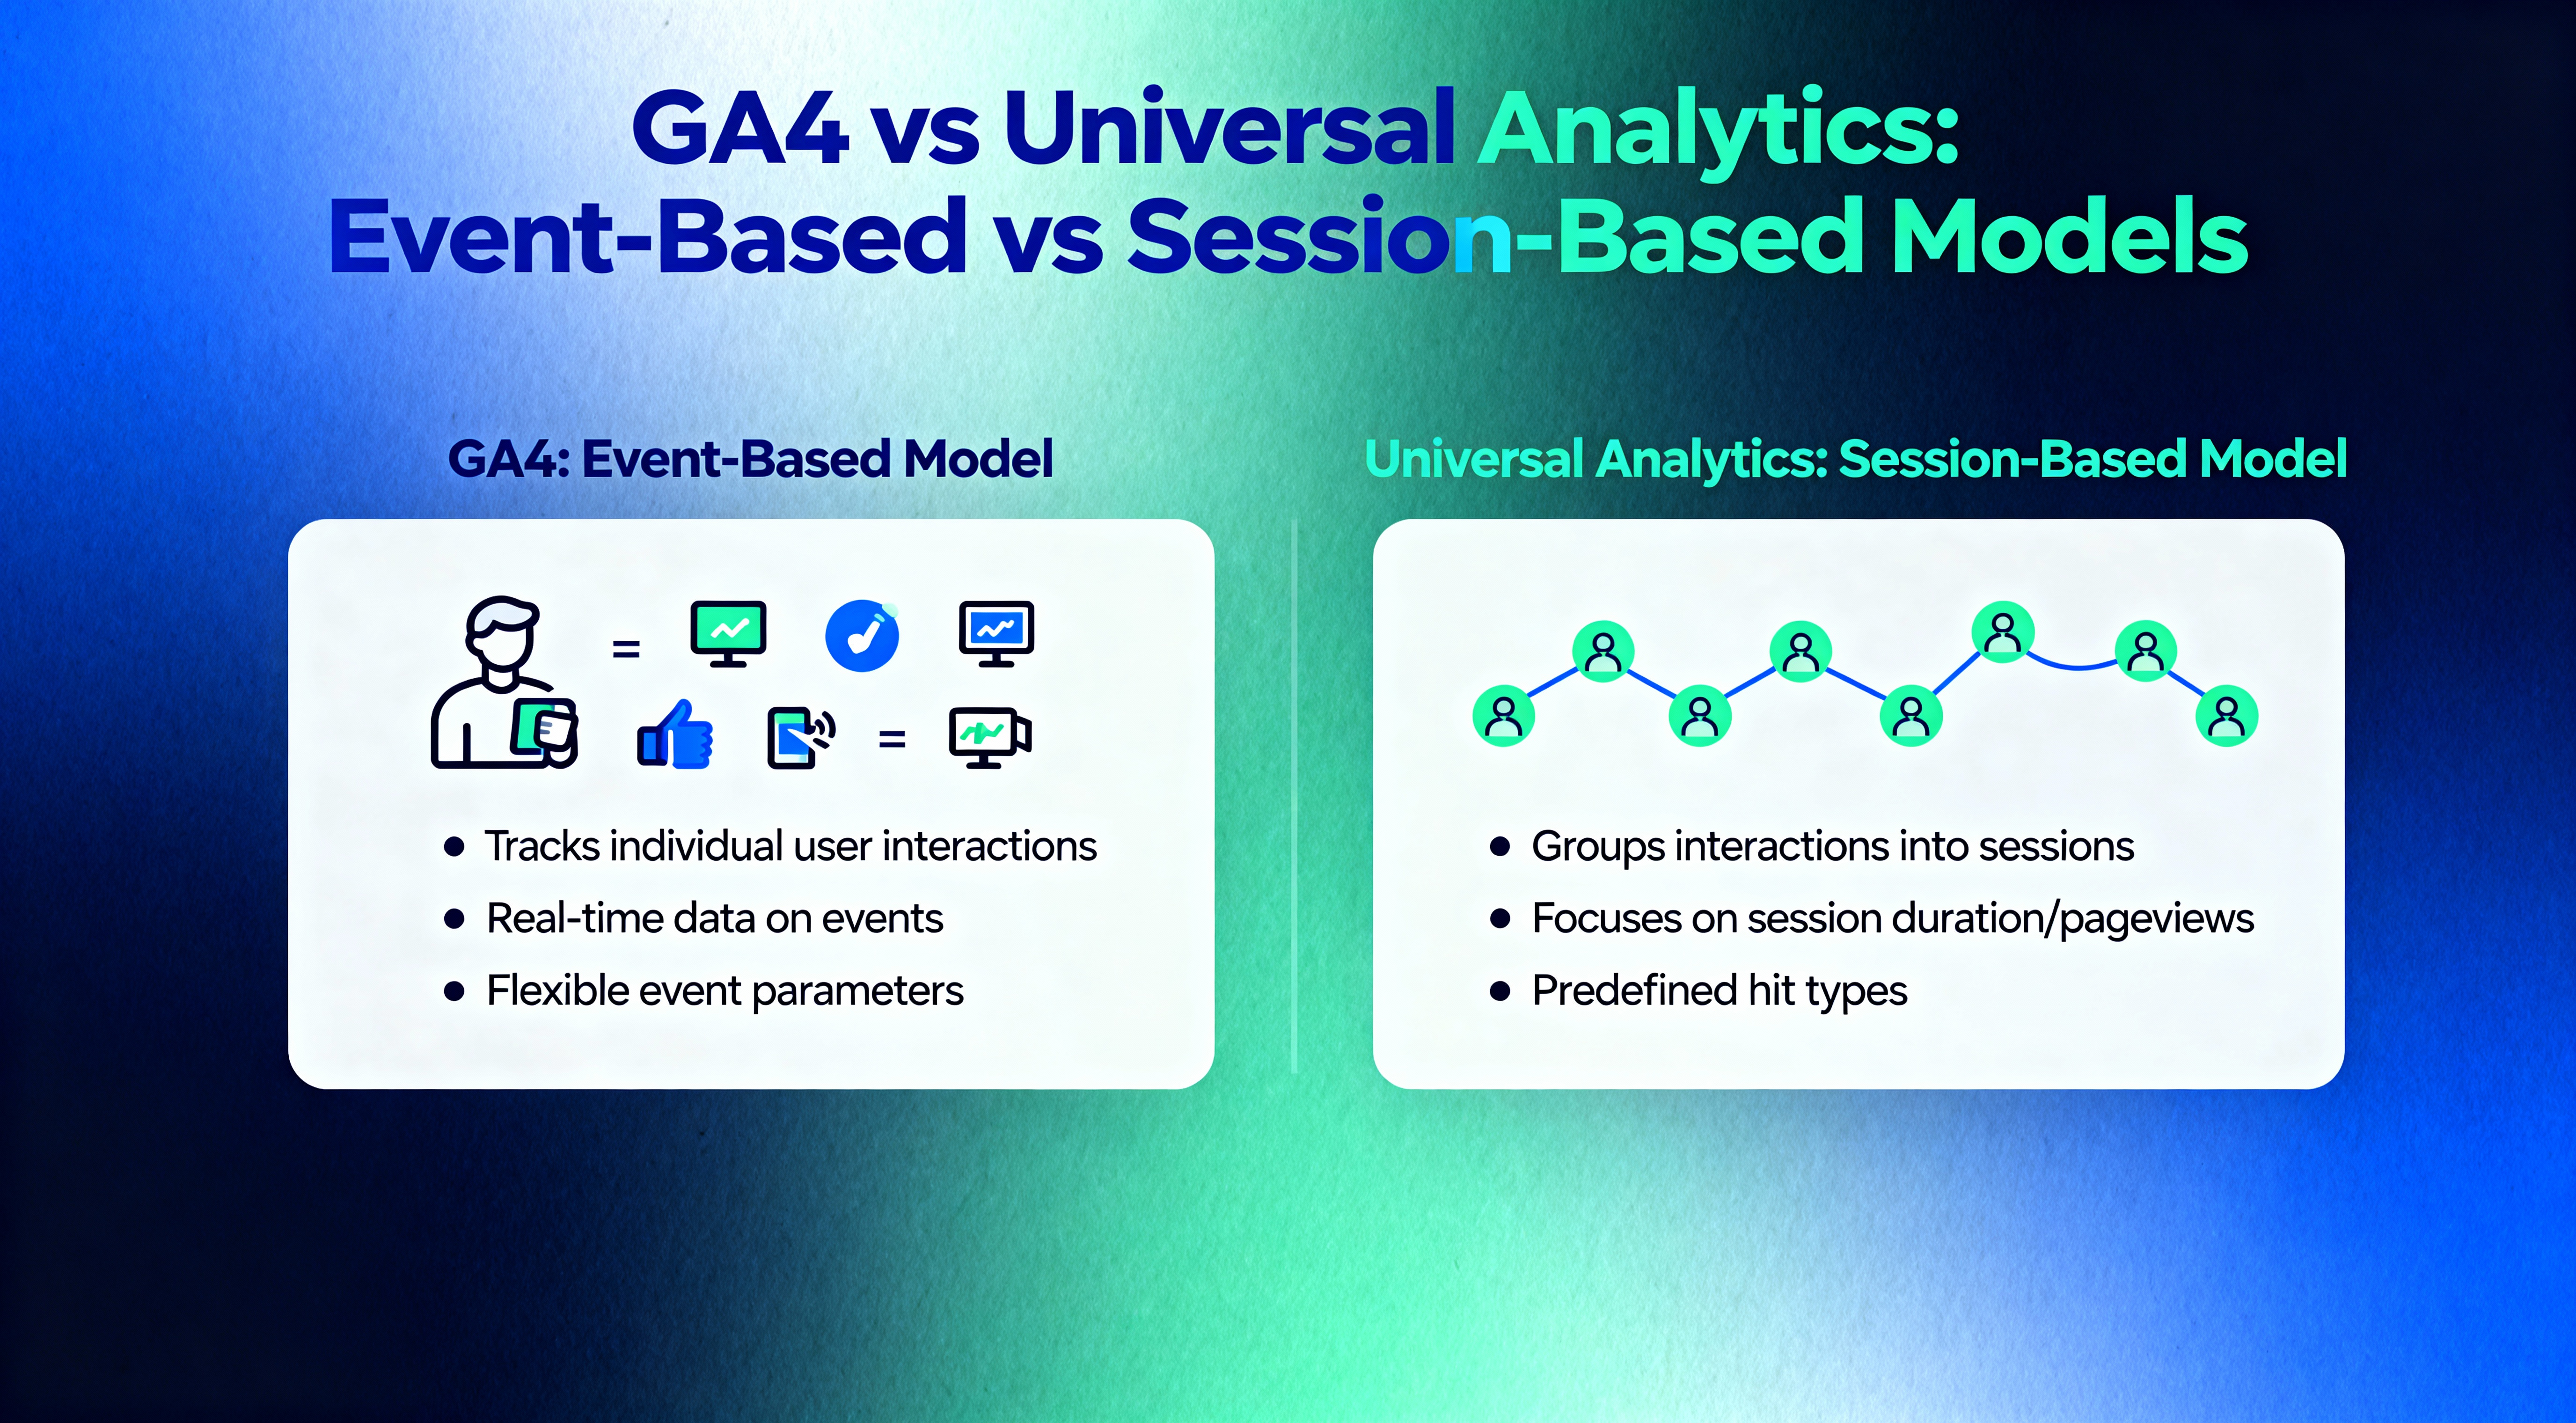
Placeholder: GA4 vs Universal Analytics comparison showing event-based vs session-based models
Prerequisites: What You Need Before Starting
Before diving into GA4 setup, ensure you have the following:
Required Accounts
- Google Account: Admin access to a Google account for creating GA4 properties
- Website Access: Ability to edit your website's HTML or access to your CMS admin panel
- Google Tag Manager Account (Recommended): While not required, GTM makes GA4 implementation 10x easier
Technical Requirements
- HTTPS Website: GA4 requires a secure website (HTTPS, not HTTP)
- Cookie Consent (If Applicable): If operating in EU/UK/California, ensure you have proper cookie consent mechanisms
- Documentation Access: Have your conversion goals documented (what actions you want to track as conversions)
Information You'll Need
- Website domain(s) you want to track
- List of conversion actions (form submissions, purchases, sign-ups, etc.)
- List of custom data you want to collect (user types, product categories, etc.)
- For ecommerce: product data structure (product ID, name, category, price, quantity)
💡 Pro Tip: Start with a Plan
Before touching GA4, document: 1) What conversions you need to track, 2) What reports you need to make decisions, 3) What custom data points matter to your business. This 30-minute planning session will save you hours of reconfiguration later.
Step 1: Create Your GA4 Property
Let's start from the beginning. If you already have a Google Analytics account from Universal Analytics, you'll create a new GA4 property within that account. If you're completely new, you'll create both the account and property.
1.1: Access Google Analytics
- Navigate to analytics.google.com
- Sign in with your Google account
- If you have existing properties, you'll see the Analytics home screen
- If this is your first time, you'll be prompted to set up an account
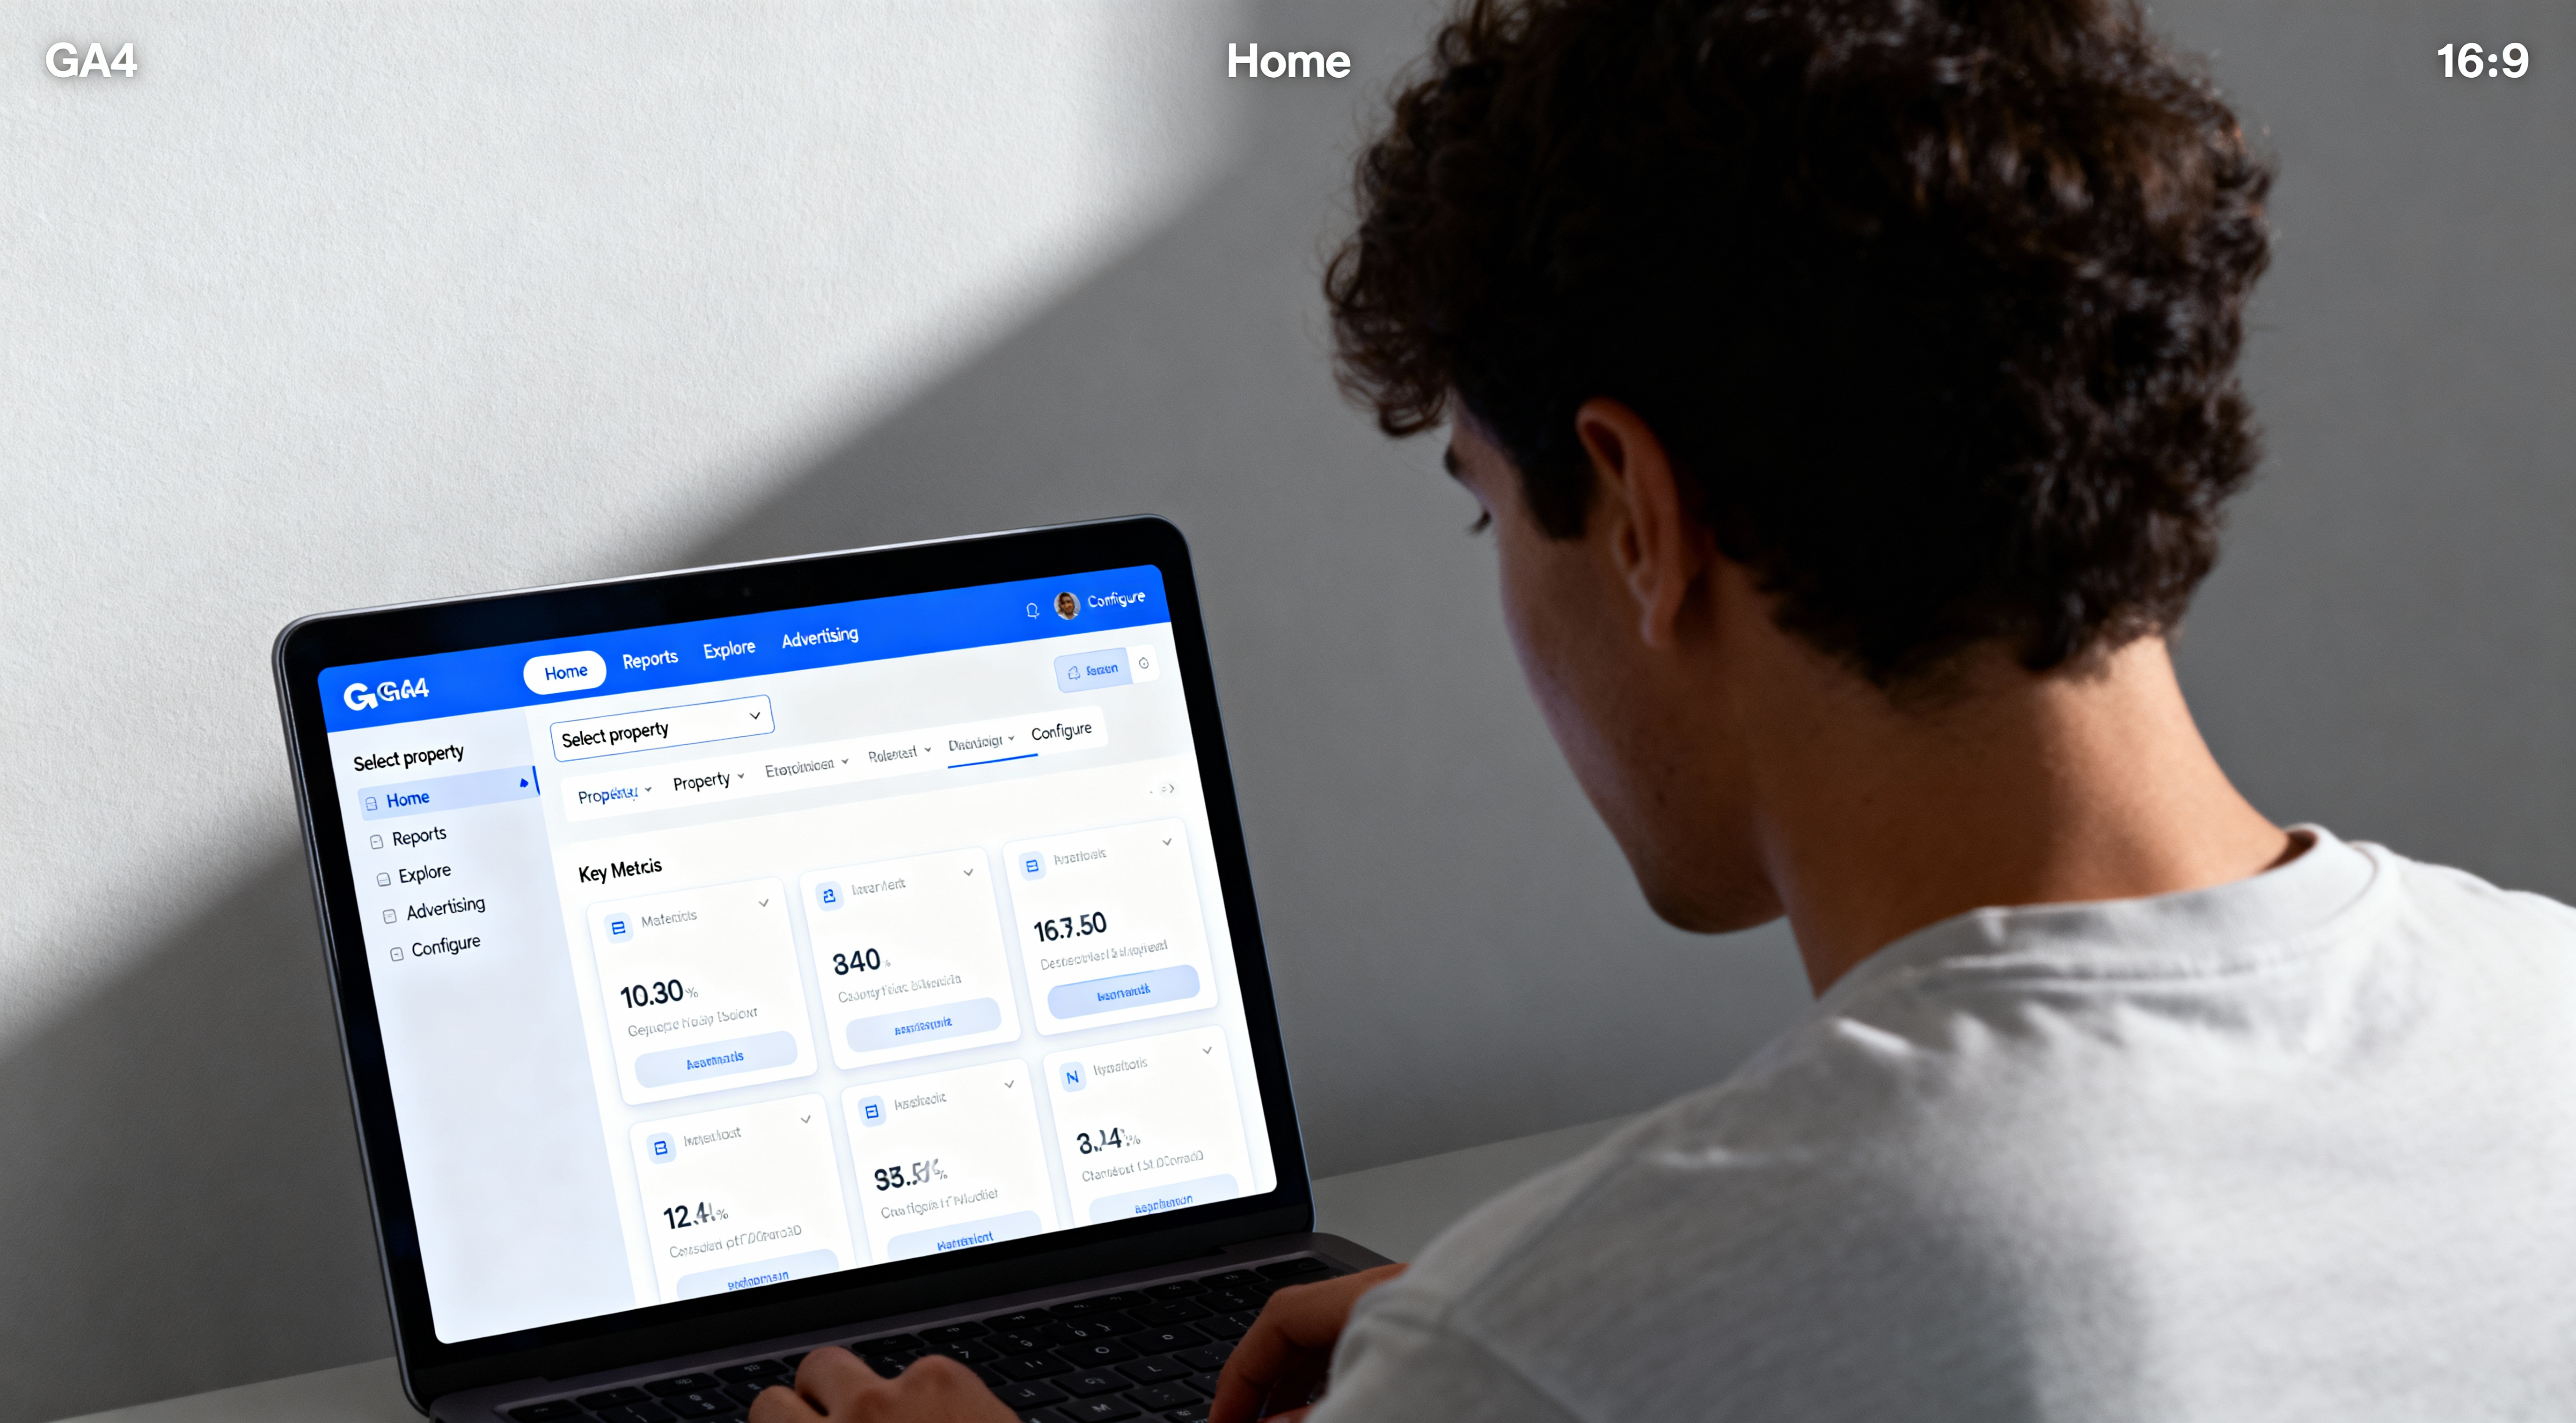
Screenshot of GA4 analytics home screen showing navigation and property selector. Due to privacy and copyright issues we aren't allowed to show real GA4 screenshots.
1.2: Create a New GA4 Property
- Click Admin (gear icon) in the bottom-left corner
- In the Property column, click Create Property
- Enter your property name (typically your website or business name)
- Select your reporting time zone (this cannot be changed later, choose carefully)
- Select your currency (used for ecommerce and monetary conversion values)
- Click Next
Important Property Naming Convention: Use a clear, descriptive name like "YourBusiness.com - Production" or "CompanyName Website". If you'll have multiple properties (staging, development), include that in the name.
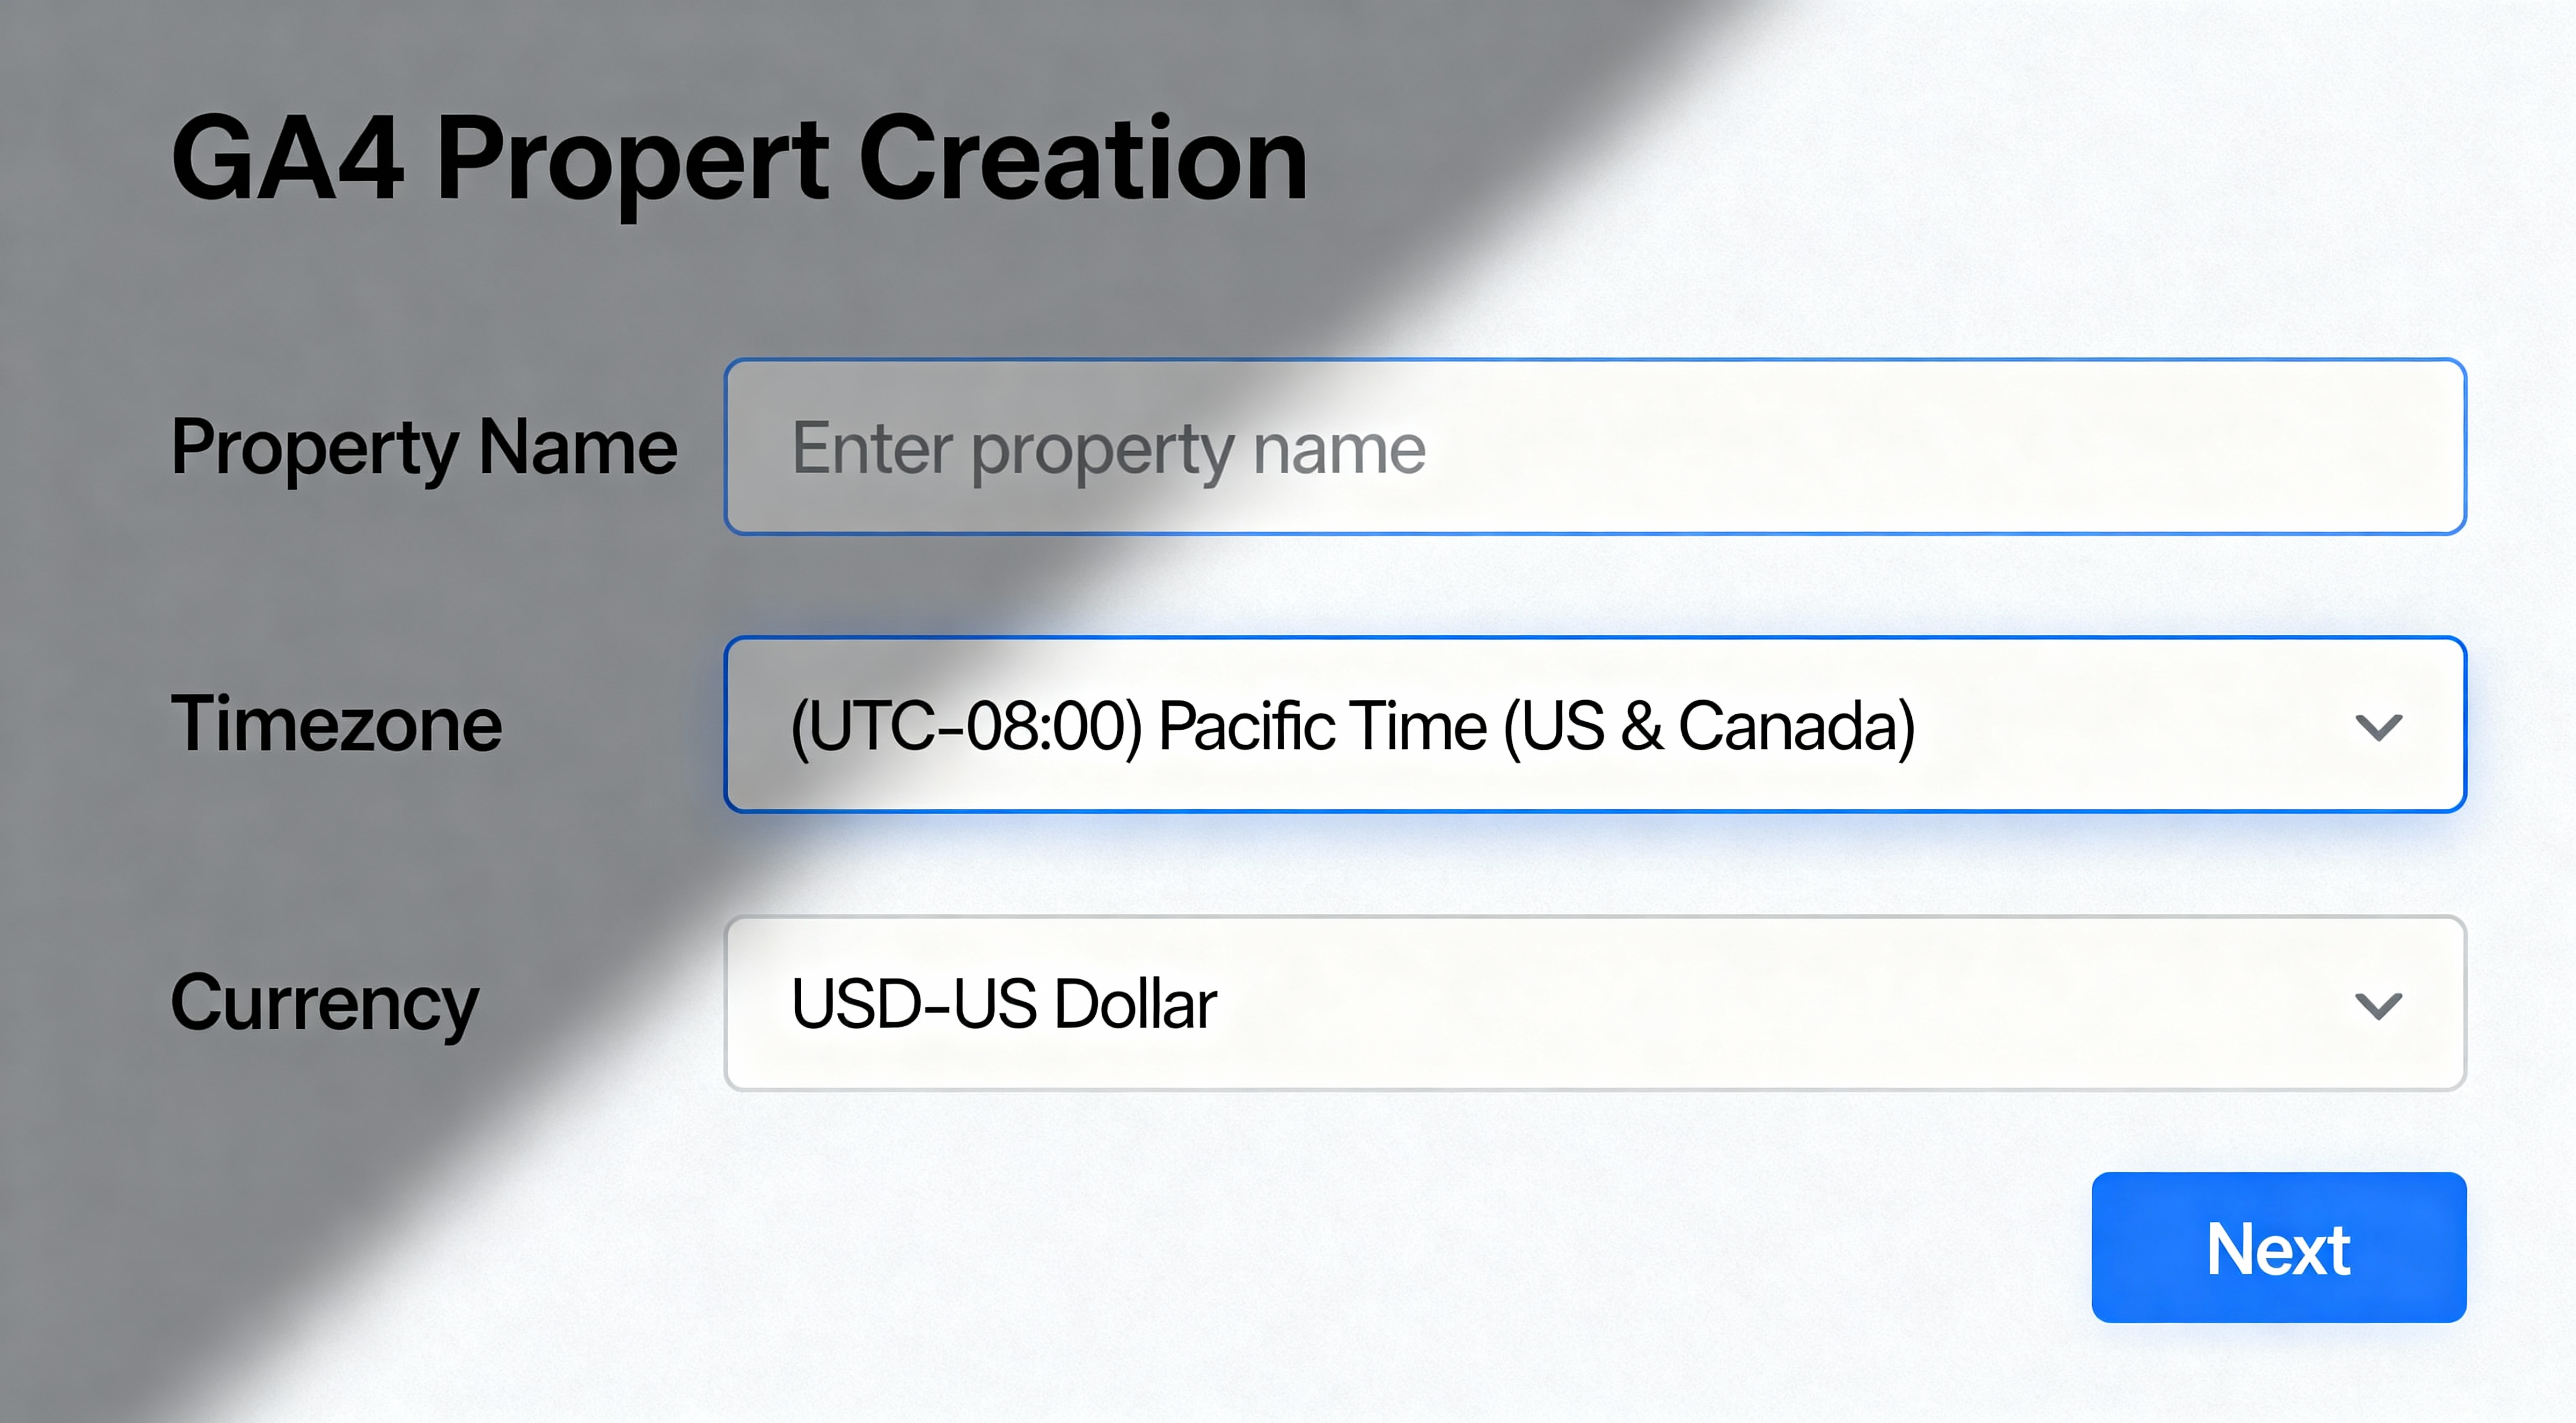
Screenshot showing GA4 property creation form with name, timezone, and currency fields. Due to client privacy and copyright, we cannot show actual GA4 account screenshots.
1.3: Configure Business Information
Google will ask about your business to provide relevant insights and recommendations:
- Industry Category: Select the category that best matches your business
- Business Size: Choose your business size (small, medium, large, enterprise)
- Business Objectives: Select what you want to accomplish (check all that apply):
- Generate leads
- Get baseline reports
- Examine user behavior
- Measure advertising ROI
- Click Create
- Accept the Google Analytics Terms of Service and Data Processing Terms
Why this matters: Google uses this information to pre-configure certain reports and provide industry benchmarking. You can change these settings later, but starting with accurate information gives you better default configurations.
1.4: Set Up Your Data Stream
After creating the property, you'll immediately be prompted to set up a data stream. A data stream is a source of data flowing into GA4—your website, iOS app, or Android app.
- Select Web as your platform
- Enter your website URL (e.g., https://yourdomain.com)
- Enter a stream name (typically your website name)
- Toggle Enhanced measurement to ON (we'll configure this in detail shortly)
- Click Create stream
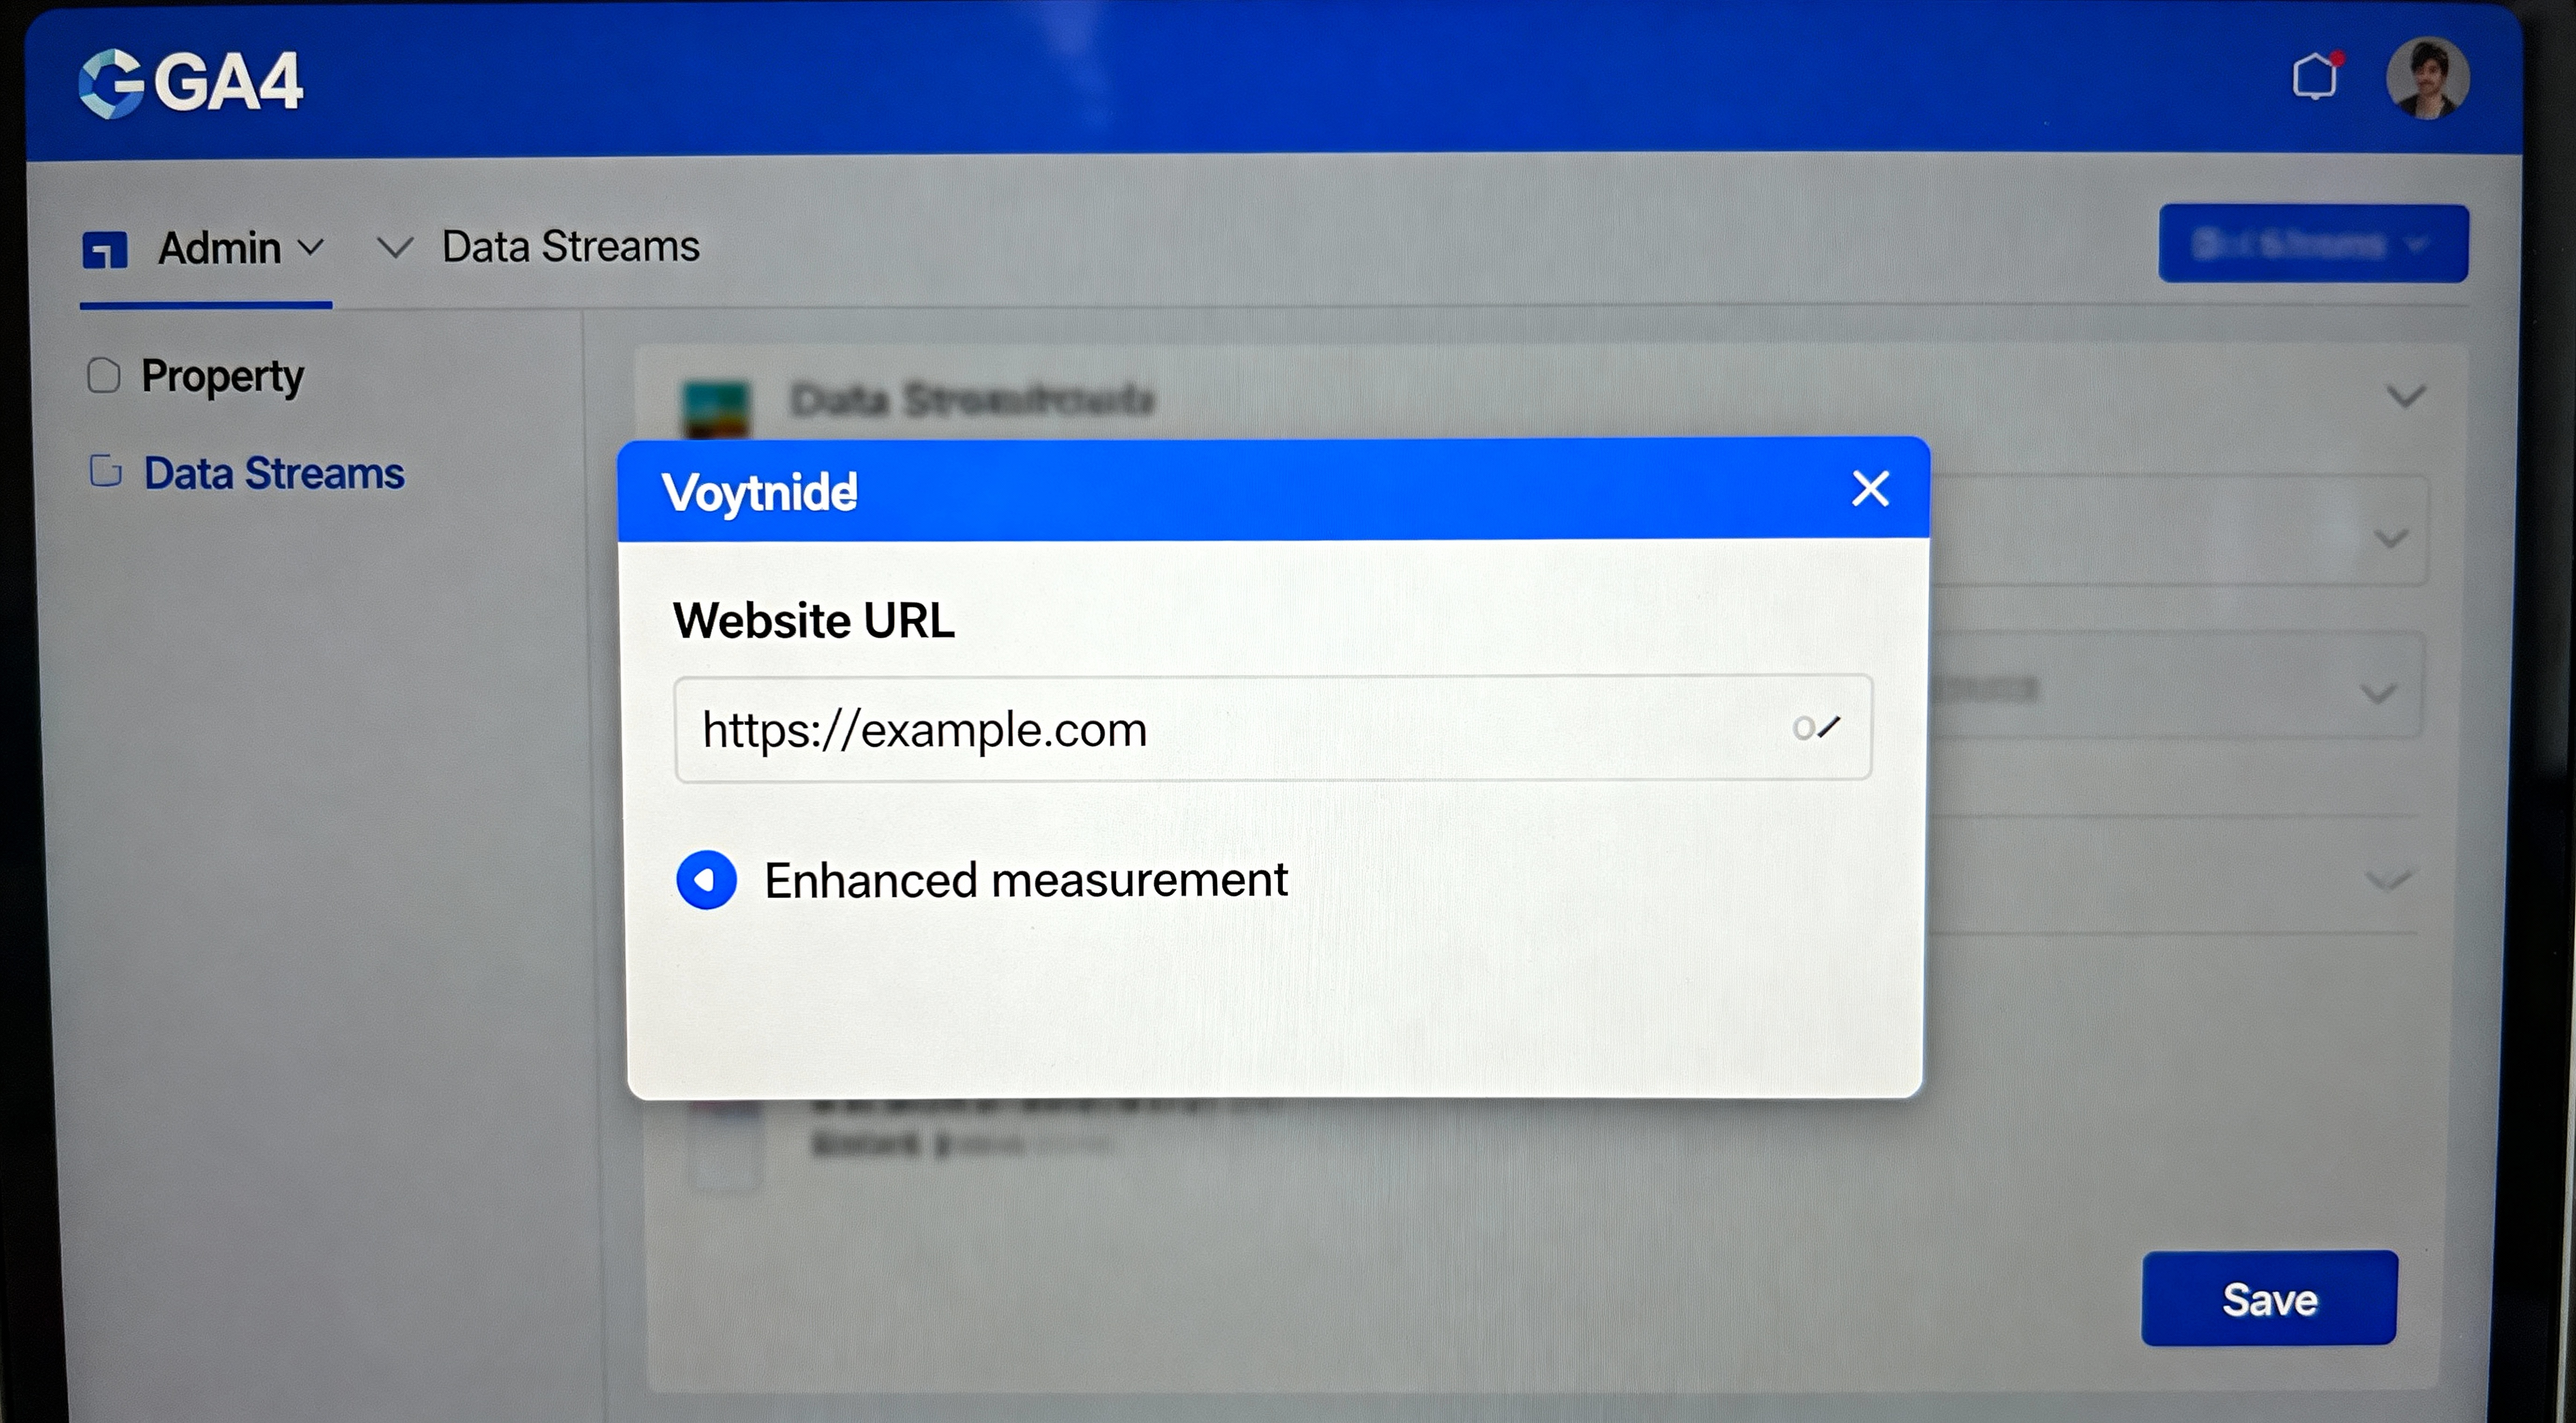
Screenshot of GA4 data stream setup showing URL input and enhanced measurement toggle. Due to client privacy and copyright, we cannot show actual GA4 account screenshots.
1.5: Get Your Measurement ID
After creating the data stream, you'll see your stream details page. This page contains your Measurement ID—the critical identifier you'll use to send data to GA4.
- On the data stream details page, locate your Measurement ID
- It will look like:
G-XXXXXXXXXX(G- followed by 10 characters) - Copy this ID—you'll need it in the next step
⚠️ Keep Your Measurement ID Secure
While your Measurement ID isn't secret (it's visible in your website code), treat it carefully. Anyone with this ID can send data to your GA4 property. Don't share it publicly or use it across multiple unrelated websites.
What you've accomplished: You now have a functioning GA4 property with a data stream configured. However, no data is flowing yet because we haven't installed the tracking code. That's next.
Step 2: Install GA4 via Google Tag Manager (Recommended Method)
While you can install GA4 directly by adding code to your website, Google Tag Manager (GTM) is the superior approach for 99% of websites. GTM gives you:
- No-code event tracking: Add conversion tracking, custom events, and third-party tools without editing website code
- Version control: Roll back changes if something breaks
- Preview mode: Test tracking before publishing to production
- Centralized management: Manage all tags (GA4, Google Ads, Facebook Pixel, etc.) in one place
- Faster updates: Make tracking changes in minutes instead of waiting for development cycles
2.1: Create a Google Tag Manager Account
If you don't already have Google Tag Manager set up:
- Go to tagmanager.google.com
- Sign in with your Google account (use the same account as GA4 for easier management)
- Click Create Account
- Enter your account name (typically your business name)
- Select your country
- Click Continue
2.2: Set Up Your GTM Container
- Enter a container name (typically your website URL)
- Select Web as the target platform
- Click Create
- Accept the Google Tag Manager Terms of Service
After creation, you'll see two code snippets—one for the <head> and one for the <body> of your website.
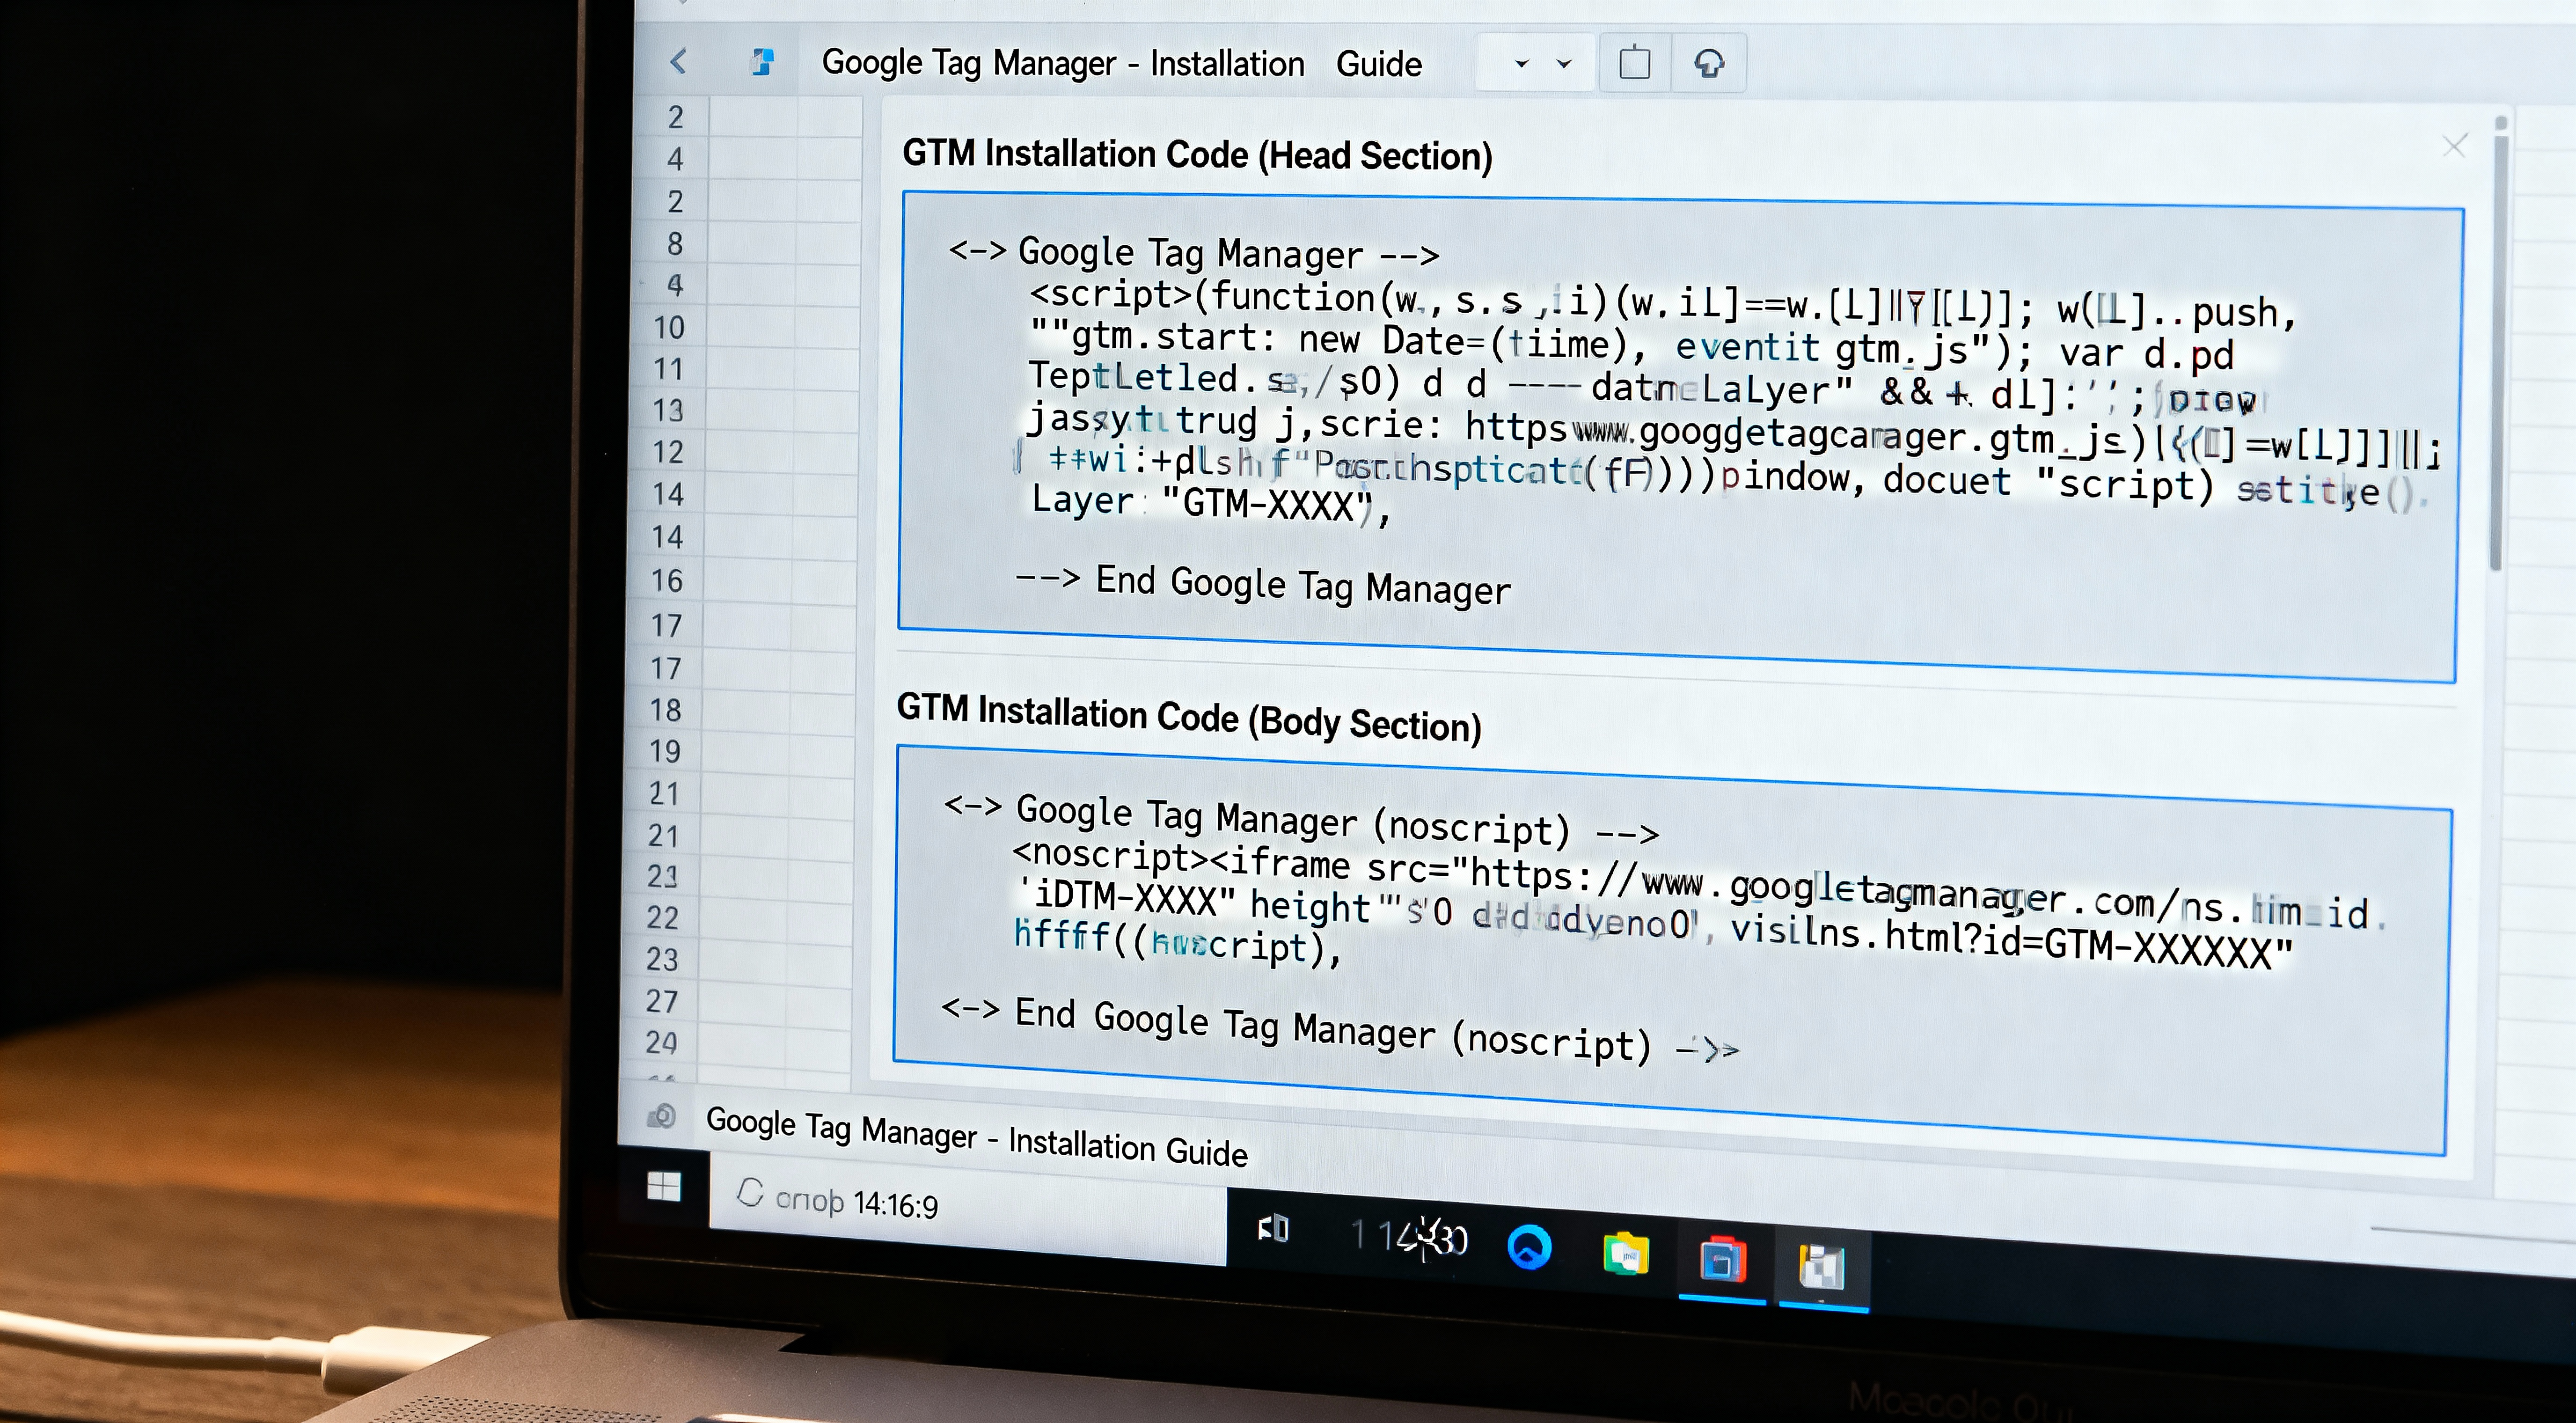
Screenshot showing GTM installation code snippets for head and body sections. Due to client privacy and copyright, we cannot show actual GA4 account screenshots. View more examples on Google Images.
2.3: Install GTM Container Code on Your Website
You need to install both code snippets on every page of your website. The method depends on your platform:
For Custom Websites / HTML Sites
- Copy the first code snippet (starts with
<script>) - Paste it in the
<head>section of your website, as high as possible - Copy the second code snippet (the
<noscript>section) - Paste it immediately after the opening
<body>tag
Example placement:
<!DOCTYPE html>
<html>
<head>
  <meta charset="UTF-8">
  <title>Your Page Title</title>

  <!-- Google Tag Manager -->
  <script>(function(w,d,s,l,i){w[l]=w[l]||[];w[l].push({'gtm.start':
  new Date().getTime(),event:'gtm.js'});var f=d.getElementsByTagName(s)[0],
  j=d.createElement(s),dl=l!='dataLayer'?'&l='+l:'';j.async=true;j.src=
  'https://www.googletagmanager.com/gtm.js?id='+i+dl;f.parentNode.insertBefore(j,f);
  })(window,document,'script','dataLayer','GTM-XXXXXX');</script>
  <!-- End Google Tag Manager -->
</head>
<body>
  <!-- Google Tag Manager (noscript) -->
  <noscript><iframe src="https://www.googletagmanager.com/ns.html?id=GTM-XXXXXX"
  height="0" width="0" style="display:none;visibility:hidden"></iframe></noscript>
  <!-- End Google Tag Manager (noscript) -->

  <!-- Your page content -->
</body>
</html>
For WordPress
- Install a header/footer plugin like "Insert Headers and Footers" or "WPCode"
- Paste the head snippet in the header section
- Paste the body snippet in the footer section (or use a theme that supports body code injection)
- Alternatively, edit your theme's
header.phpfile directly (advanced users only)
For Shopify
- Go to Online Store > Themes
- Click Actions > Edit code
- Open
theme.liquid - Paste the head snippet inside the
<head>tag - Paste the body snippet right after
<body> - Click Save
For Squarespace
- Go to Settings > Advanced > Code Injection
- Paste the head snippet in the Header section
- Paste the body snippet in the Footer section (Squarespace doesn't support body injection, but footer works)
- Click Save
💡 Pro Tip: Verify GTM Installation
After installing GTM code, visit your website and view the page source (right-click > View Page Source). Search for "GTM-" to confirm the code is present. You should see your container ID in both the head and body sections.
2.4: Create GA4 Configuration Tag in GTM
Now that GTM is installed, let's configure it to send data to GA4:
- In Google Tag Manager, click Tags in the left sidebar
- Click New to create a new tag
- Click the tag configuration area (where it says "Tag Configuration")
- Select Google Analytics: GA4 Configuration from the tag types
- In the Measurement ID field, paste your GA4 Measurement ID (G-XXXXXXXXXX) from Step 1.5
- Leave other settings as default for now
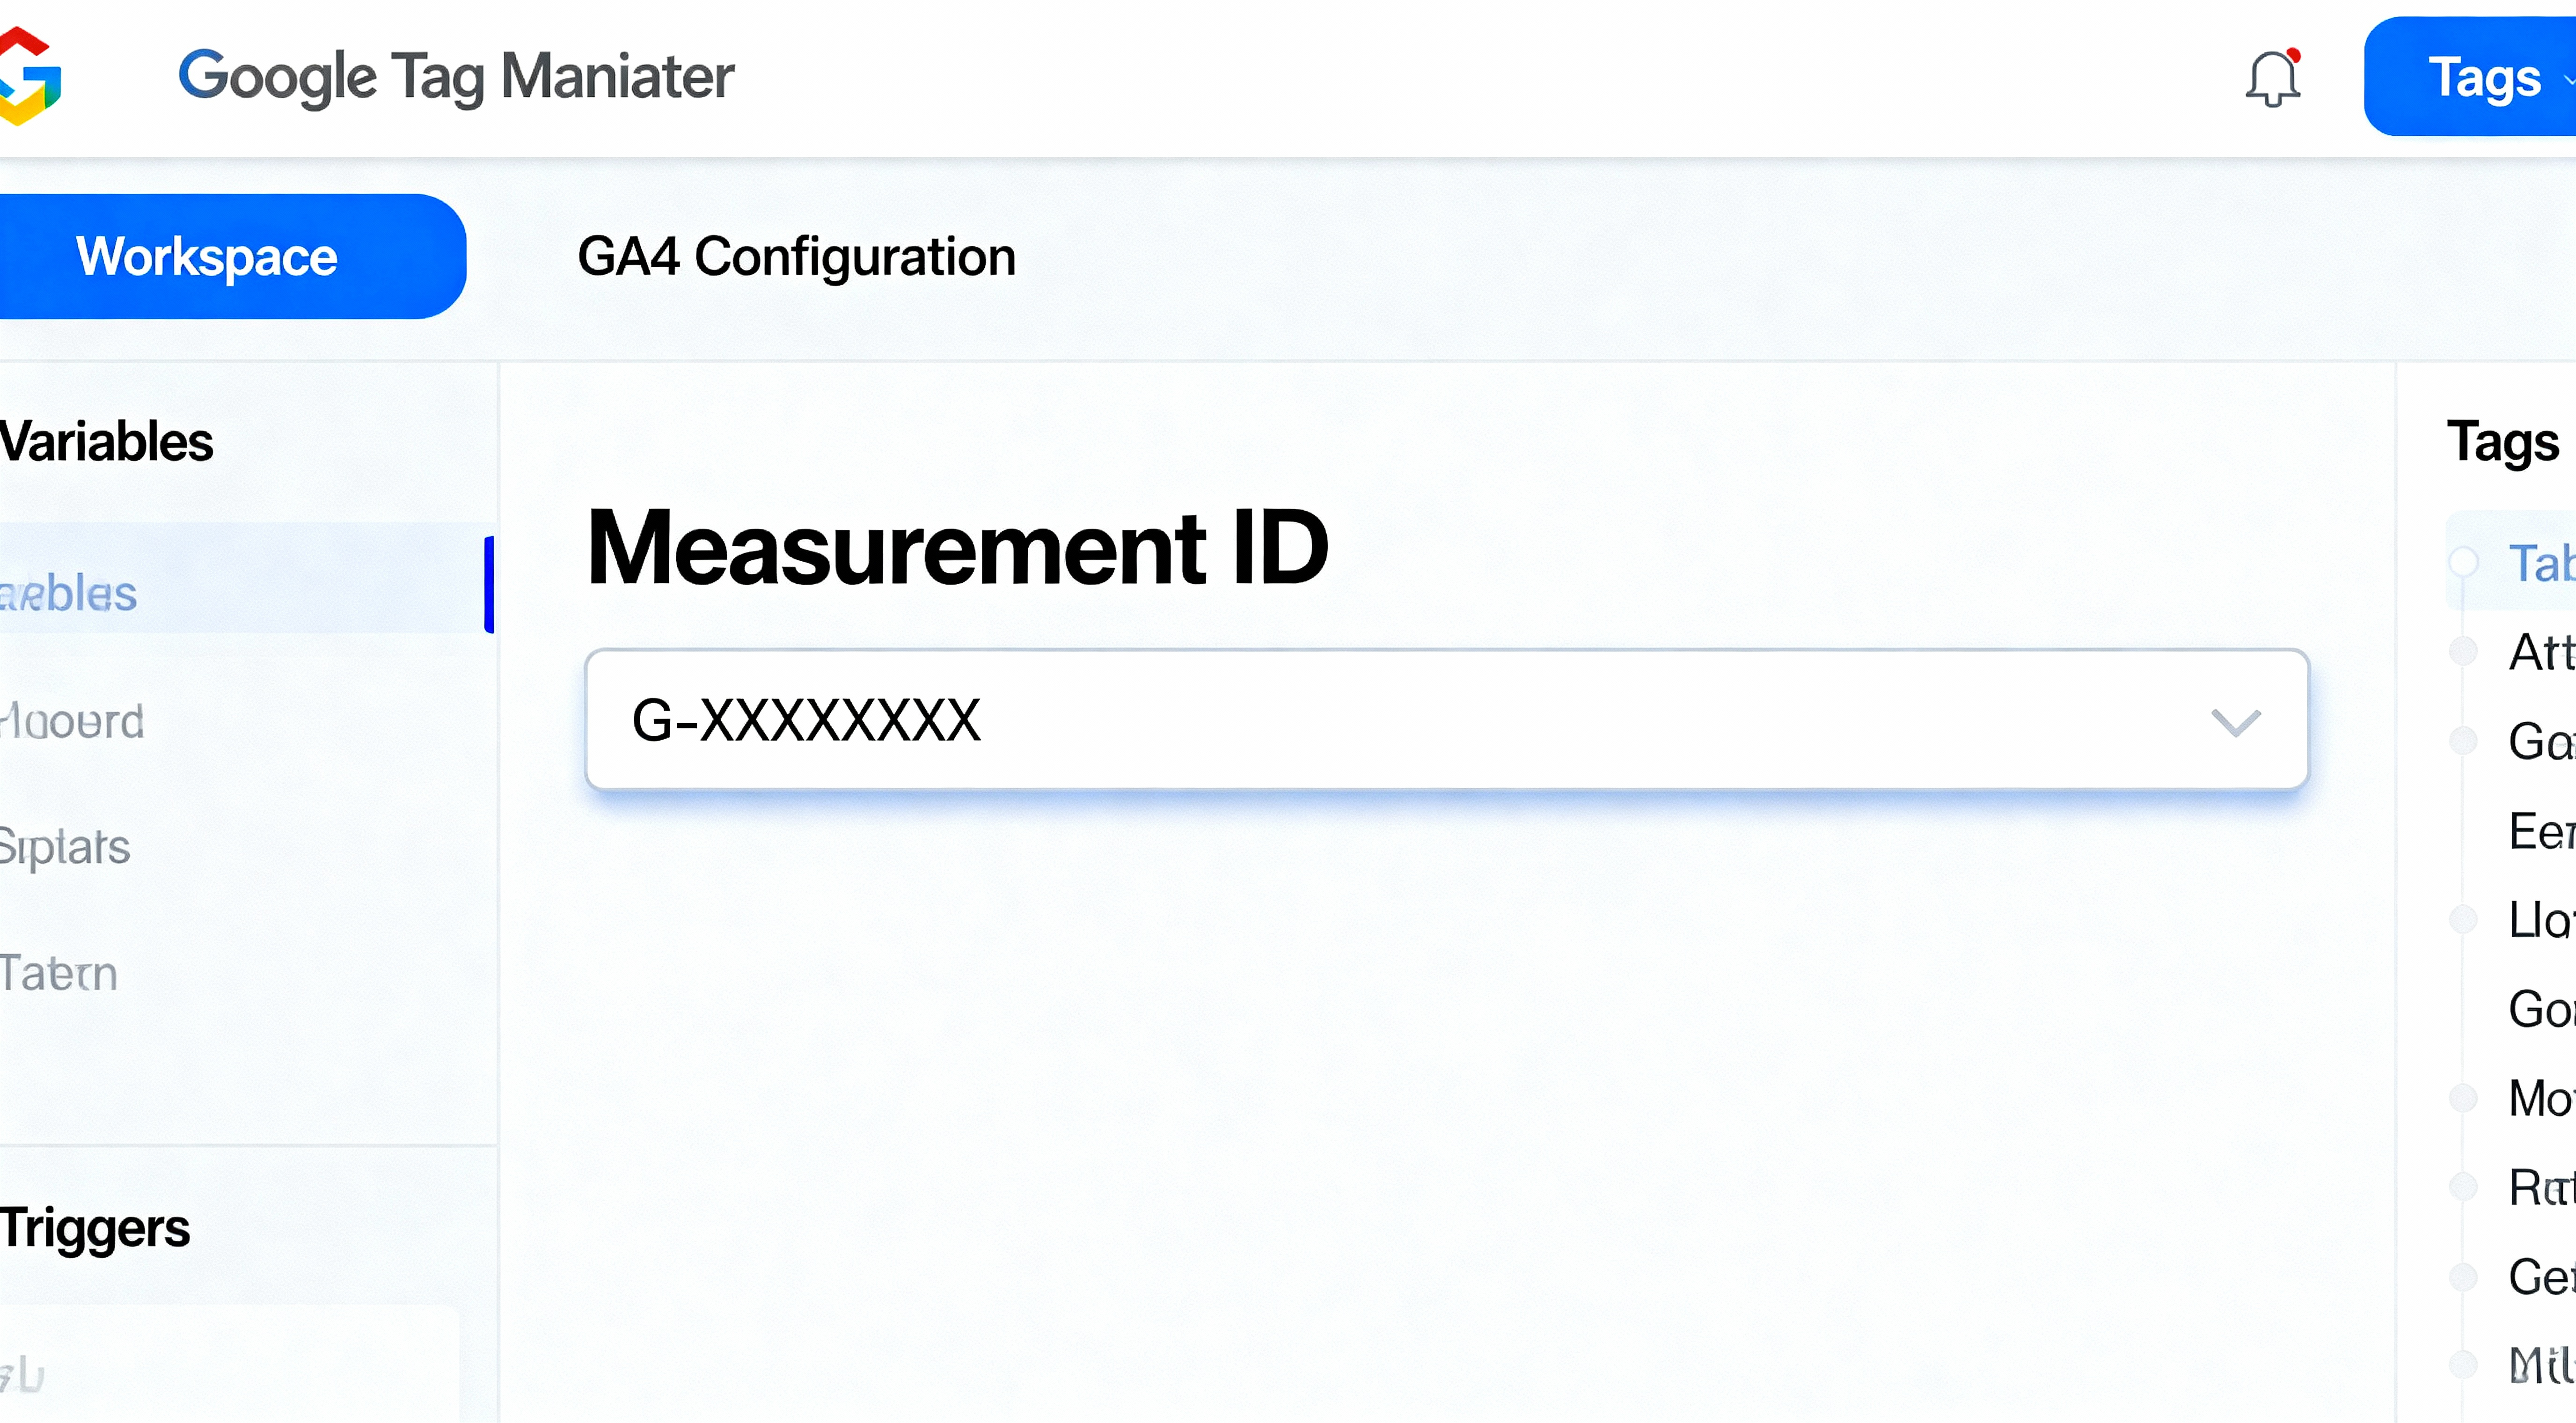
Screenshot of GTM showing GA4 Configuration tag with Measurement ID field. Due to client privacy and copyright, we cannot show actual GA4 account screenshots. View more examples on Google Images.
2.5: Configure the Trigger
Tags need triggers to fire. For the GA4 Configuration tag, we want it to fire on every page:
- Click the Triggering section below the tag configuration
- Select All Pages (this is a built-in trigger)
- Name your tag something clear like "GA4 Config - All Pages"
- Click Save
What this does: The GA4 Configuration tag will now fire on every page load, sending a page_view event to GA4 and initializing all GA4 functionality.
2.6: Preview and Test Your Setup
Before publishing to production, always test in preview mode:
- In GTM, click Preview in the top-right corner
- Enter your website URL in the popup
- Click Connect
- Your website will open in a new tab with GTM debug mode active
- In the GTM debug panel (bottom of screen), verify "GA4 Config - All Pages" appears under "Tags Fired"
- Click on the tag to see details
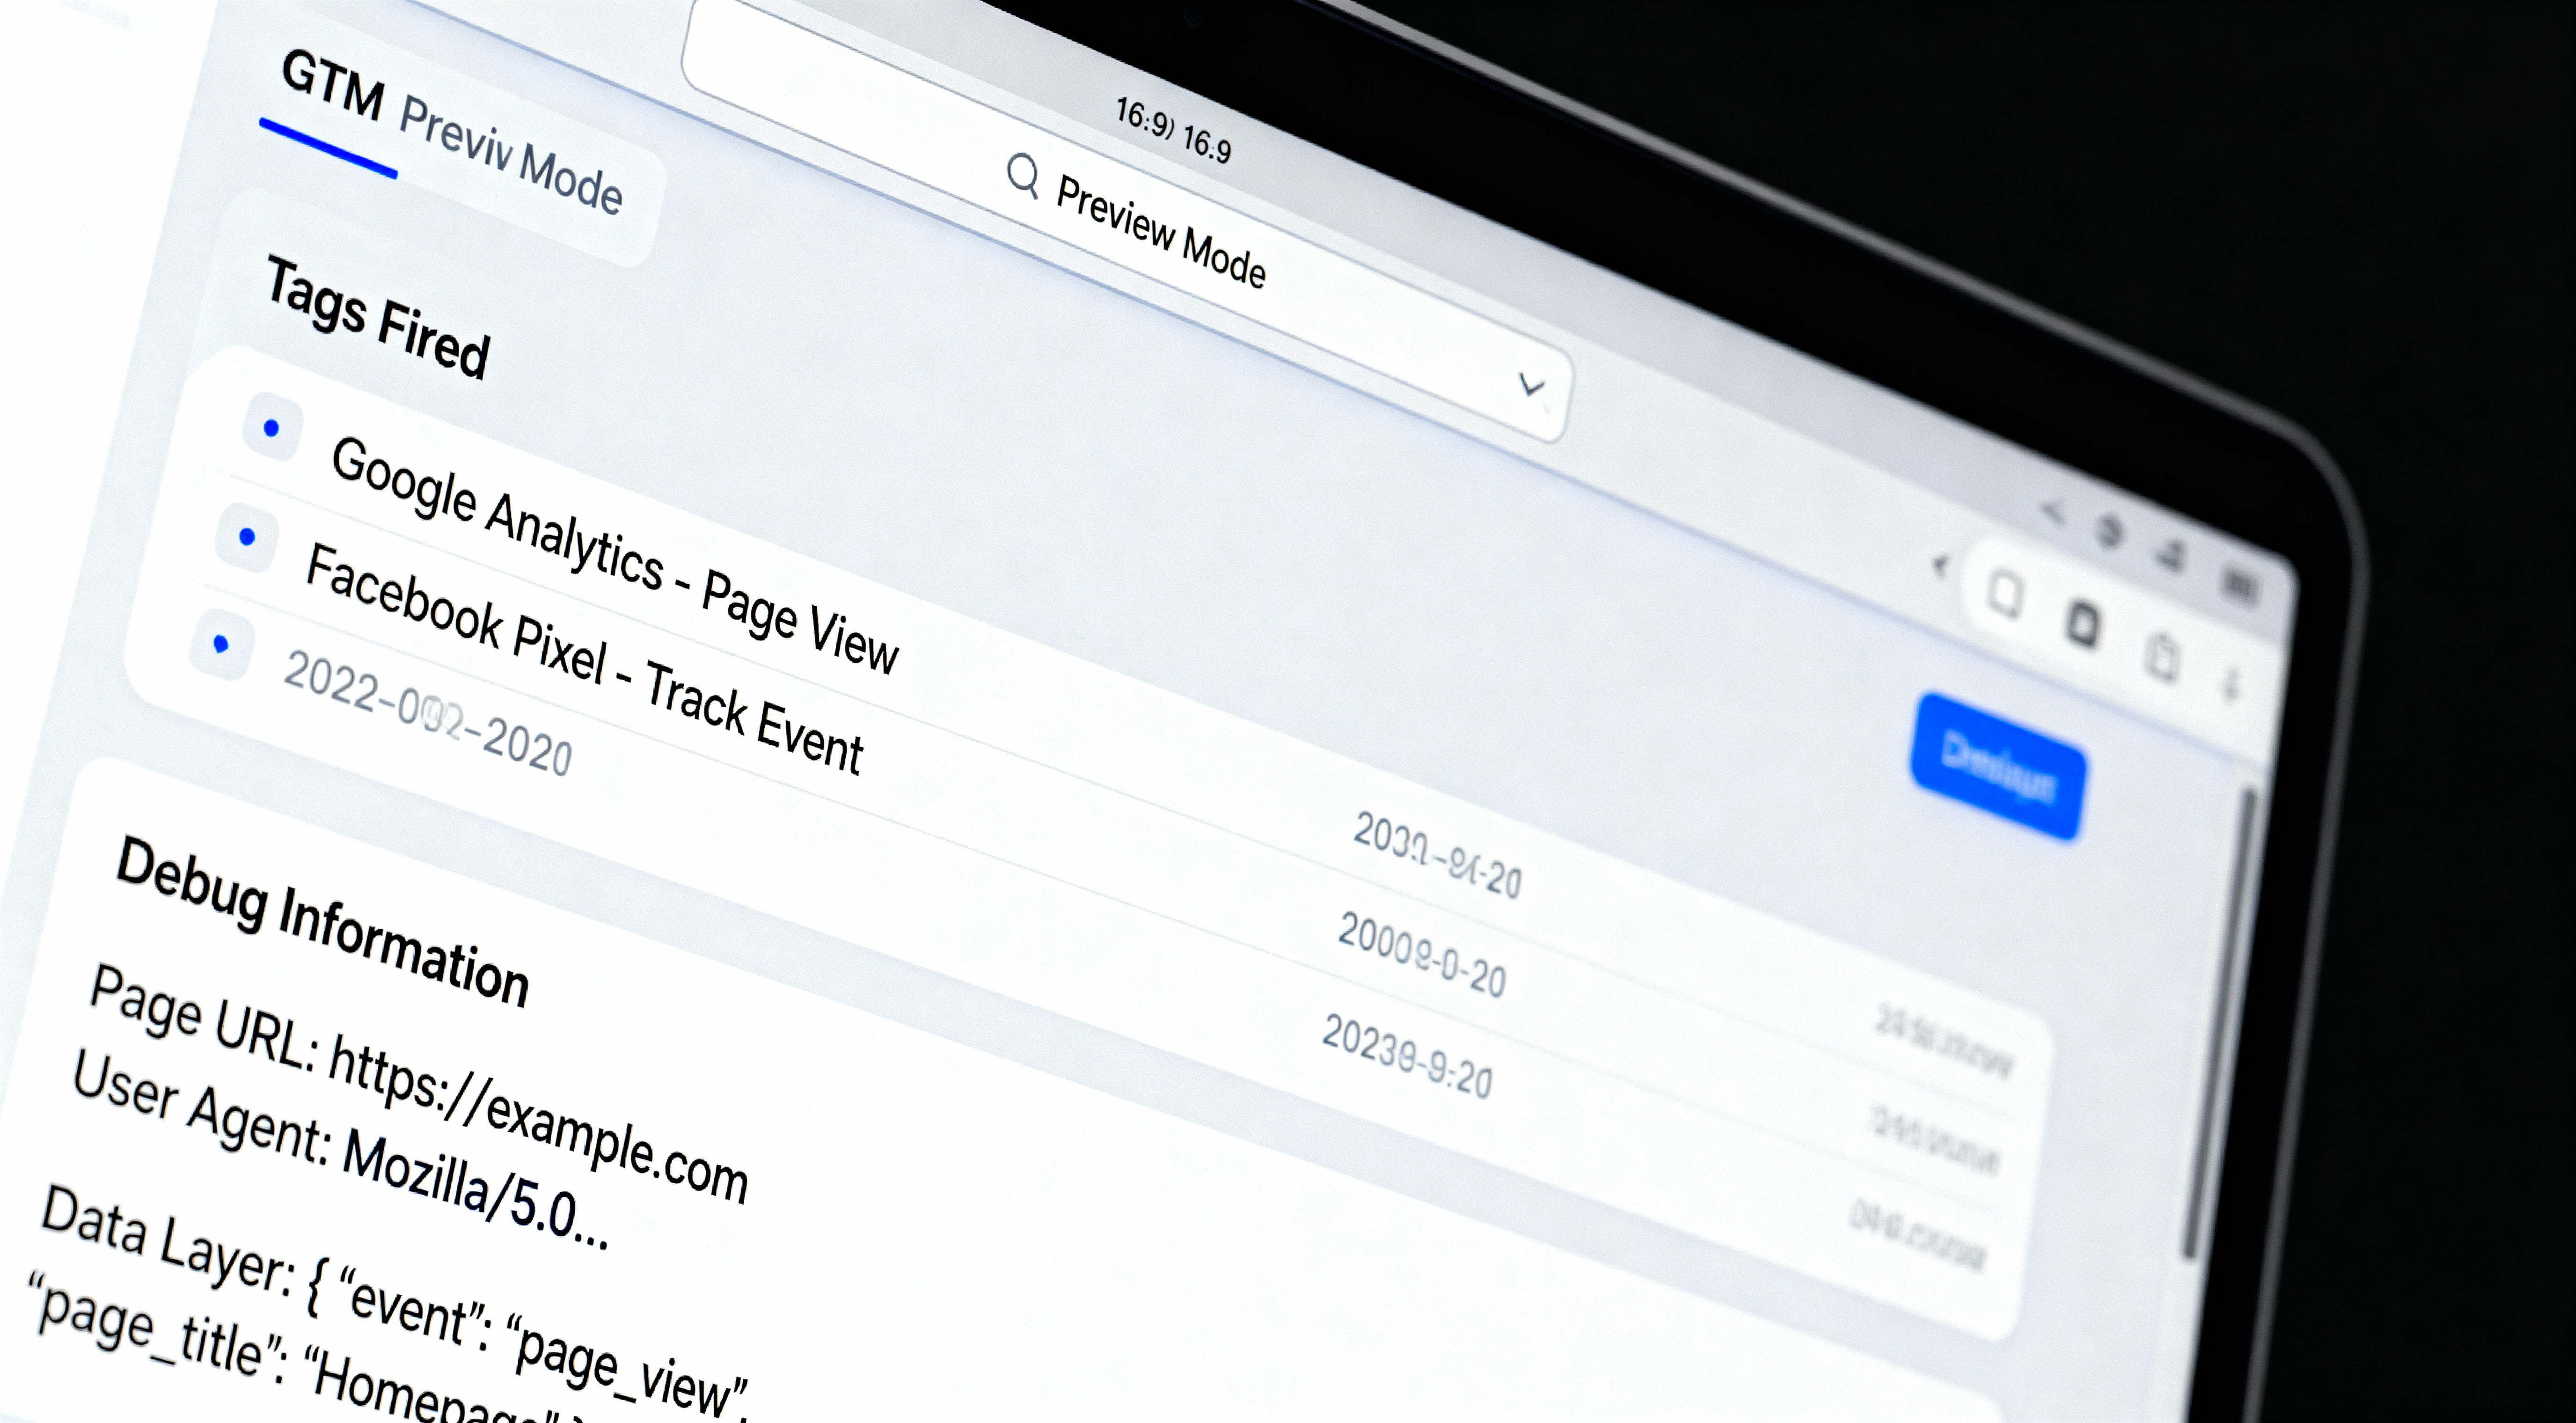
Screenshot of GTM preview mode showing tags fired and debug information. Due to client privacy and copyright, we cannot show actual GA4 account screenshots. View more examples on Google Images.
2.7: Verify Data in GA4 Realtime Report
- With your website still open in preview mode, switch to Google Analytics
- Navigate to Reports > Realtime
- You should see yourself as an active user
- You should see
page_viewevents appearing - If data appears, your setup is working correctly
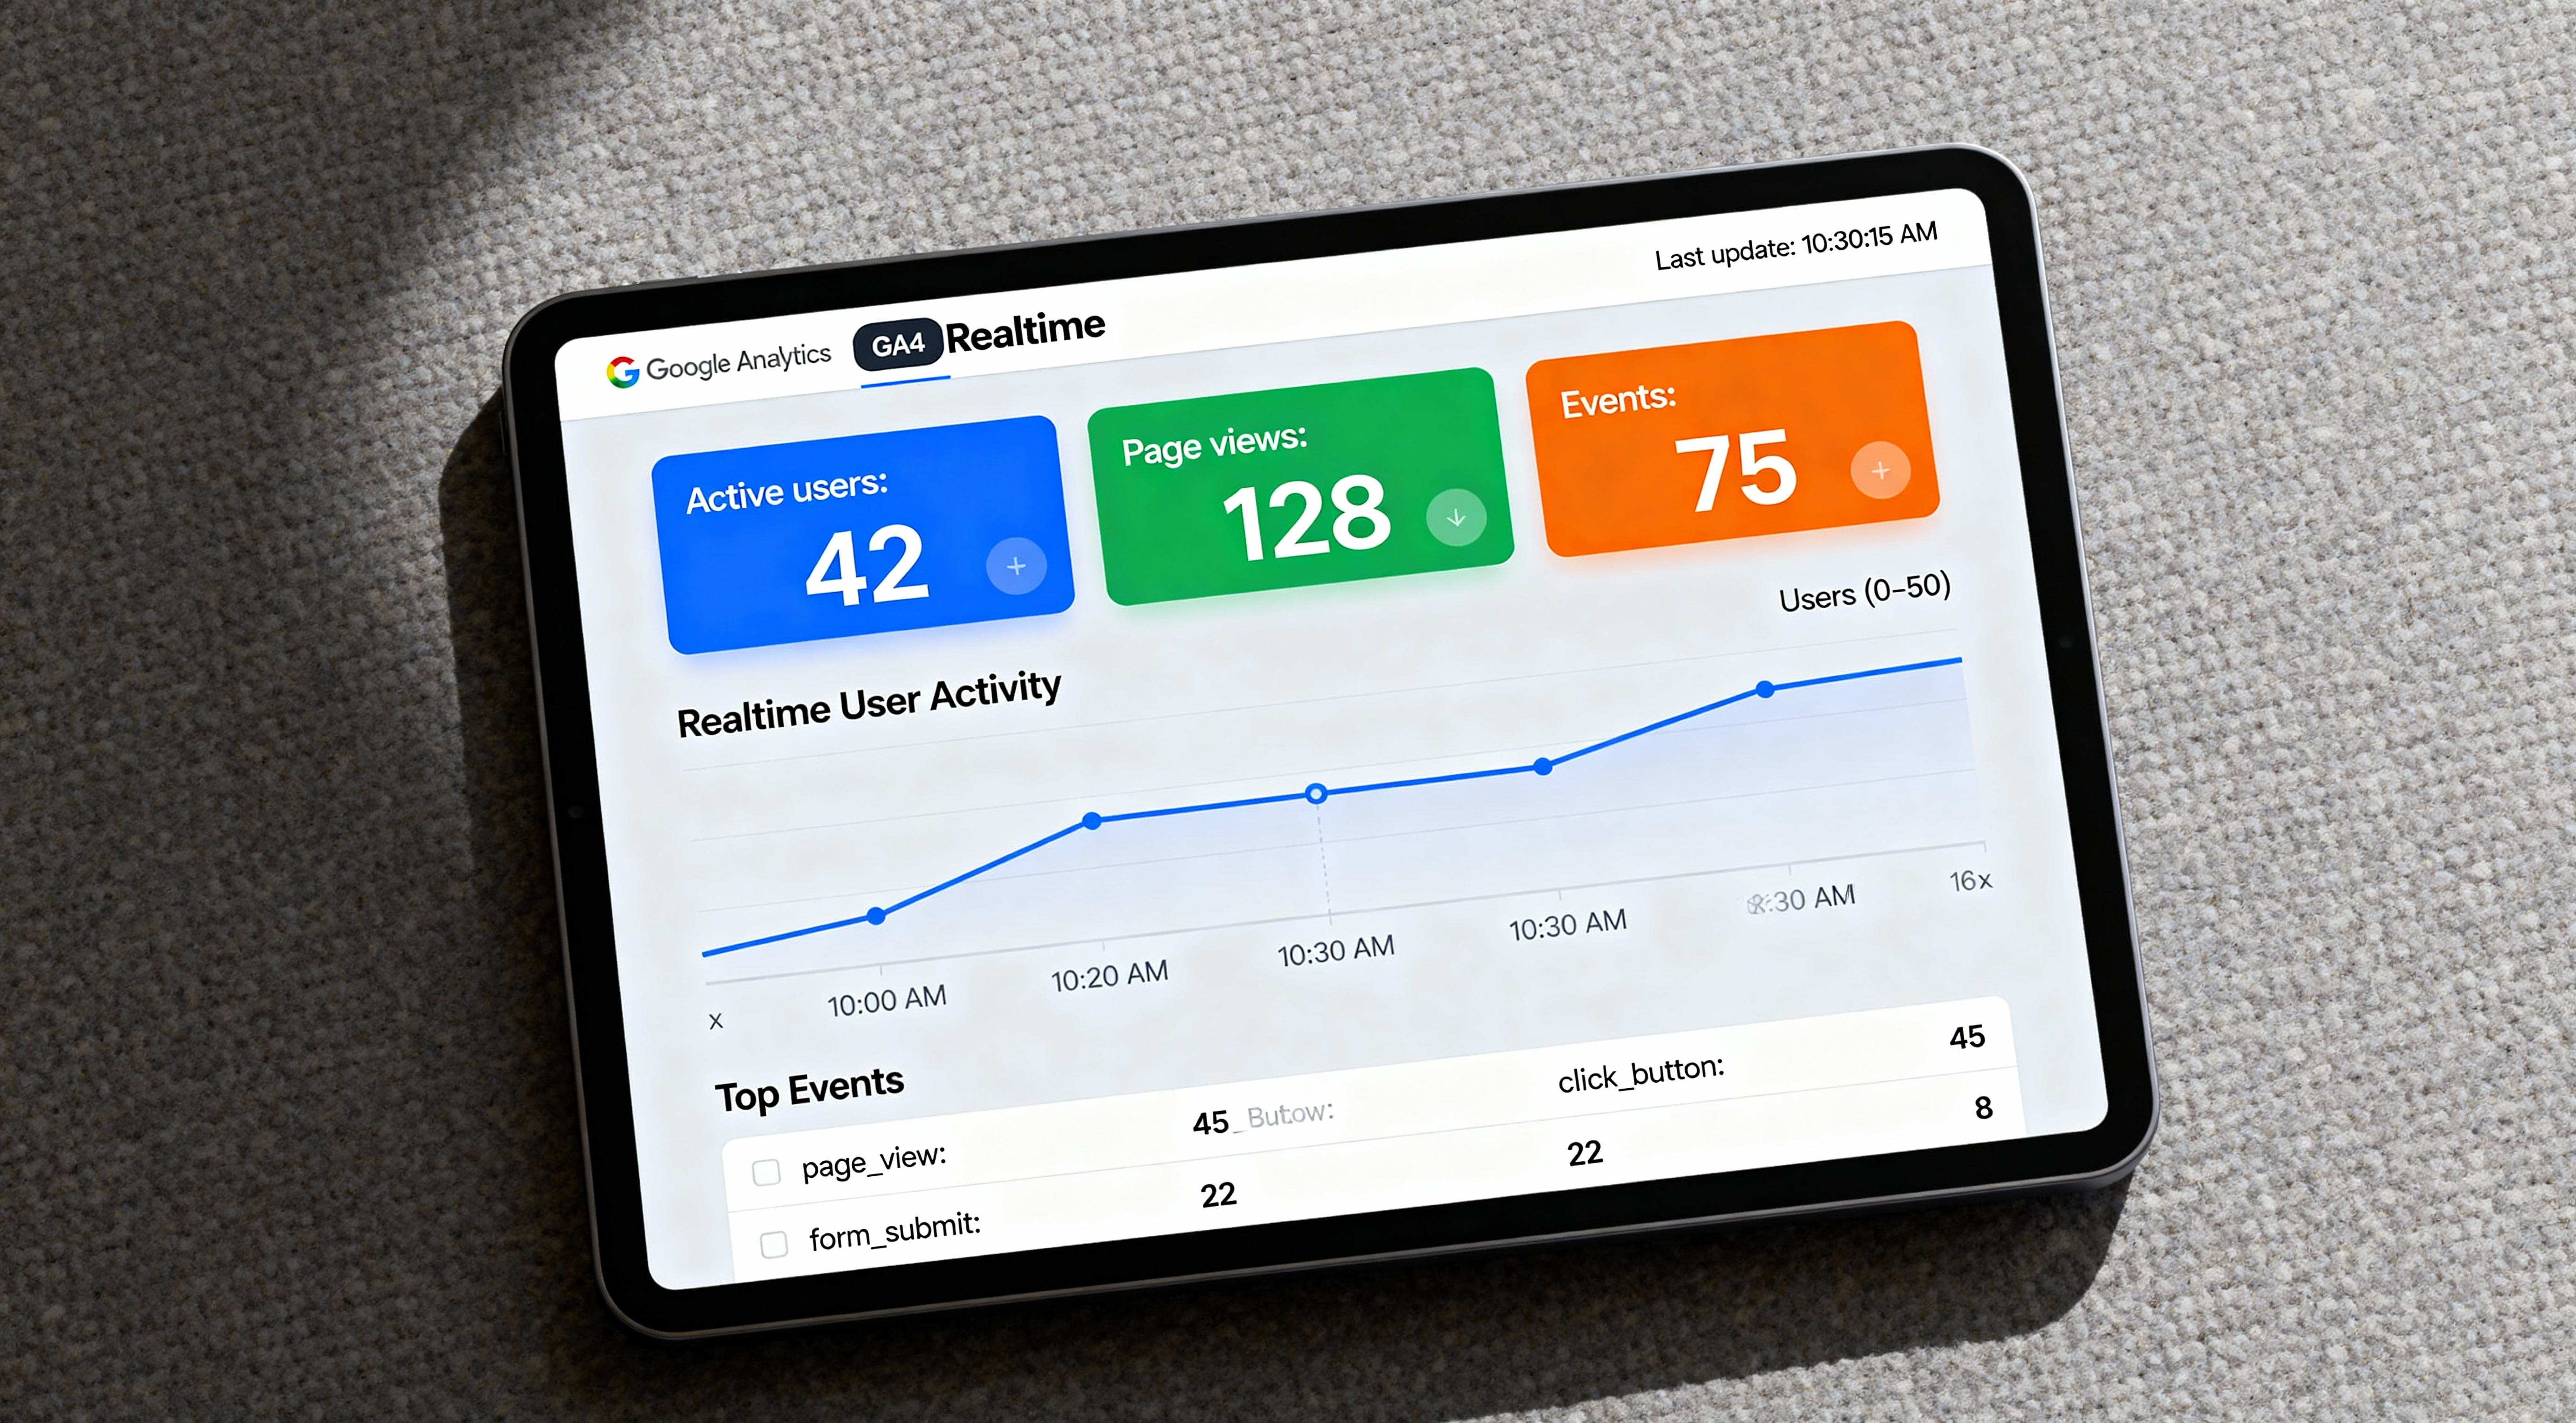
Screenshot of GA4 Realtime report showing active users, page views, and events. Due to client privacy and copyright, we cannot show actual GA4 account screenshots. View more examples on Google Images.
2.8: Publish Your GTM Container
Once you've verified everything works in preview mode:
- Exit preview mode in GTM
- Click Submit in the top-right corner
- Add a version name (e.g., "Initial GA4 Setup")
- Add a version description (optional but recommended: "Added GA4 Configuration tag with Measurement ID G-XXXXXXXXXX")
- Click Publish
Congratulations! GA4 is now live on your website and collecting data. However, we're just getting started. The real power comes from proper configuration, conversion tracking, and custom events—which we'll cover next.
✅ Checkpoint: What You've Accomplished
- Created a GA4 property with proper configuration
- Set up Google Tag Manager on your website
- Installed and tested GA4 tracking
- Verified data is flowing into GA4 Realtime reports
You now have basic pageview tracking. Next, we'll configure enhanced measurement, conversion tracking, and advanced features.
Step 3: Configure Enhanced Measurement
Enhanced measurement is GA4's superpower—automatic tracking of common interactions without writing any code. When enabled, GA4 automatically tracks scrolling, outbound clicks, site search, video engagement, file downloads, and more.
3.1: Access Enhanced Measurement Settings
- In Google Analytics, go to Admin
- In the Property column, click Data Streams
- Click on your web data stream
- Scroll down to Enhanced measurement
- Click the settings gear icon next to the toggle
3.2: Configure Individual Enhanced Measurement Events
Review and configure each enhanced measurement event based on your needs:
Page Views (Always On)
This cannot be disabled. Tracks every page load as a page_view event.
Scrolls
When to enable: Always. Scroll depth is a critical engagement signal.
What it tracks: Fires a scroll event when user scrolls 90% of the page.
Use case: Identify content that users read vs. bounce from. High scroll depth = engaged users.
Outbound Clicks
When to enable: If you link to external websites and want to track when users leave your site.
What it tracks: Fires click event with outbound: true when users click links to different domains.
Use case: Measure affiliate link clicks, partner referrals, or external resource engagement.
Site Search
When to enable: If you have a search function on your website.
What it tracks: Fires view_search_results event when users perform searches.
Configuration required: Click "Show advanced settings" and add your search query parameters (typically s, q, search, or query).
Use case: Understand what users are searching for to improve content and product offerings.
Video Engagement
When to enable: If you embed YouTube videos on your site.
What it tracks: Fires video_start, video_progress (10%, 25%, 50%, 75%), and video_complete events.
Requirements: Videos must have YouTube's "Enable JS API" enabled.
Use case: Measure video engagement and identify which videos drive the most engagement.
File Downloads
When to enable: Always. Tracks PDF downloads, doc files, spreadsheets, etc.
What it tracks: Fires file_download event when users click links to files.
Default file types: pdf, xls, xlsx, doc, docx, txt, rtf, csv, exe, key, pps, ppt, pptx, 7z, pkg, rar, gz, zip, avi, mov, mp4, mpeg, wmv, midi, mp3, wav, wma
Use case: Track white paper downloads, product sheets, case studies, etc.
Form Interactions
When to enable: If you want to track form starts (user begins filling form).
What it tracks: Fires form_start when user interacts with a form field.
Note: Does NOT track form submissions—you'll need custom event tracking for that (covered later).
Use case: Measure form abandonment rate (users who start but don't complete forms).
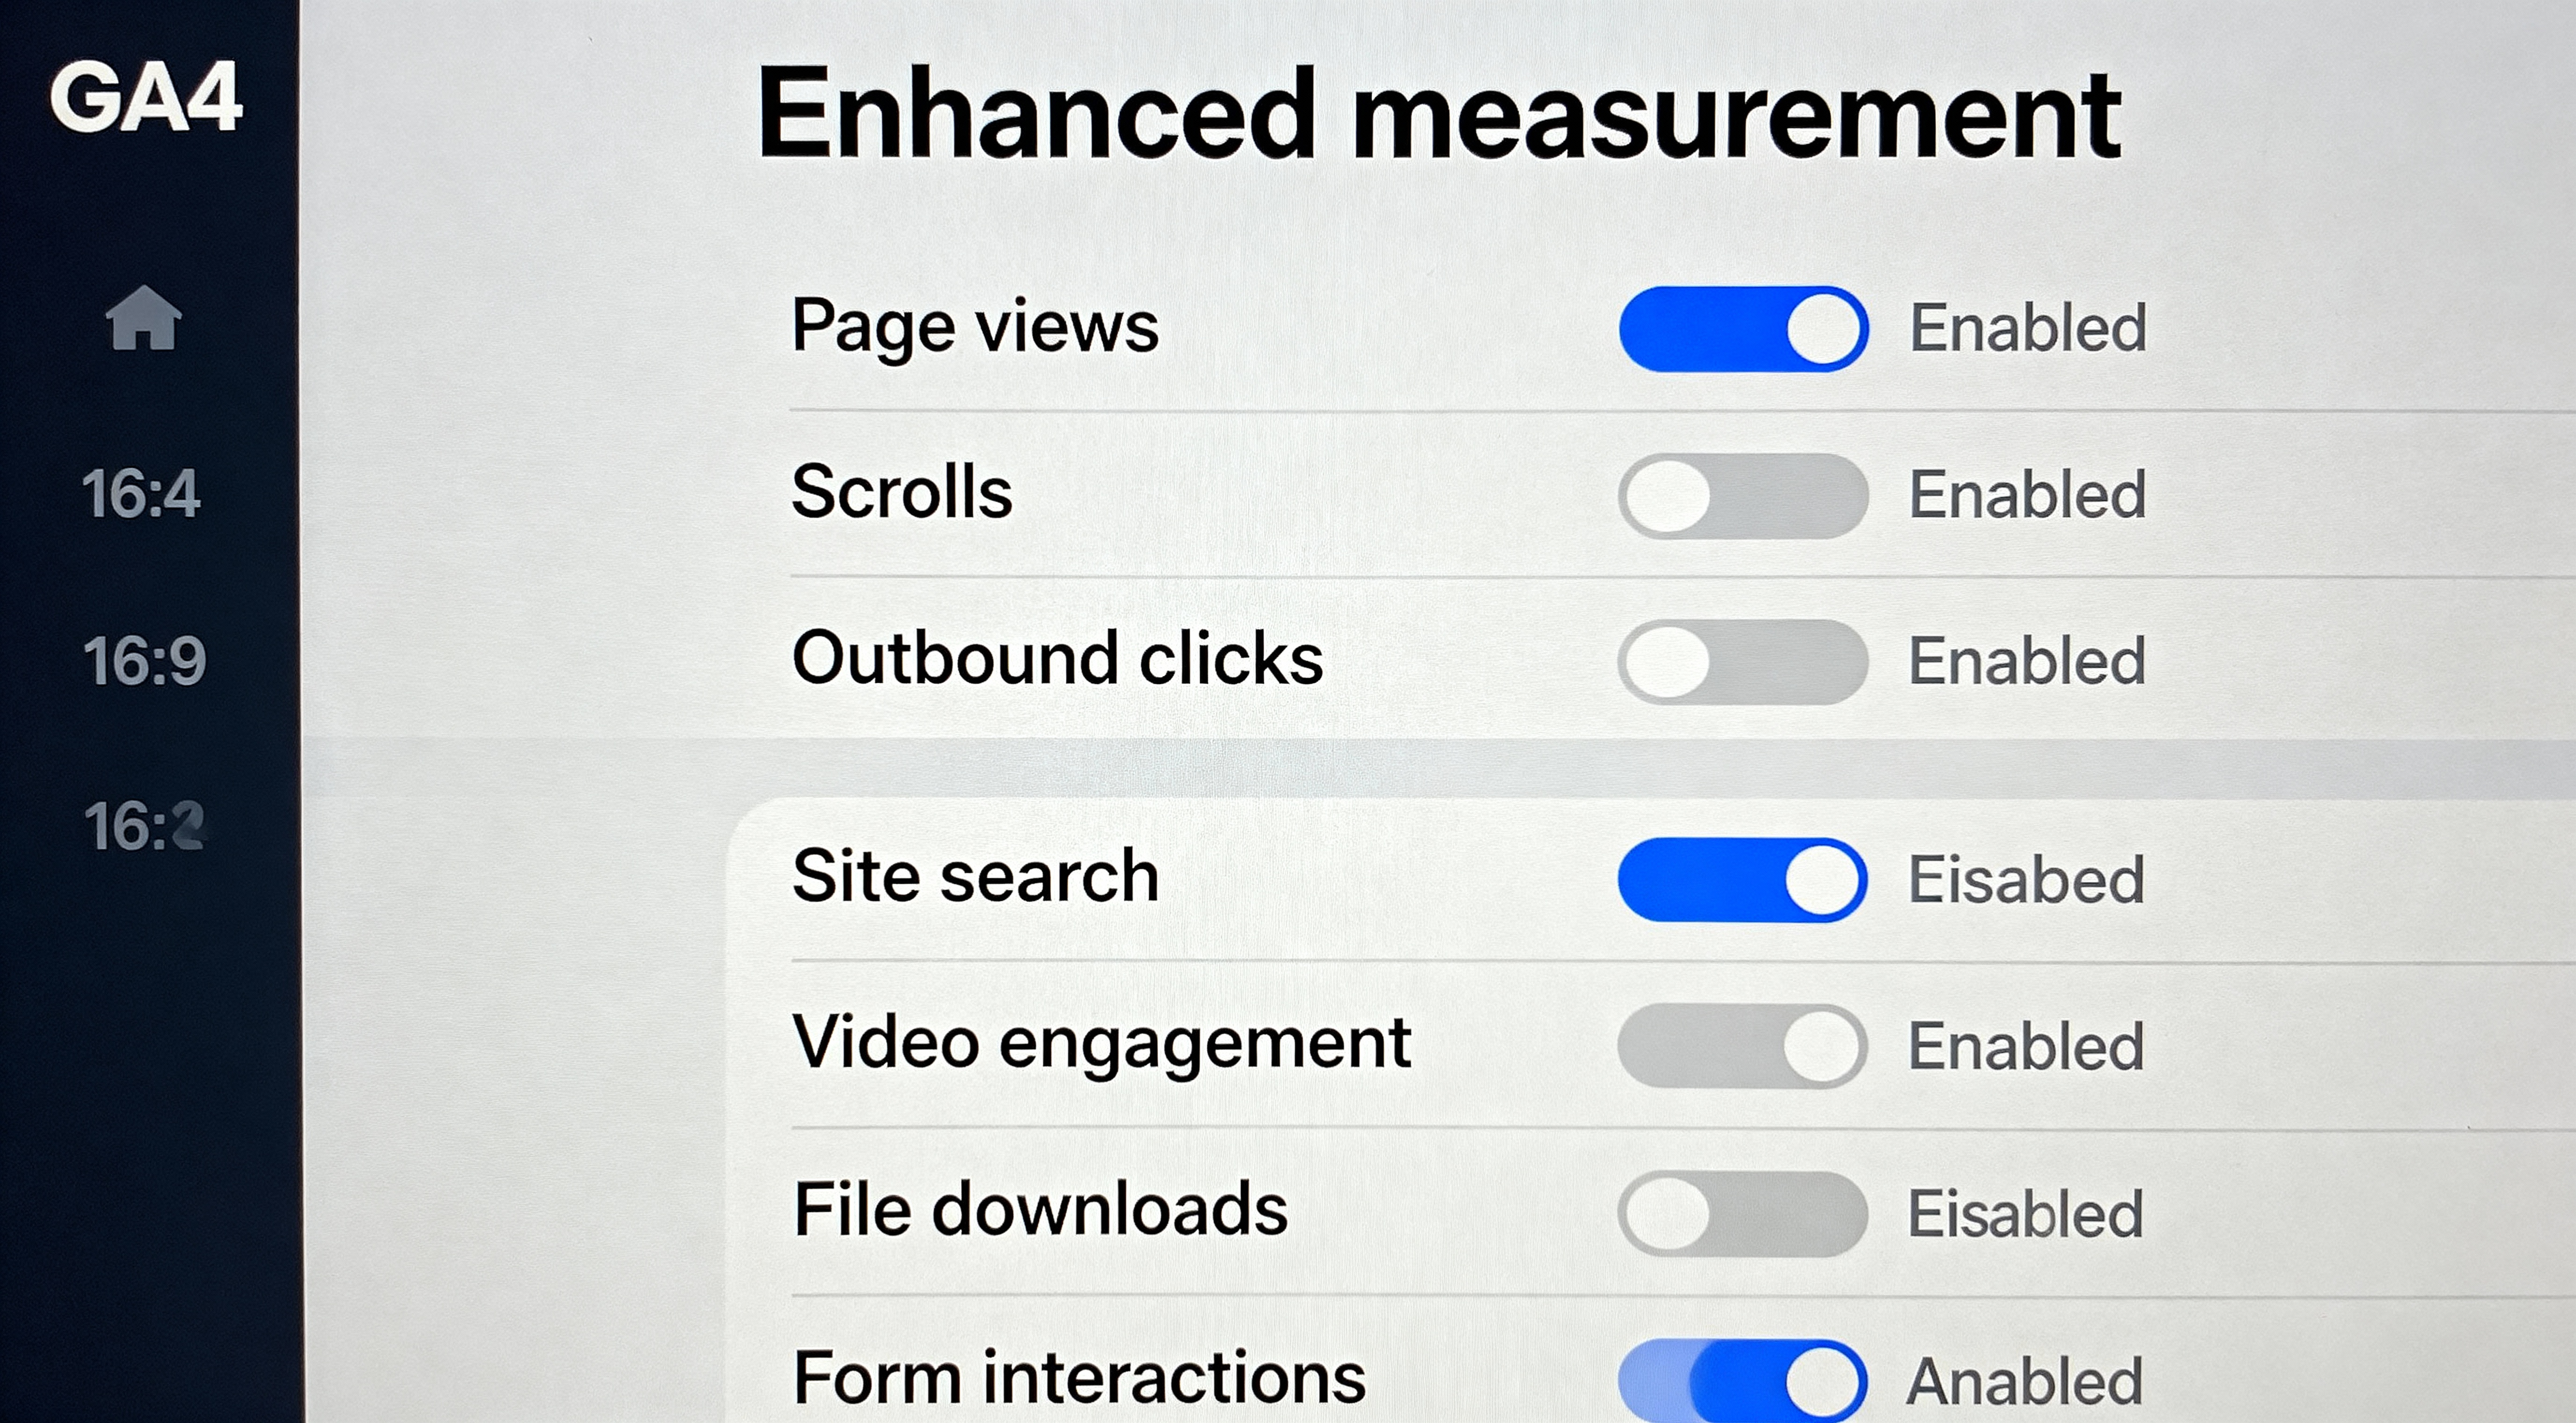
Screenshot of GA4 enhanced measurement settings showing all toggle options. Due to client privacy and copyright, we cannot show actual GA4 account screenshots. View more examples on Google Images.
3.3: Recommended Enhanced Measurement Configuration
For most businesses, this is the optimal configuration:
- ✅ Scrolls: ON
- ✅ Outbound clicks: ON
- ✅ Site search: ON (if applicable)
- ✅ Video engagement: ON (if applicable)
- ✅ File downloads: ON
- ⚠️ Form interactions: ON (but you'll need custom events for submissions)
Click Save after configuring enhanced measurement.
⚠️ Important: Enhanced Measurement Limitations
Enhanced measurement is powerful but generic. It tracks standard interactions but doesn't understand your business context. For conversions, ecommerce, and custom interactions, you'll need custom event tracking (covered next).
Step 4: Set Up Conversion Tracking
Conversions are the heartbeat of your analytics. They represent actions that matter to your business—purchases, sign-ups, form submissions, quote requests, etc. Proper conversion tracking is critical for measuring ROI and optimizing campaigns.
4.1: Define Your Conversions
Before configuring anything, document your conversions. Common conversions include:
Ecommerce Conversions
- Purchase: User completes transaction
- Add to cart: User adds product to cart
- Begin checkout: User starts checkout process
- Add payment info: User enters payment details
Lead Generation Conversions
- Form submission: Contact form, quote request, consultation booking
- Sign-up: Newsletter subscription, account creation
- Download: White paper, case study, resource download
- Phone click: User clicks phone number (mobile)
Engagement Conversions
- Video completion: User watches video to end
- Time on site: User spends X minutes on site
- Page depth: User views X pages per session
4.2: Mark Events as Conversions
GA4 tracks many events automatically (via enhanced measurement). To mark an event as a conversion:
- In GA4, go to Admin > Events
- Find the event you want to mark as a conversion
- Toggle Mark as conversion to ON
Common events to mark as conversions:
purchase- Ecommerce transactionsgenerate_lead- Lead form submissionssign_up- Account registrationsfile_download- Important document downloads
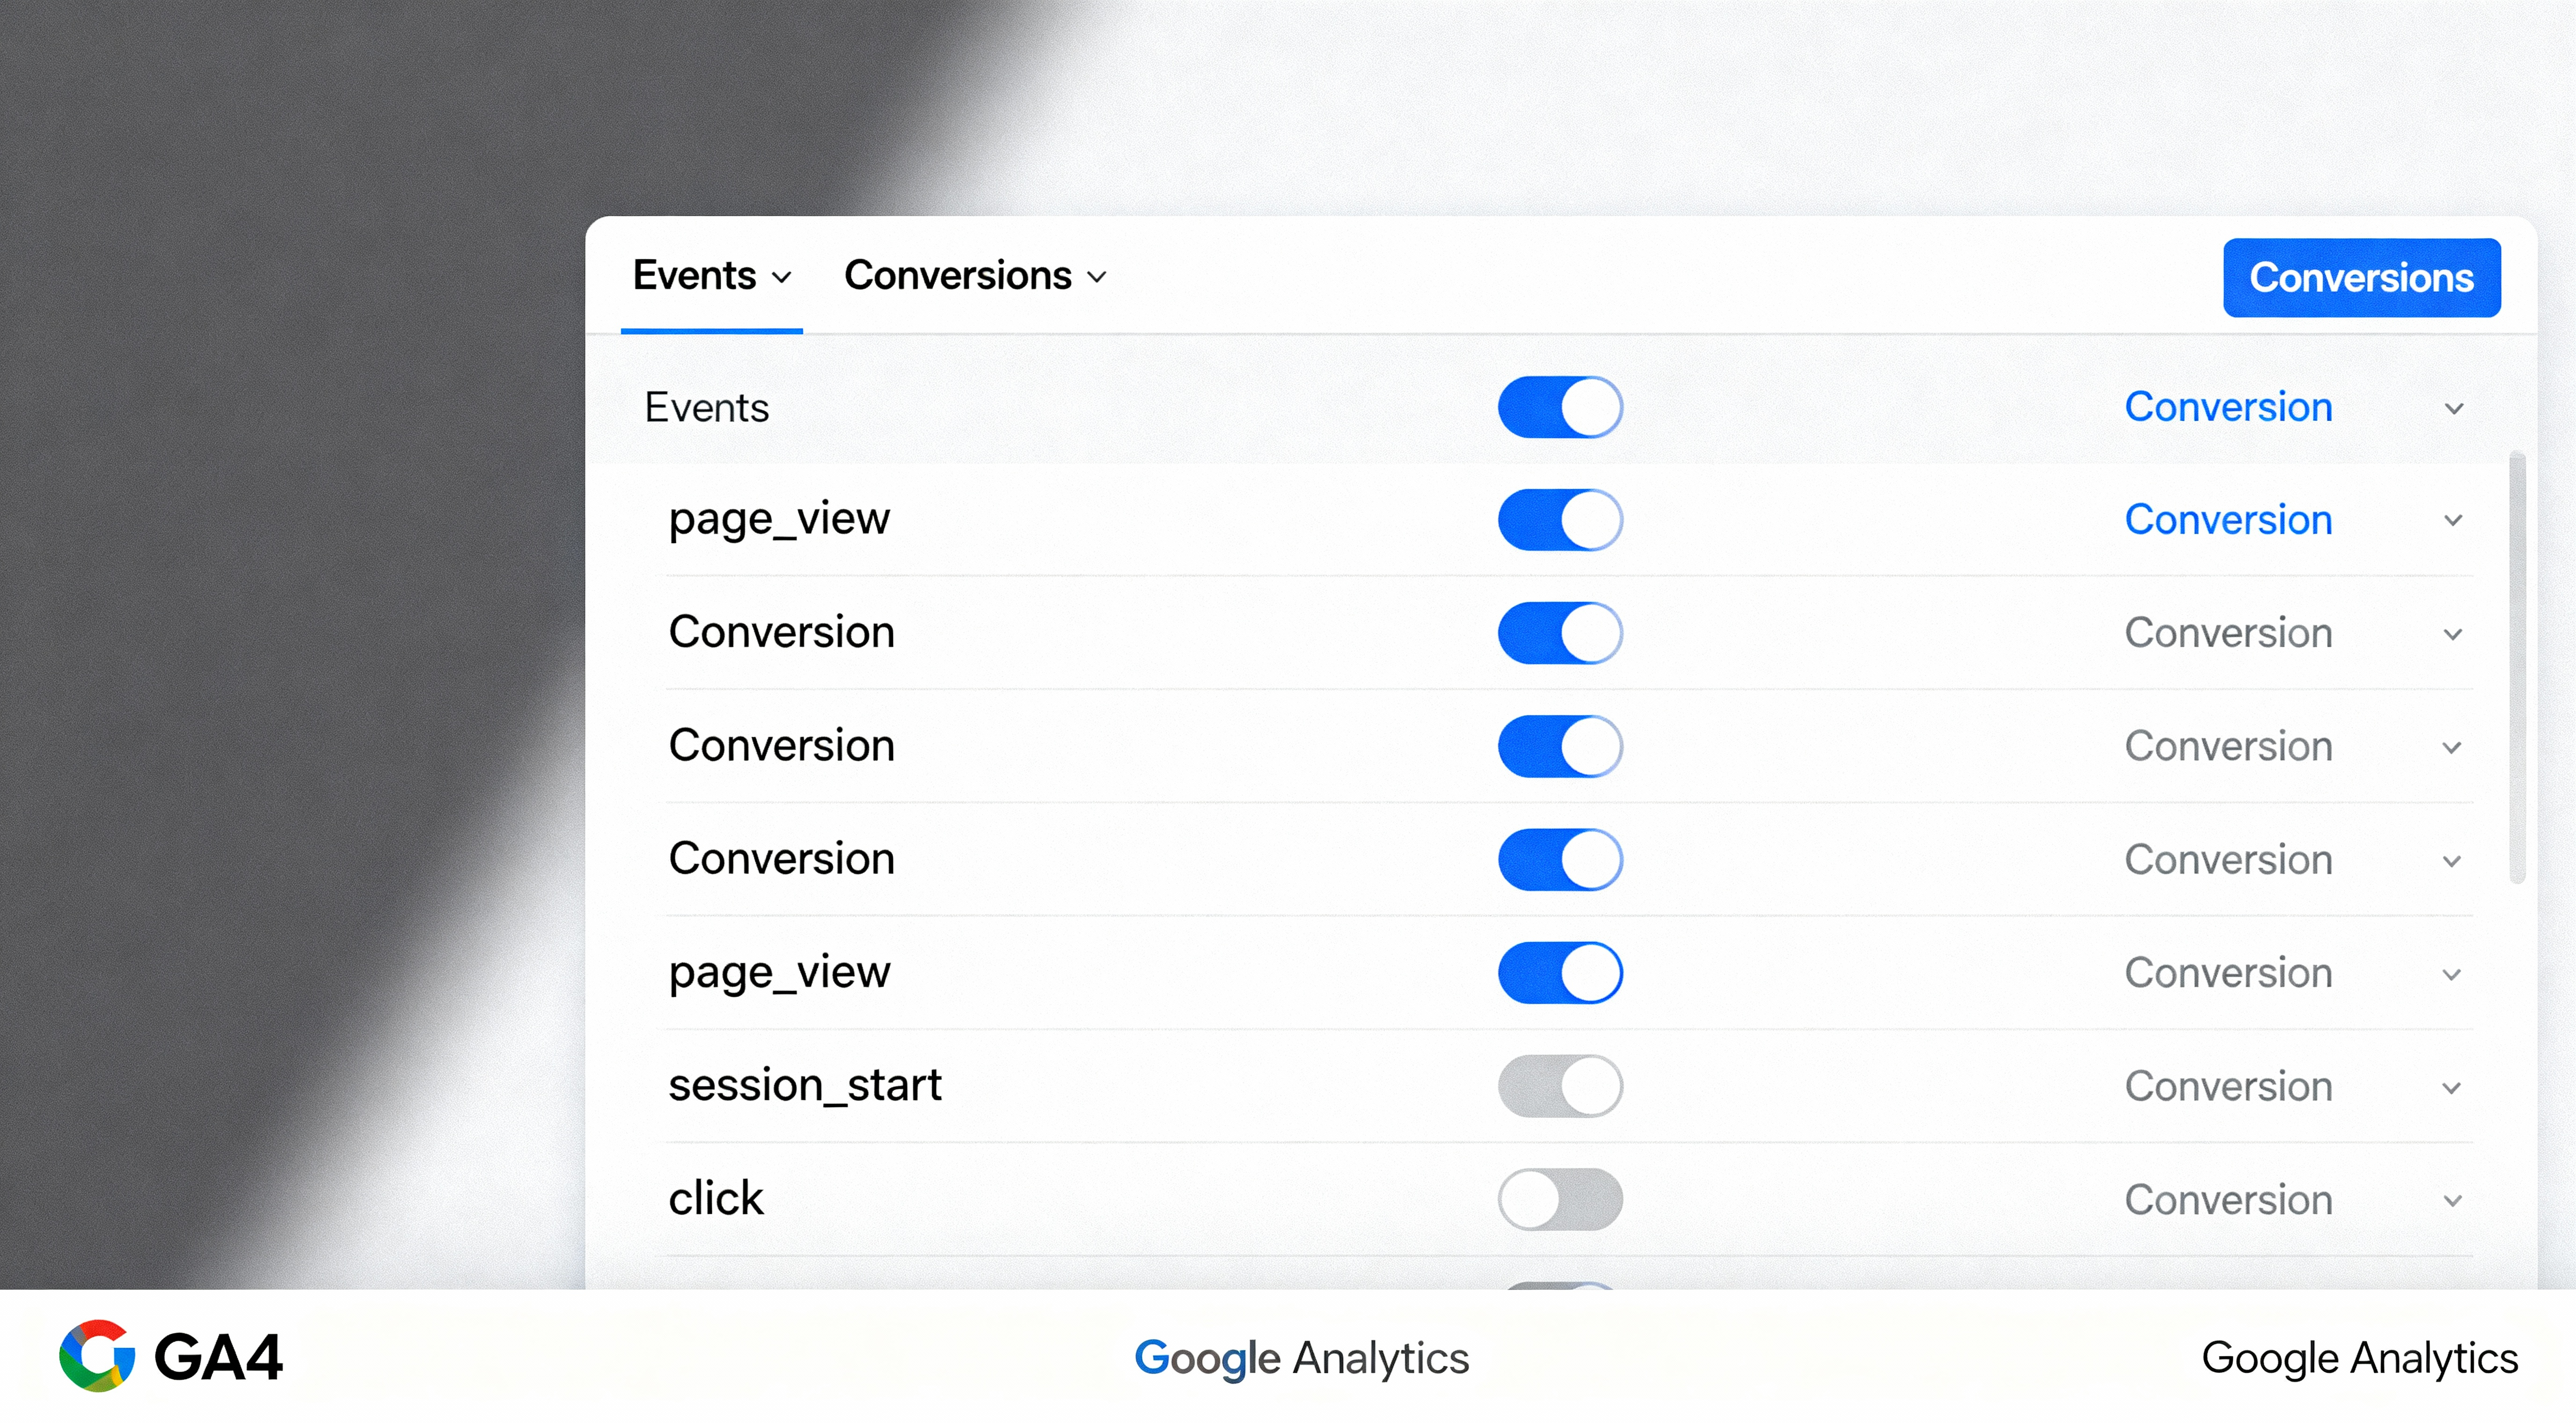
Screenshot showing GA4 Events interface with conversion toggle switches. Due to client privacy and copyright, we cannot show actual GA4 account screenshots. View more examples on Google Images.
4.3: Create Custom Conversion Events
For conversions that aren't automatically tracked, you need custom events. Common custom conversions:
- Form submissions (contact, quote, demo request)
- Button clicks (call-to-action buttons)
- Phone number clicks
- Chat widget interactions
- Video progress milestones
Method 1: Create Events via GA4 Interface (Simple Modifications)
For simple event modifications (like creating a conversion from an existing event with conditions):
- Go to Admin > Events
- Click Create event
- Click Create
- Name your custom event (use lowercase with underscores:
form_submit_contact) - Set conditions to match when this event should fire
- Click Create
Example: Create form_submit_contact event that fires when form_start fires AND page_location contains "/contact".
Method 2: Create Events via Google Tag Manager (Full Control)
For complex tracking (form submissions, button clicks, etc.), use GTM. Example: Track contact form submission.
Step 1: Create the Event Tag
- In GTM, go to Tags > New
- Click tag configuration, select Google Analytics: GA4 Event
- Set Configuration Tag to your GA4 Config tag
- Set Event Name to
form_submit_contact - Add event parameters (optional):
form_name= "Contact Form"form_location= {{Page Path}}
Step 2: Create the Trigger
- Click Triggering
- Click + to create a new trigger
- Select Form Submission as trigger type
- Configure:
- Check "Wait for Tags"
- Set Max wait time to 2000ms
- Check "Enable validation"
- Add conditions to fire only on specific forms (e.g.,
Page URL contains /contact) - Save the trigger
Step 3: Test and Publish
- Use GTM Preview mode
- Submit the form
- Verify
form_submit_contactevent fires - Check GA4 Realtime to confirm event appears
- Publish GTM container
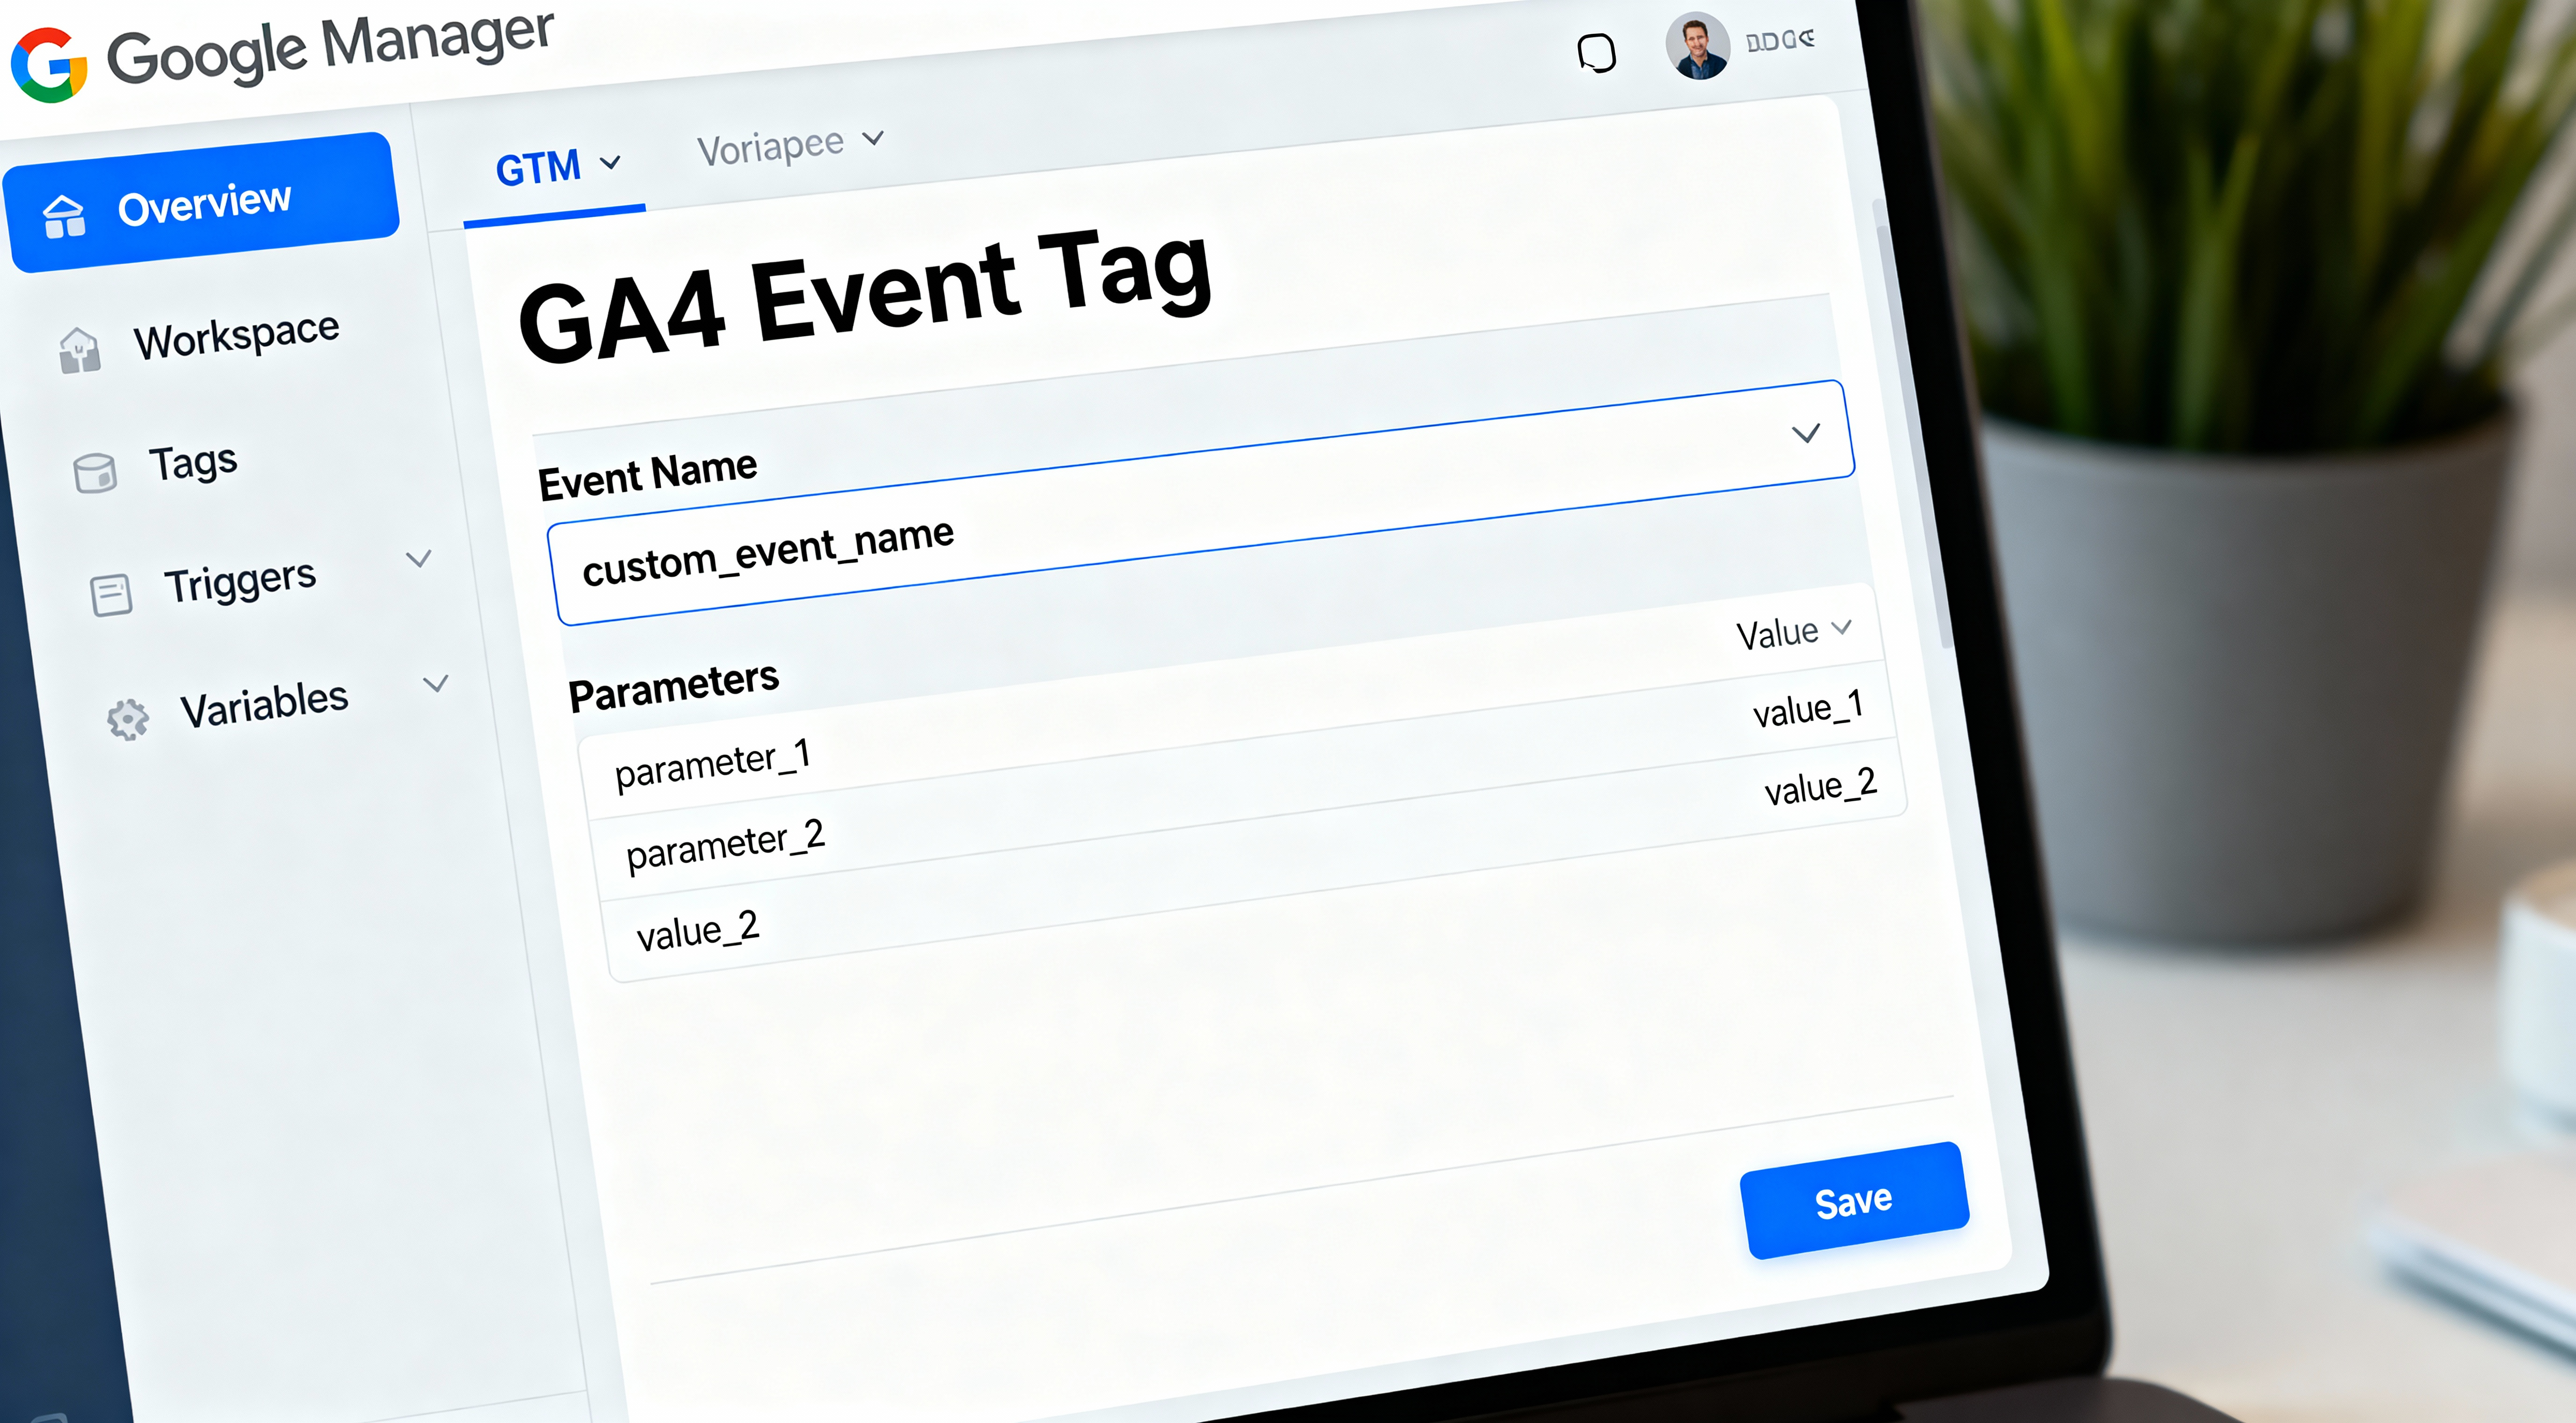
Screenshot of GTM showing GA4 Event tag configuration with custom event name and parameters. Due to client privacy and copyright, we cannot show actual GA4 account screenshots. View more examples on Google Images.
4.4: Add Conversion Values
Conversion values help you measure ROI. For lead generation, assign estimated values:
- In GA4, go to Admin > Events
- Click on your conversion event
- Click Edit
- Add parameter
valuewith estimated dollar value - Add parameter
currencywith currency code (e.g., "USD")
Example values:
- Contact form submission: $50 (if 10% convert to $500 customers)
- Quote request: $200 (if 20% convert to $1000 projects)
- Newsletter signup: $10 (estimated lifetime value)
💡 Pro Tip: Conversion Value Strategy
Track both counted conversions and valued conversions. Not every conversion has a dollar value, but assign values where possible. This enables proper ROAS (Return on Ad Spend) calculation in Google Ads and allows you to prioritize high-value conversion optimization.
4.5: Verify Conversions Are Working
- Navigate to Reports > Engagement > Conversions
- Perform a conversion action on your website
- Check Realtime > Overview (conversions appear in realtime)
- Within 24-48 hours, conversions will appear in standard reports
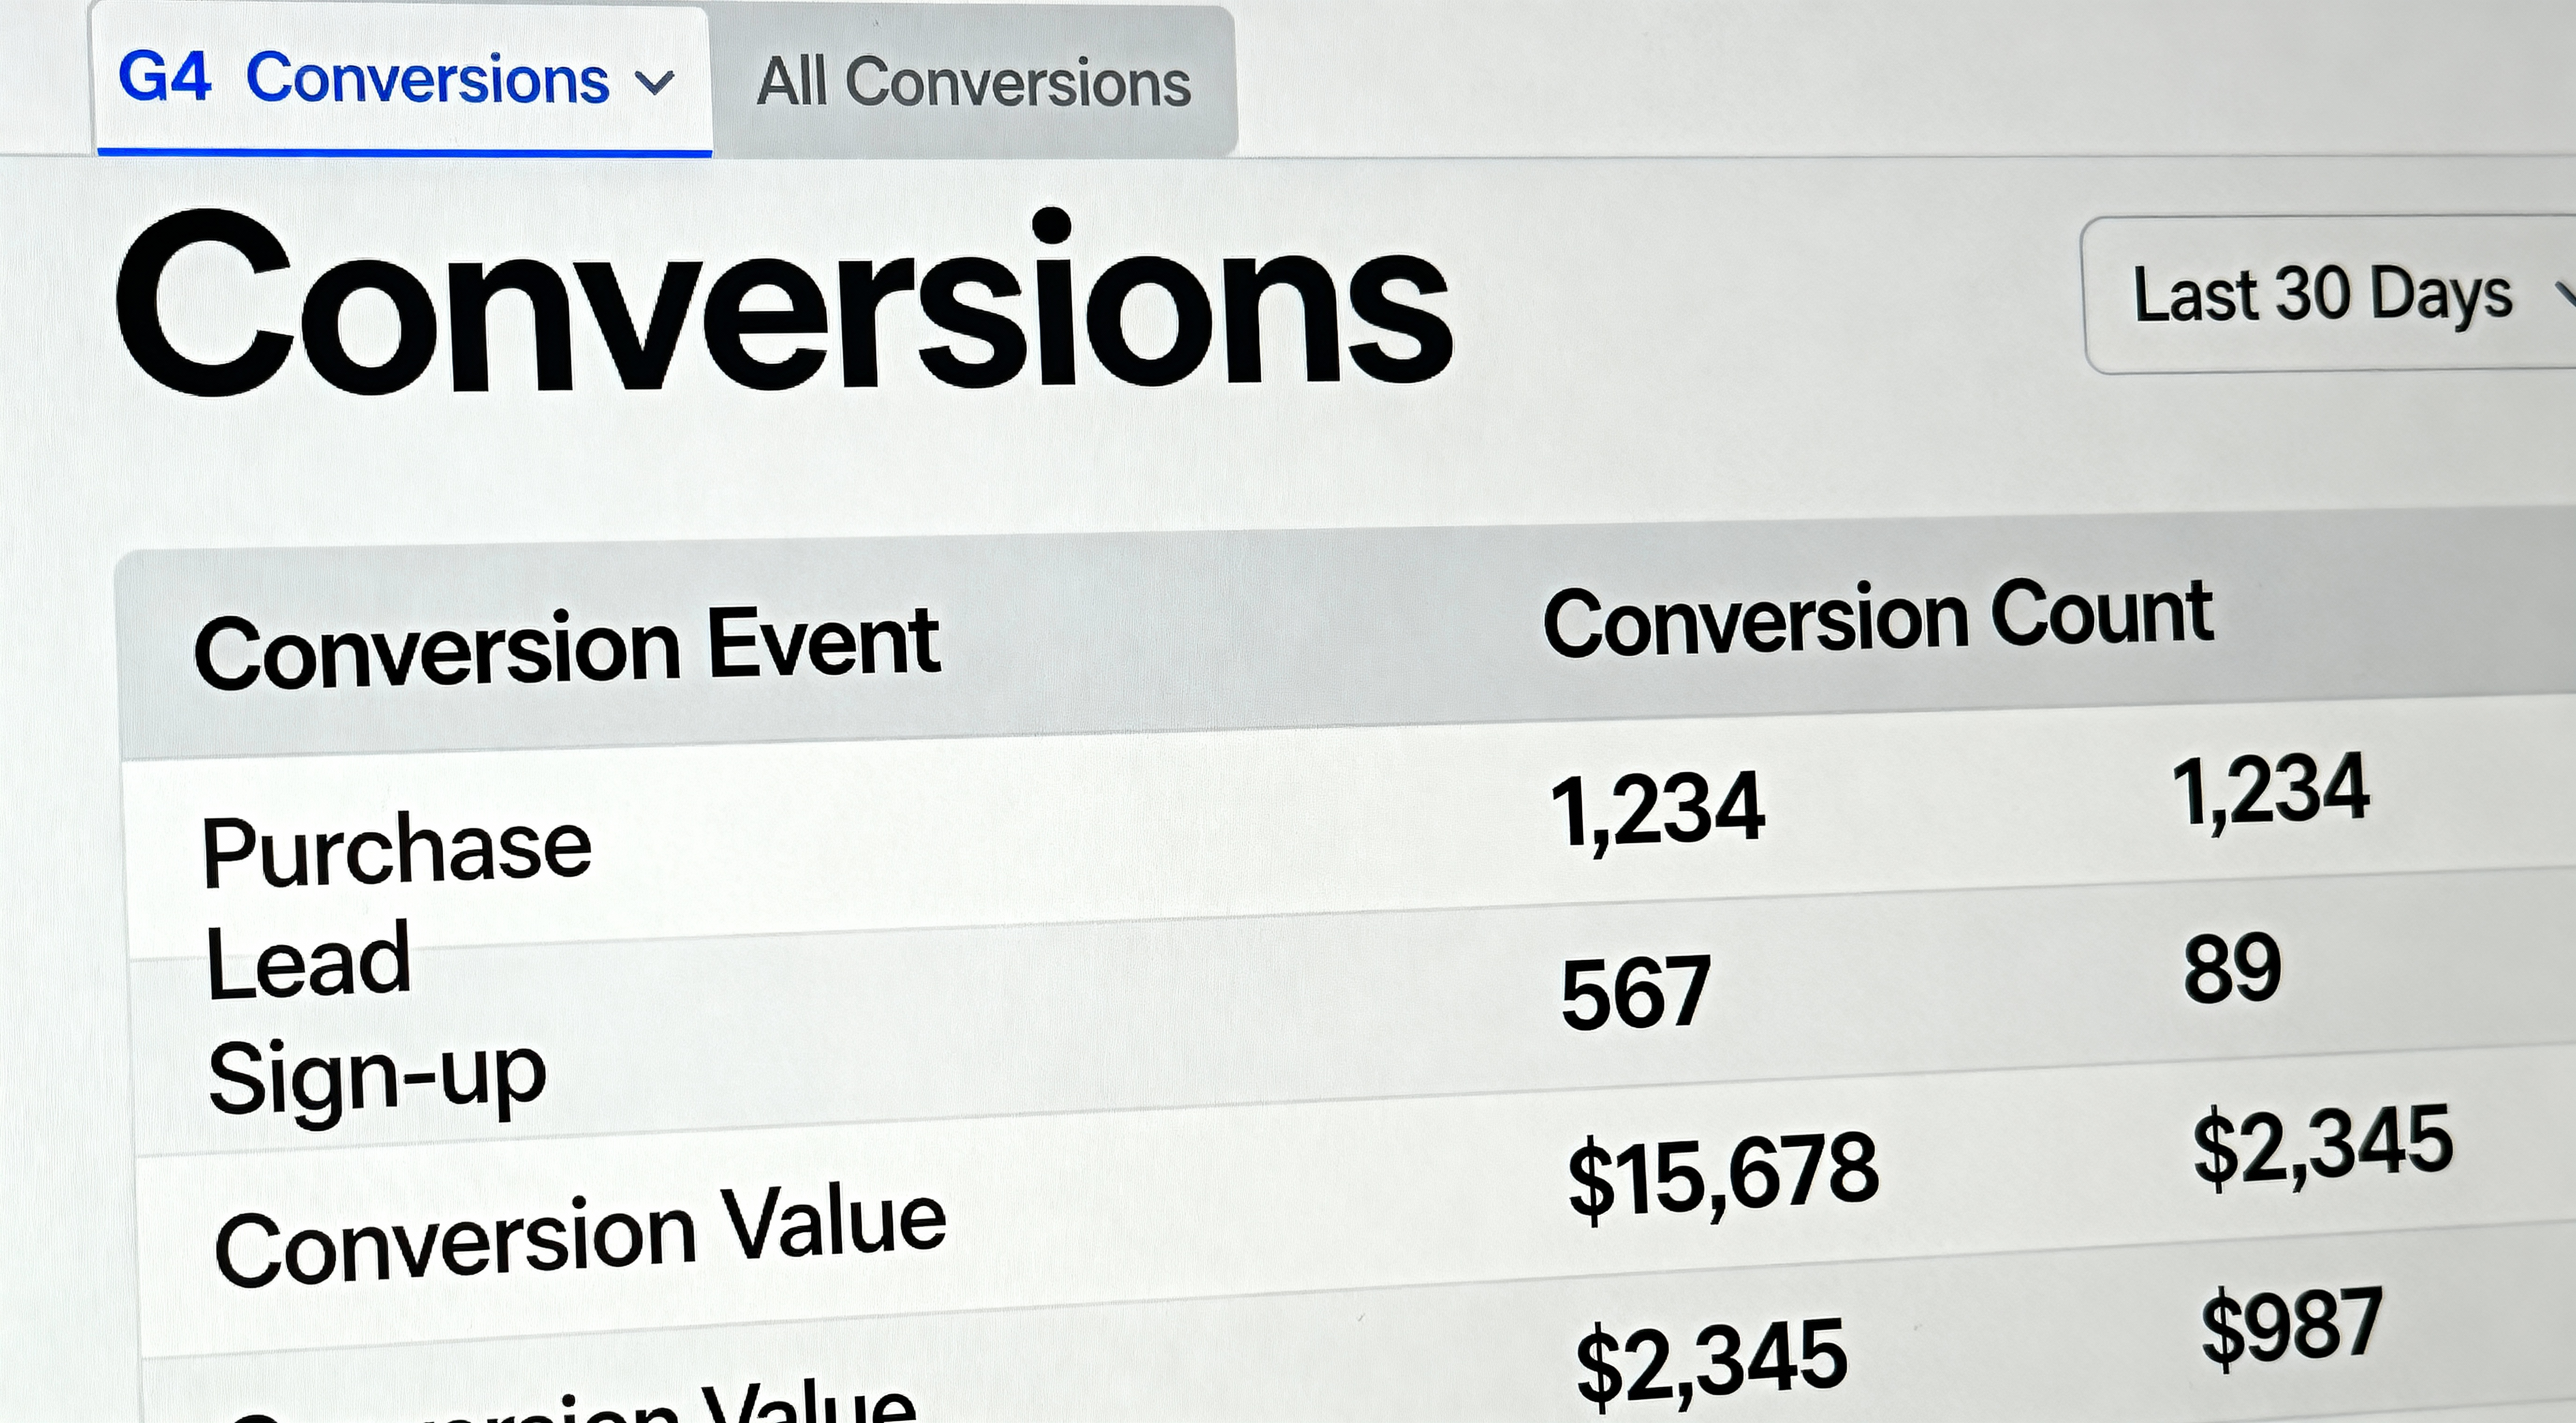
Screenshot of GA4 Conversions report displaying conversion count and values. Due to client privacy and copyright, we cannot show actual GA4 account screenshots. View more examples on Google Images.
Step 5: Implement Enhanced Ecommerce Tracking
If you run an ecommerce business, enhanced ecommerce tracking is mission-critical. It tracks the complete customer journey from product impressions through purchase, enabling you to answer questions like:
- Which products drive the most revenue?
- Where do users drop off in the checkout funnel?
- What's the effectiveness of product recommendations?
- Which traffic sources deliver the highest-value customers?
- What's the impact of promotions and discounts?
5.1: GA4 Ecommerce Events Overview
GA4 uses standard ecommerce events that work across platforms. Implement these in order of priority:
| Event | When It Fires | Priority |
|---|---|---|
purchase |
Order confirmation/thank you page | 🔴 Critical |
begin_checkout |
User starts checkout process | 🟠 High |
add_to_cart |
User adds item to cart | 🟠 High |
view_item |
User views product detail page | 🟡 Medium |
view_item_list |
User views category/collection page | 🟡 Medium |
add_payment_info |
User enters payment information | �� Optional |
add_shipping_info |
User enters shipping information | 🟢 Optional |
refund |
Order is refunded (server-side) | 🟢 Optional |
5.2: Ecommerce Data Layer Structure
All ecommerce events use the data layer—a JavaScript object that holds structured data about products, transactions, and user actions. Here's the standard structure:
// Standard GA4 Ecommerce Event Structure
dataLayer.push({
  event: 'purchase',  // Event name
  ecommerce: {
    transaction_id: '12345',     // Unique order ID
    value: 149.99,               // Total order value
    tax: 12.00,                  // Tax amount
    shipping: 5.99,              // Shipping cost
    currency: 'USD',             // Currency code
    coupon: 'SUMMER20',          // Coupon code (if applicable)
    items: [{                    // Array of purchased items
      item_id: 'SKU_12345',       // Product SKU/ID
      item_name: 'Blue T-Shirt',  // Product name
      item_brand: 'YourBrand',    // Brand name
      item_category: 'Apparel',   // Primary category
      item_category2: 'T-Shirts', // Secondary category (optional)
      item_variant: 'Blue',       // Product variant
      price: 29.99,               // Unit price
      quantity: 1                 // Quantity purchased
    }]
  }
});
5.3: Implement Purchase Tracking (Most Critical)
Purchase tracking is non-negotiable for ecommerce. It must be implemented on your order confirmation/thank you page.
Implementation for Custom Websites
Add this code to your order confirmation page (typically /thank-you or /order-complete):
<script>
// Replace with actual order data from your backend
window.dataLayer = window.dataLayer || [];
dataLayer.push({
  event: 'purchase',
  ecommerce: {
    transaction_id: '',  // Unique ID from your database
    value: ,          // Total order value
    tax: ,              // Tax amount
    shipping: ,     // Shipping cost
    currency: 'USD',
    items: [

      {
        item_id: '',
        item_name: '',
        item_brand: '',
        item_category: '',
        price: ,
        quantity:
      },

    ]
  }
});
</script>
Critical Implementation Notes:
- This code must appear before the GTM container code
- Data must come from your server-side order data (never trust client-side values)
transaction_idmust be unique for every order- Prevent duplicate purchases: Only fire on the first page load after checkout (use session flags)
Implementation for Shopify
Shopify has built-in GA4 integration, but for full control:
- Go to Settings > Checkout > Order status page
- In the "Additional scripts" section, add:
<script>
{% if first_time_accessed %}
window.dataLayer = window.dataLayer || [];
dataLayer.push({
  event: 'purchase',
  ecommerce: {
    transaction_id: '{{ order.order_number }}',
    value: {{ total_price | money_without_currency | remove: ',' }},
    tax: {{ tax_price | money_without_currency | remove: ',' }},
    shipping: {{ shipping_price | money_without_currency | remove: ',' }},
    currency: '{{ currency }}',
    items: [
      {% for line_item in line_items %}
      {
        item_id: '{{ line_item.sku }}',
        item_name: '{{ line_item.product.title }}',
        item_brand: '{{ line_item.product.vendor }}',
        item_category: '{{ line_item.product.type }}',
        price: {{ line_item.price | money_without_currency | remove: ',' }},
        quantity: {{ line_item.quantity }}
      }{% unless forloop.last %},{% endunless %}
      {% endfor %}
    ]
  }
});
{% endif %}
</script>
The {% if first_time_accessed %} tag prevents duplicate purchase events on page refreshes.
Implementation for WooCommerce (WordPress)
Add this to your theme's functions.php or use a code snippets plugin:
add_action('woocommerce_thankyou', 'ga4_purchase_tracking');
function ga4_purchase_tracking($order_id) {
    if (!$order_id) return;

    $order = wc_get_order($order_id);

    // Prevent duplicate tracking
    if ($order->get_meta('_ga4_tracked')) return;

    $items = array();
    foreach ($order->get_items() as $item) {
        $product = $item->get_product();
        $items[] = array(
            'item_id' => $product->get_sku(),
            'item_name' => $product->get_name(),
            'item_brand' => 'YourBrand',
            'item_category' => $product->get_category_ids()[0] ?? '',
            'price' => $product->get_price(),
            'quantity' => $item->get_quantity()
        );
    }
    ?>
    <script>
    window.dataLayer = window.dataLayer || [];
    dataLayer.push({
        event: 'purchase',
        ecommerce: {
            transaction_id: 'get_order_number(); ?>',
            value: get_total(); ?>,
            tax: get_total_tax(); ?>,
            shipping: get_shipping_total(); ?>,
            currency: 'get_currency(); ?>',
            items:
        }
    });
    </script>
    update_meta_data('_ga4_tracked', true);
    $order->save();
}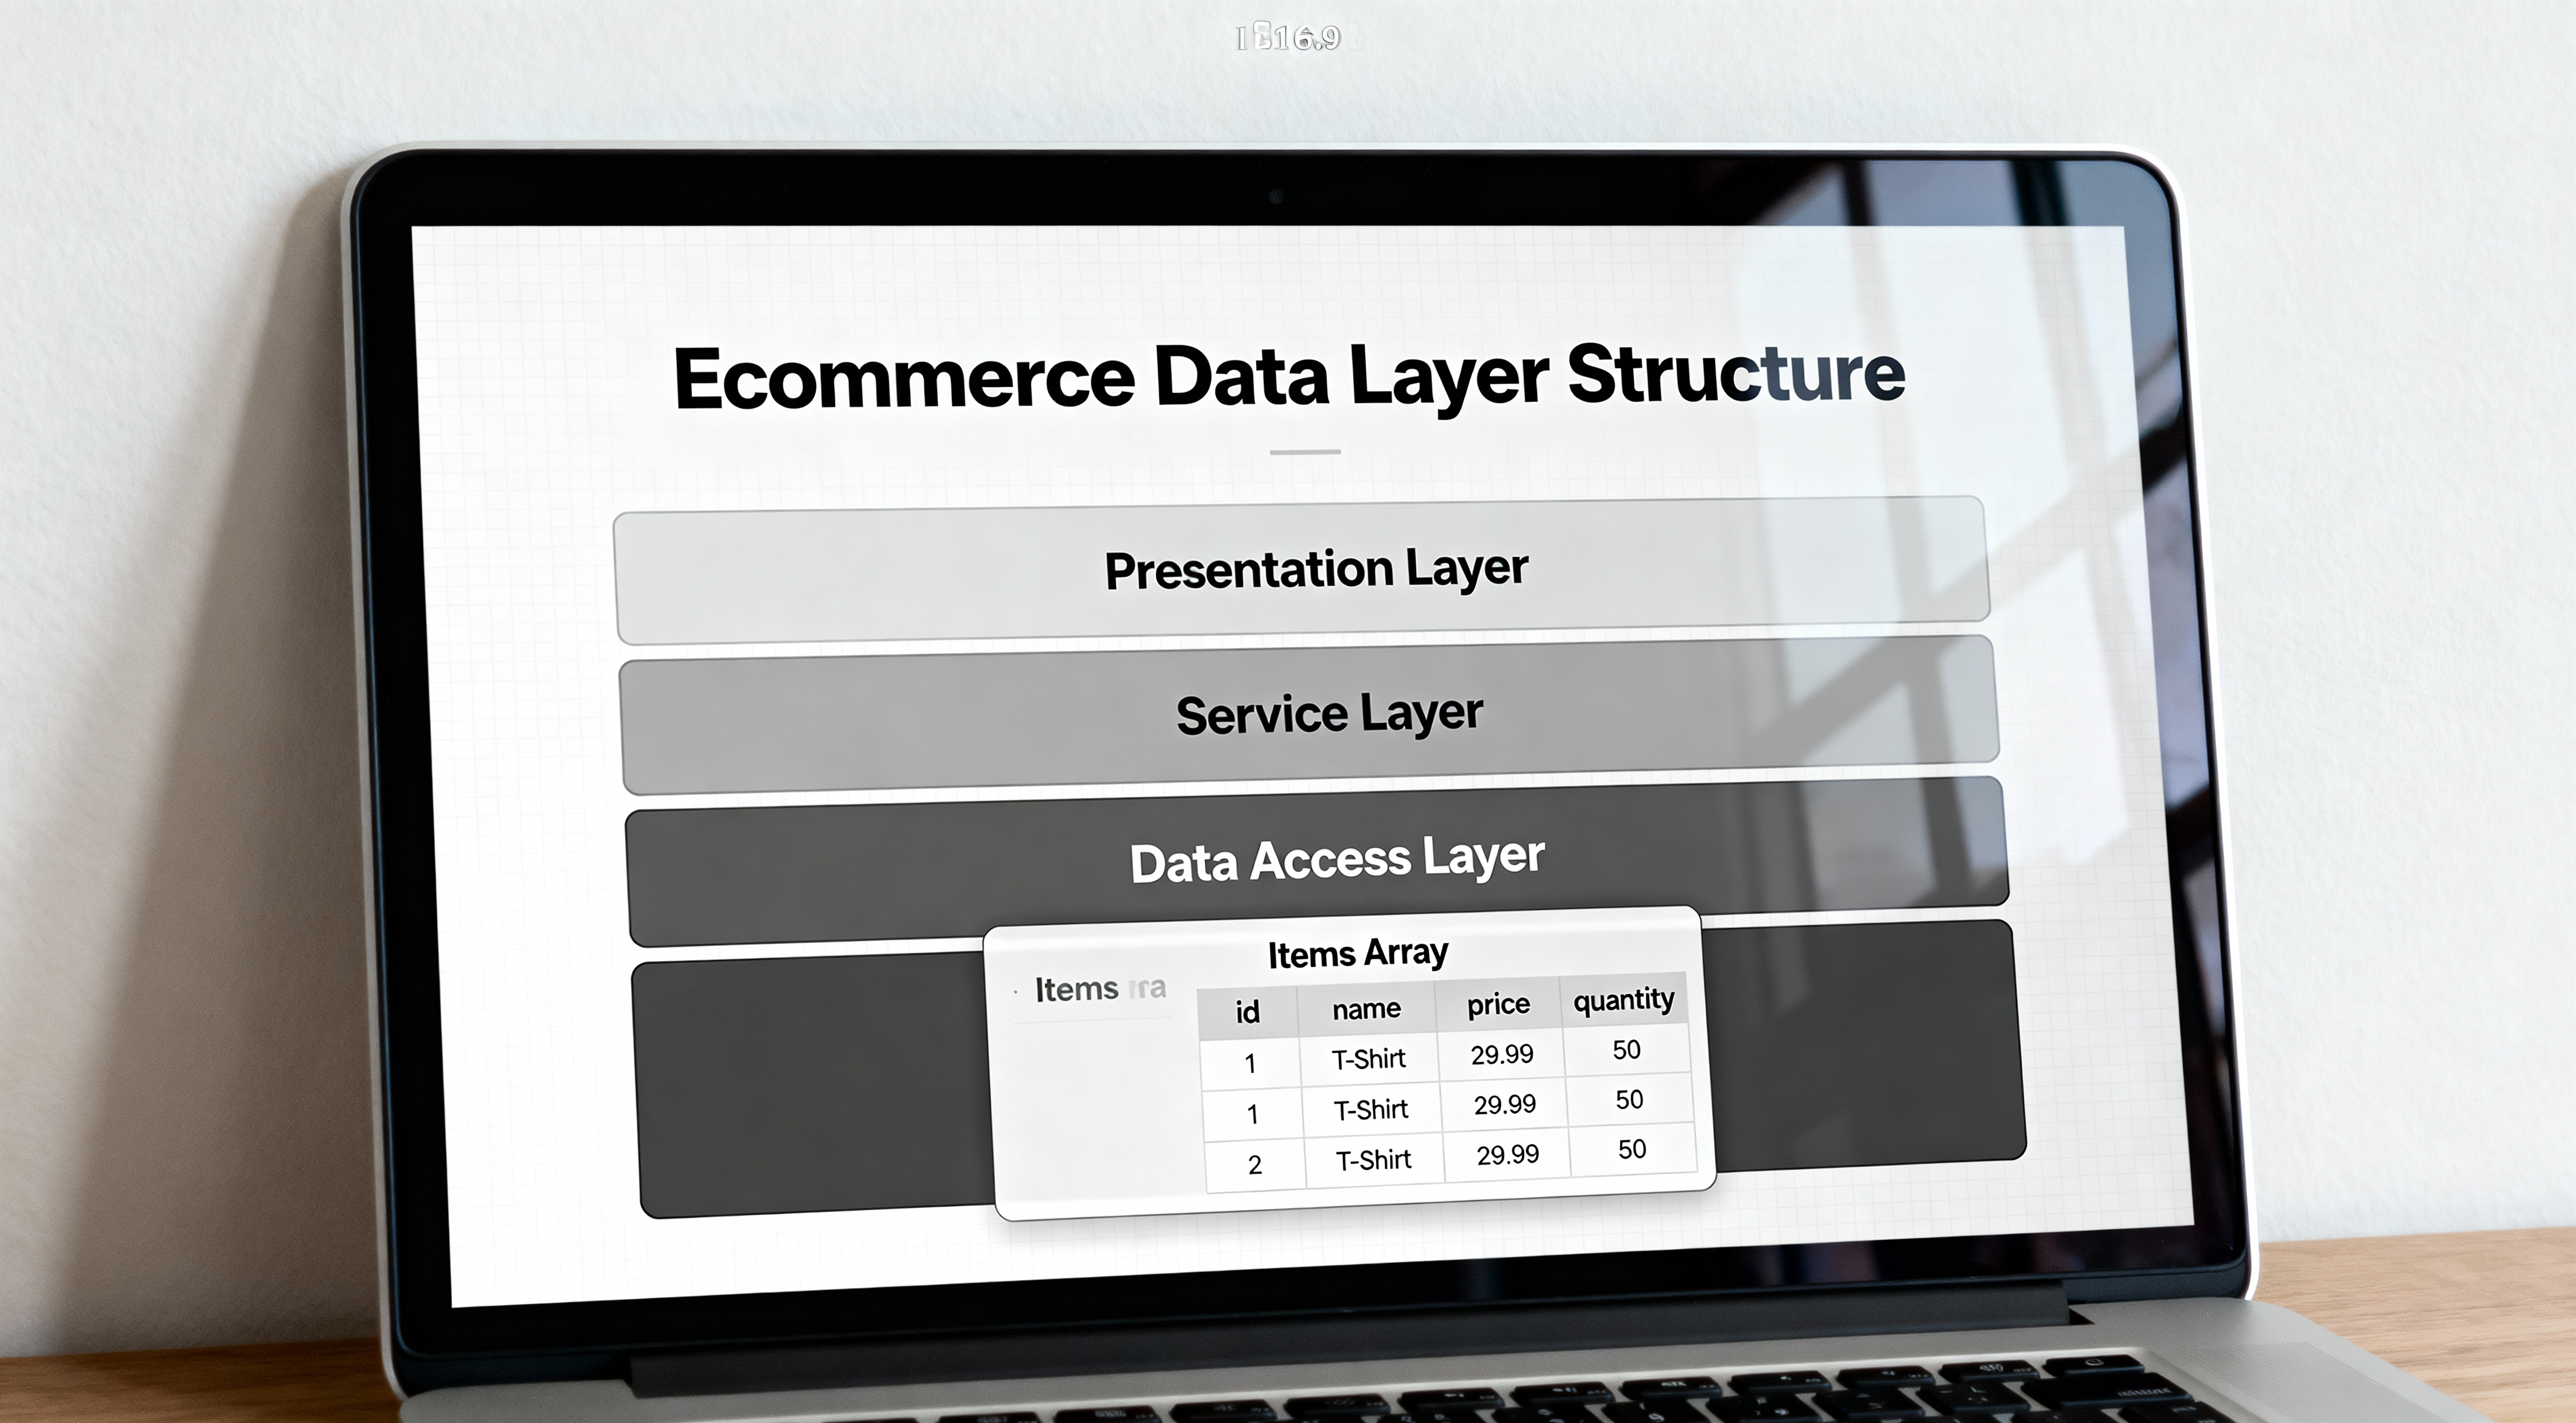
Diagram showing ecommerce data layer structure with items array. Due to client privacy and copyright, we cannot show actual GA4 account screenshots. View more examples on Google Images.
5.4: Configure GTM to Capture Ecommerce Events
Once the data layer is populated, configure GTM to send these events to GA4:
- In GTM, go to Tags > New
- Tag configuration: Google Analytics: GA4 Event
- Configuration Tag: Select your GA4 Config tag
- Event Name:
purchase - Critical: Check "Send Ecommerce Data"
- Critical: Set Data Source to "Data Layer"
- Triggering: Create a Custom Event trigger with Event name =
purchase - Save and test
Repeat this process for each ecommerce event:
- Tag for
add_to_cartevent - Tag for
begin_checkoutevent - Tag for
view_itemevent - Tag for
view_item_listevent
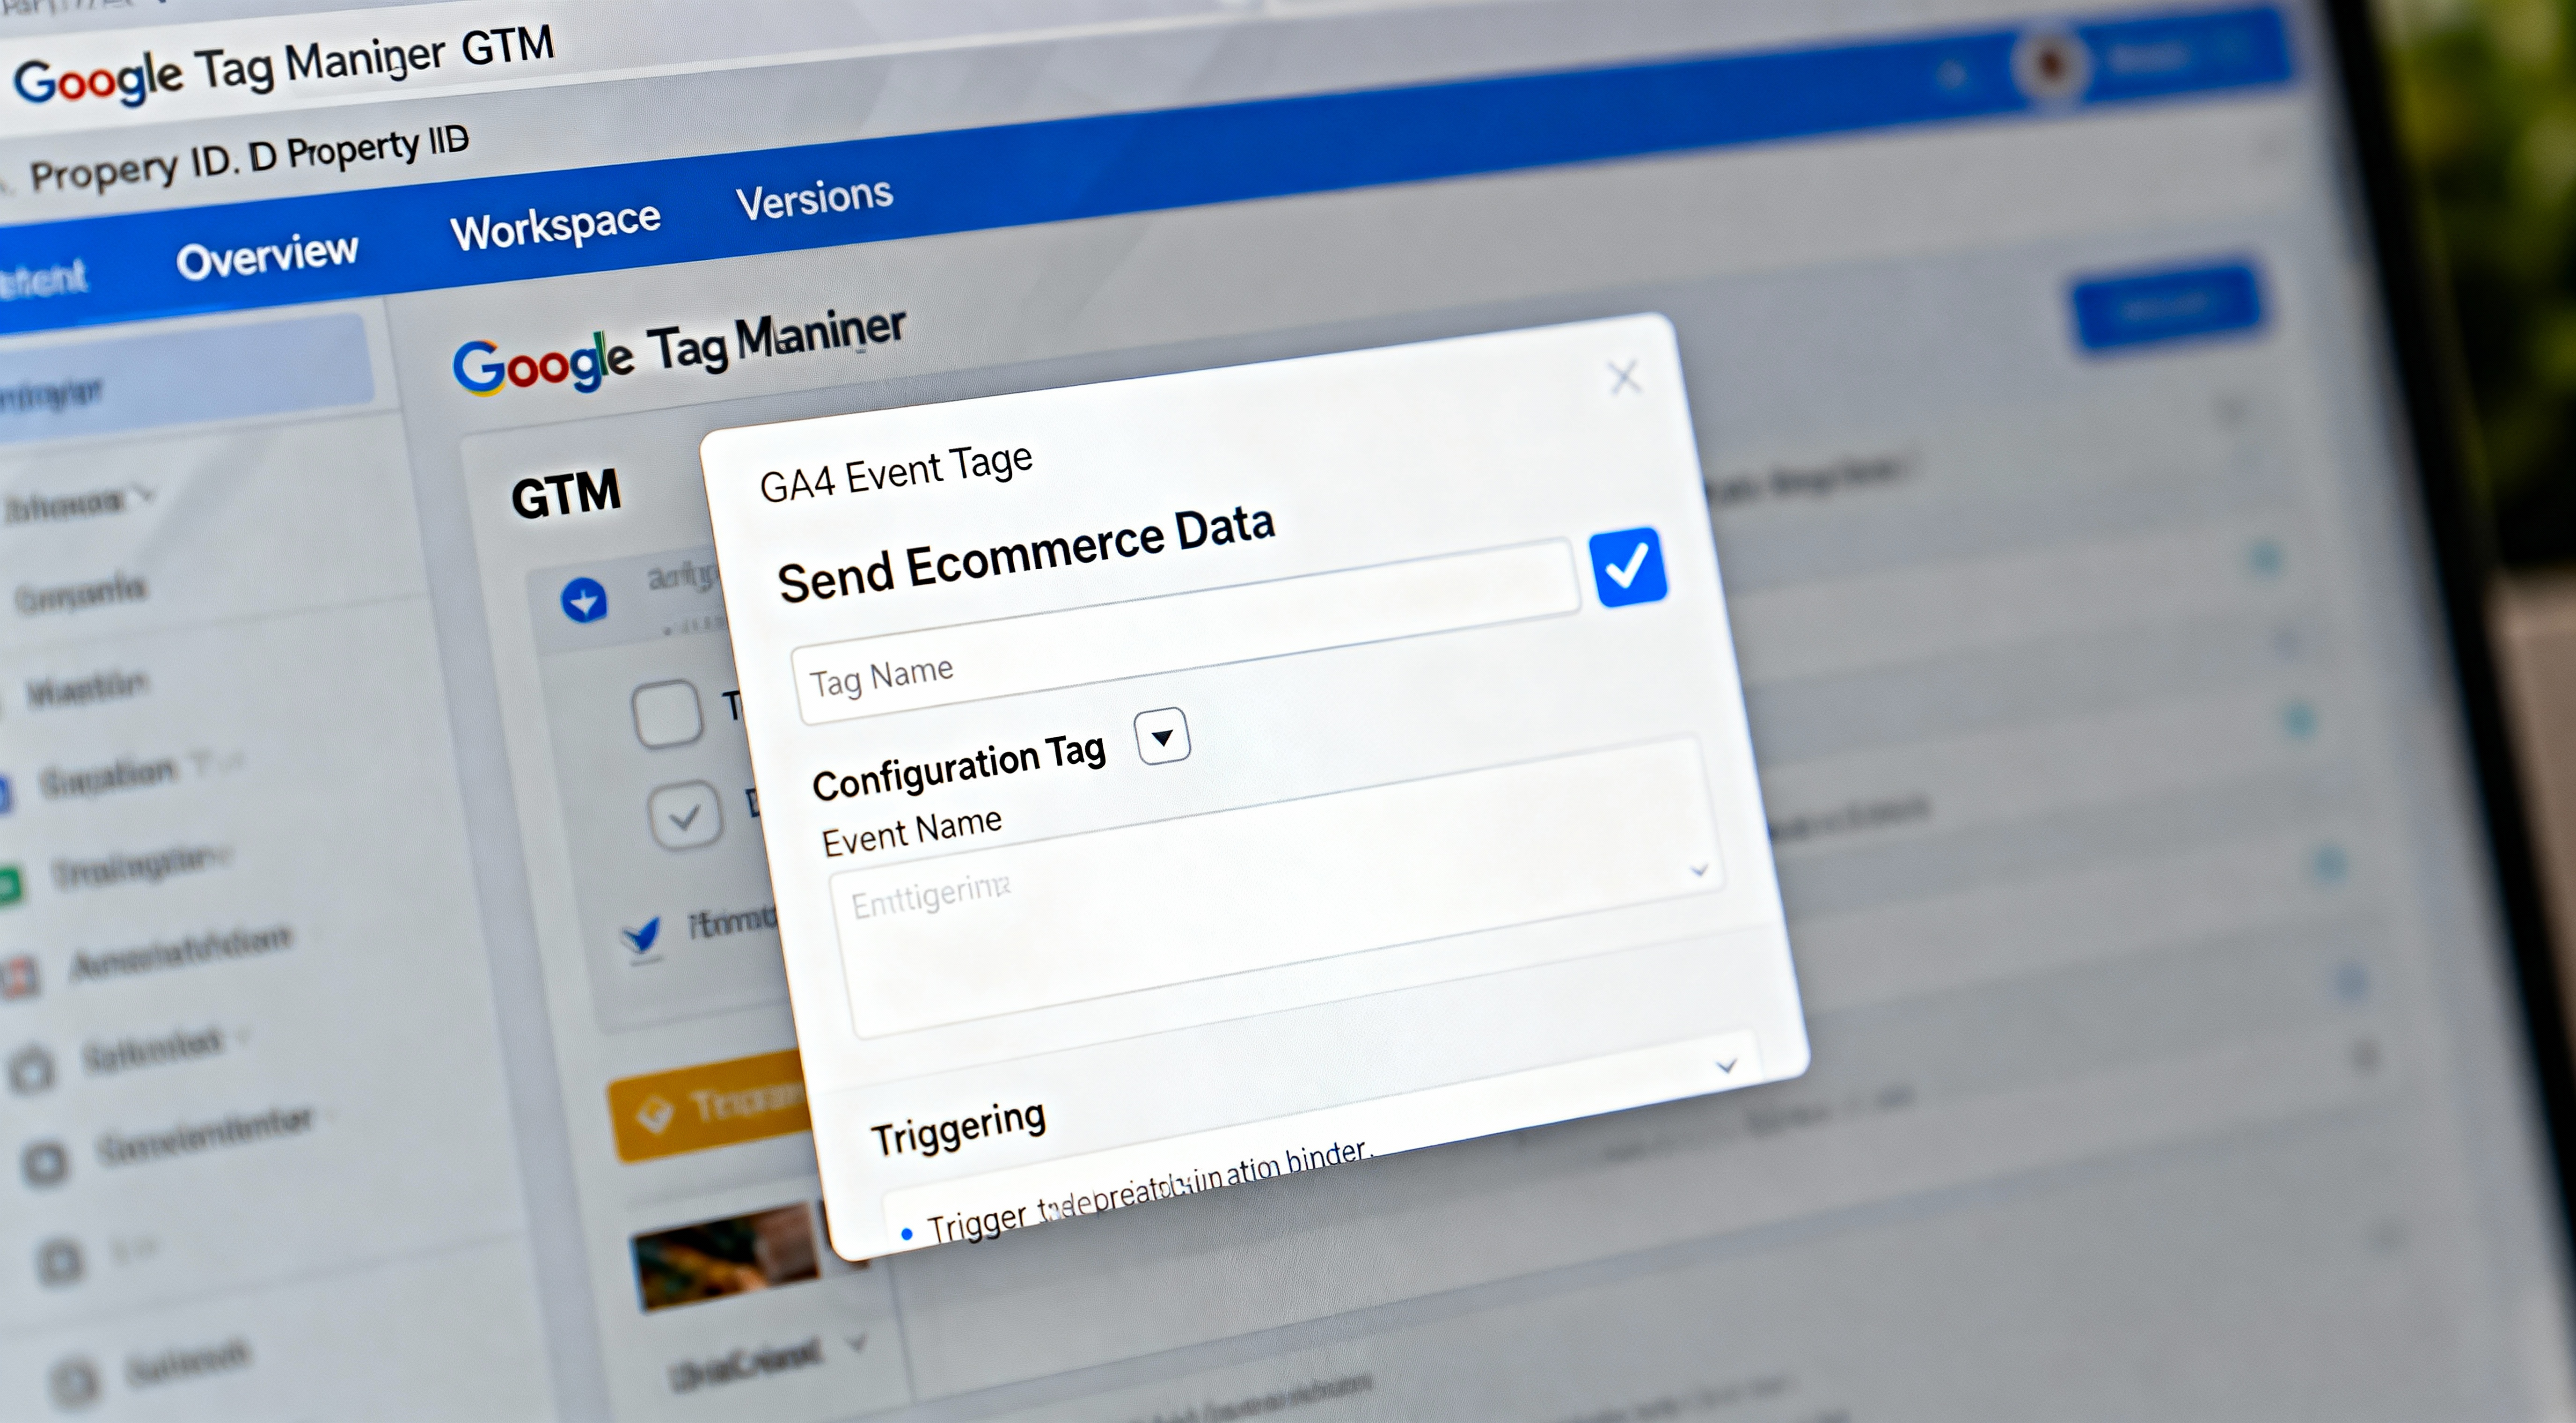
Screenshot showing GTM GA4 Event tag with "Send Ecommerce Data" checkbox enabled. Due to client privacy and copyright, we cannot show actual GA4 account screenshots. View more examples on Google Images.
5.5: Implement Add to Cart Tracking
Track when users add items to cart. This is typically a button click event. Example implementation:
// Add this to your "Add to Cart" button click handler
document.querySelector('.add-to-cart-btn').addEventListener('click', function() {
    // Get product data (from data attributes or JavaScript variables)
    var productData = {
        item_id: this.dataset.productId,
        item_name: this.dataset.productName,
        price: parseFloat(this.dataset.productPrice),
        quantity: parseInt(document.querySelector('.qty-input').value)
    };

    // Push to data layer
    window.dataLayer = window.dataLayer || [];
    dataLayer.push({
        event: 'add_to_cart',
        ecommerce: {
            currency: 'USD',
            value: productData.price * productData.quantity,
            items: [productData]
        }
    });
});
5.6: Verify Ecommerce Tracking
- Use GTM Preview mode
- Go through the purchase flow: view product → add to cart → checkout → purchase
- Verify each ecommerce event fires in the GTM debug panel
- Check GA4 Realtime → Conversions (purchase events should appear)
- Wait 24-48 hours and check Reports > Monetization > Ecommerce purchases
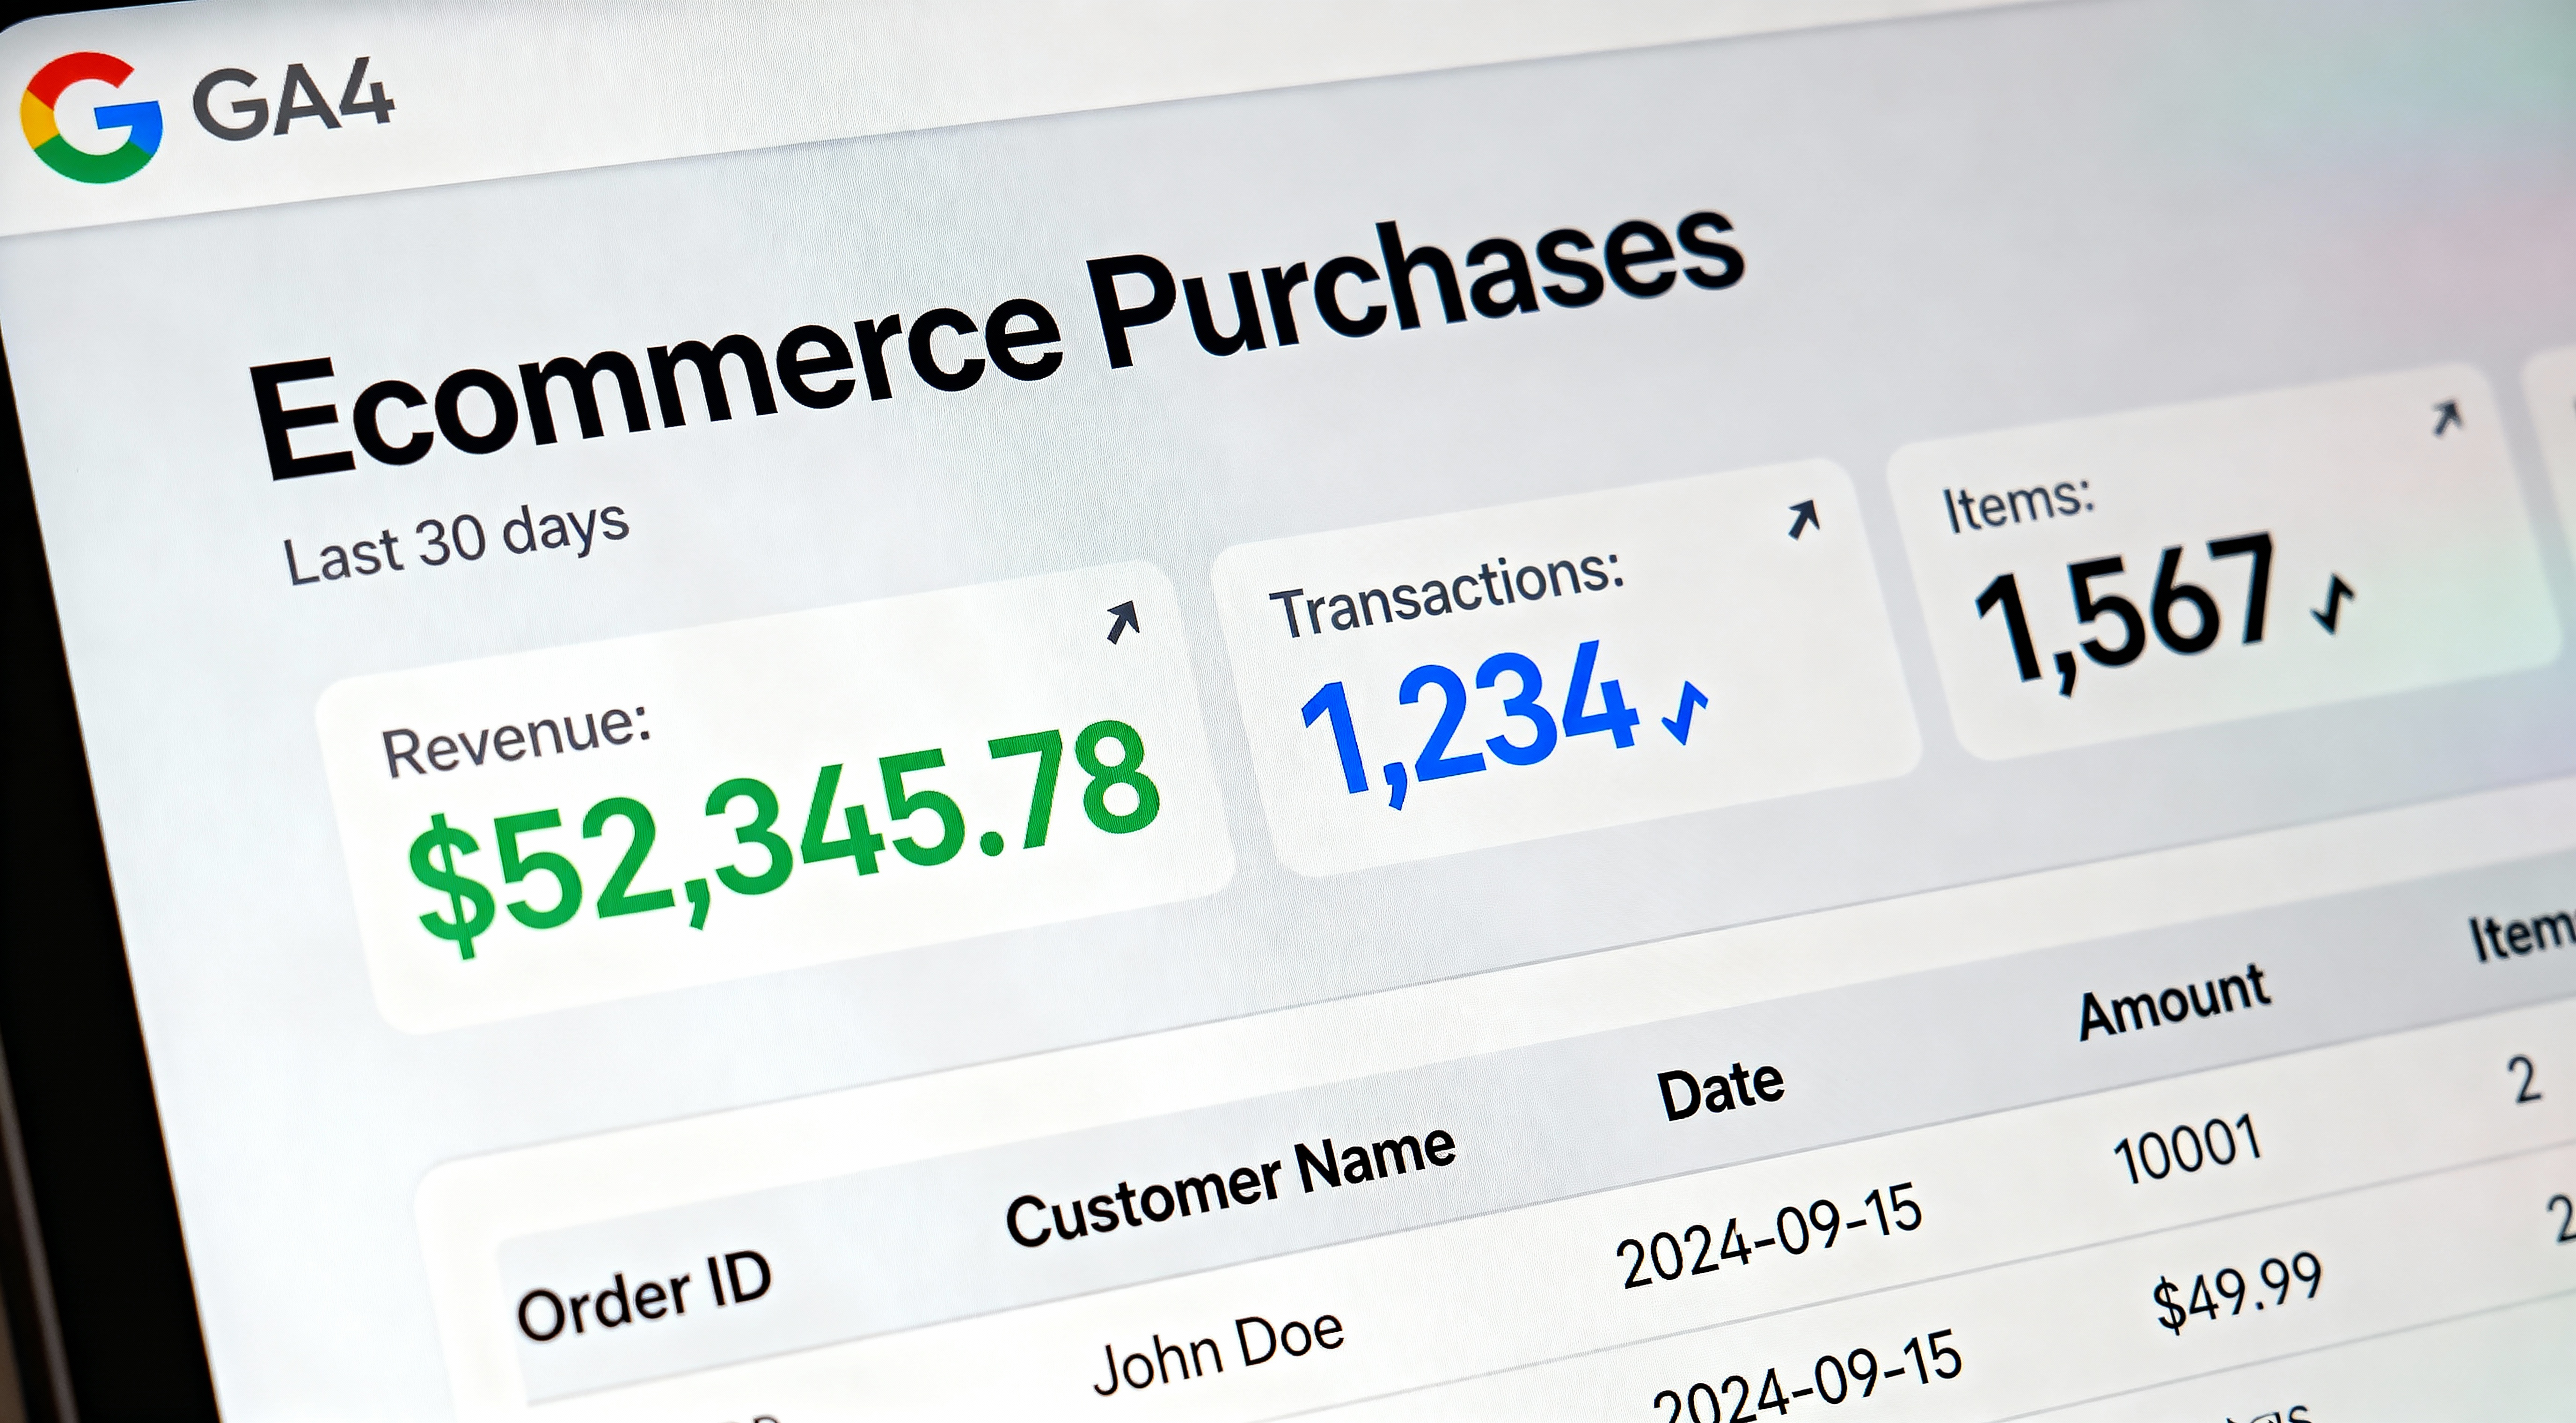
Screenshot of GA4 Ecommerce Purchases report showing revenue, transactions, and items. Due to client privacy and copyright, we cannot show actual GA4 account screenshots. View more examples on Google Images.
🚨 Critical Ecommerce Tracking Mistakes to Avoid
- Duplicate purchases: Always check if event already fired (use
first_time_accessedor session flags) - Client-side revenue manipulation: Pull order data from server-side, never trust client-side JavaScript
- Missing currency: Always include currency code or revenue reports will be inaccurate
- Incorrect transaction_id: Must be unique per order, must match across all events
- Testing in production: Use GTM Preview mode or a staging environment for testing
Step 6: Set Up Custom Dimensions & Metrics
Custom dimensions and metrics let you track business-specific data that isn't captured by default. Examples include user membership tiers, product categories, content types, user segments, etc.
6.1: Understanding Dimensions vs Metrics
- Dimensions: Qualitative attributes (text values) like user type, product category, page template, etc.
- Metrics: Quantitative measurements (numbers) like video play count, scroll depth percentage, custom revenue values
6.2: Custom Dimension Scopes
GA4 has two scopes for custom dimensions:
- User-scoped: Applies to the entire user across all sessions (e.g., membership level, signup date, user type)
- Event-scoped: Applies only to specific events (e.g., product category for purchase, video title for video_play)
6.3: Create Custom Dimensions in GA4
- In GA4, go to Admin > Custom definitions
- Click Create custom dimension
- Enter:
- Dimension name: Human-readable name (e.g., "User Type")
- Scope: User or Event
- Description: What this dimension represents
- Event parameter: The parameter name from your data layer (e.g.,
user_type)
- Click Save
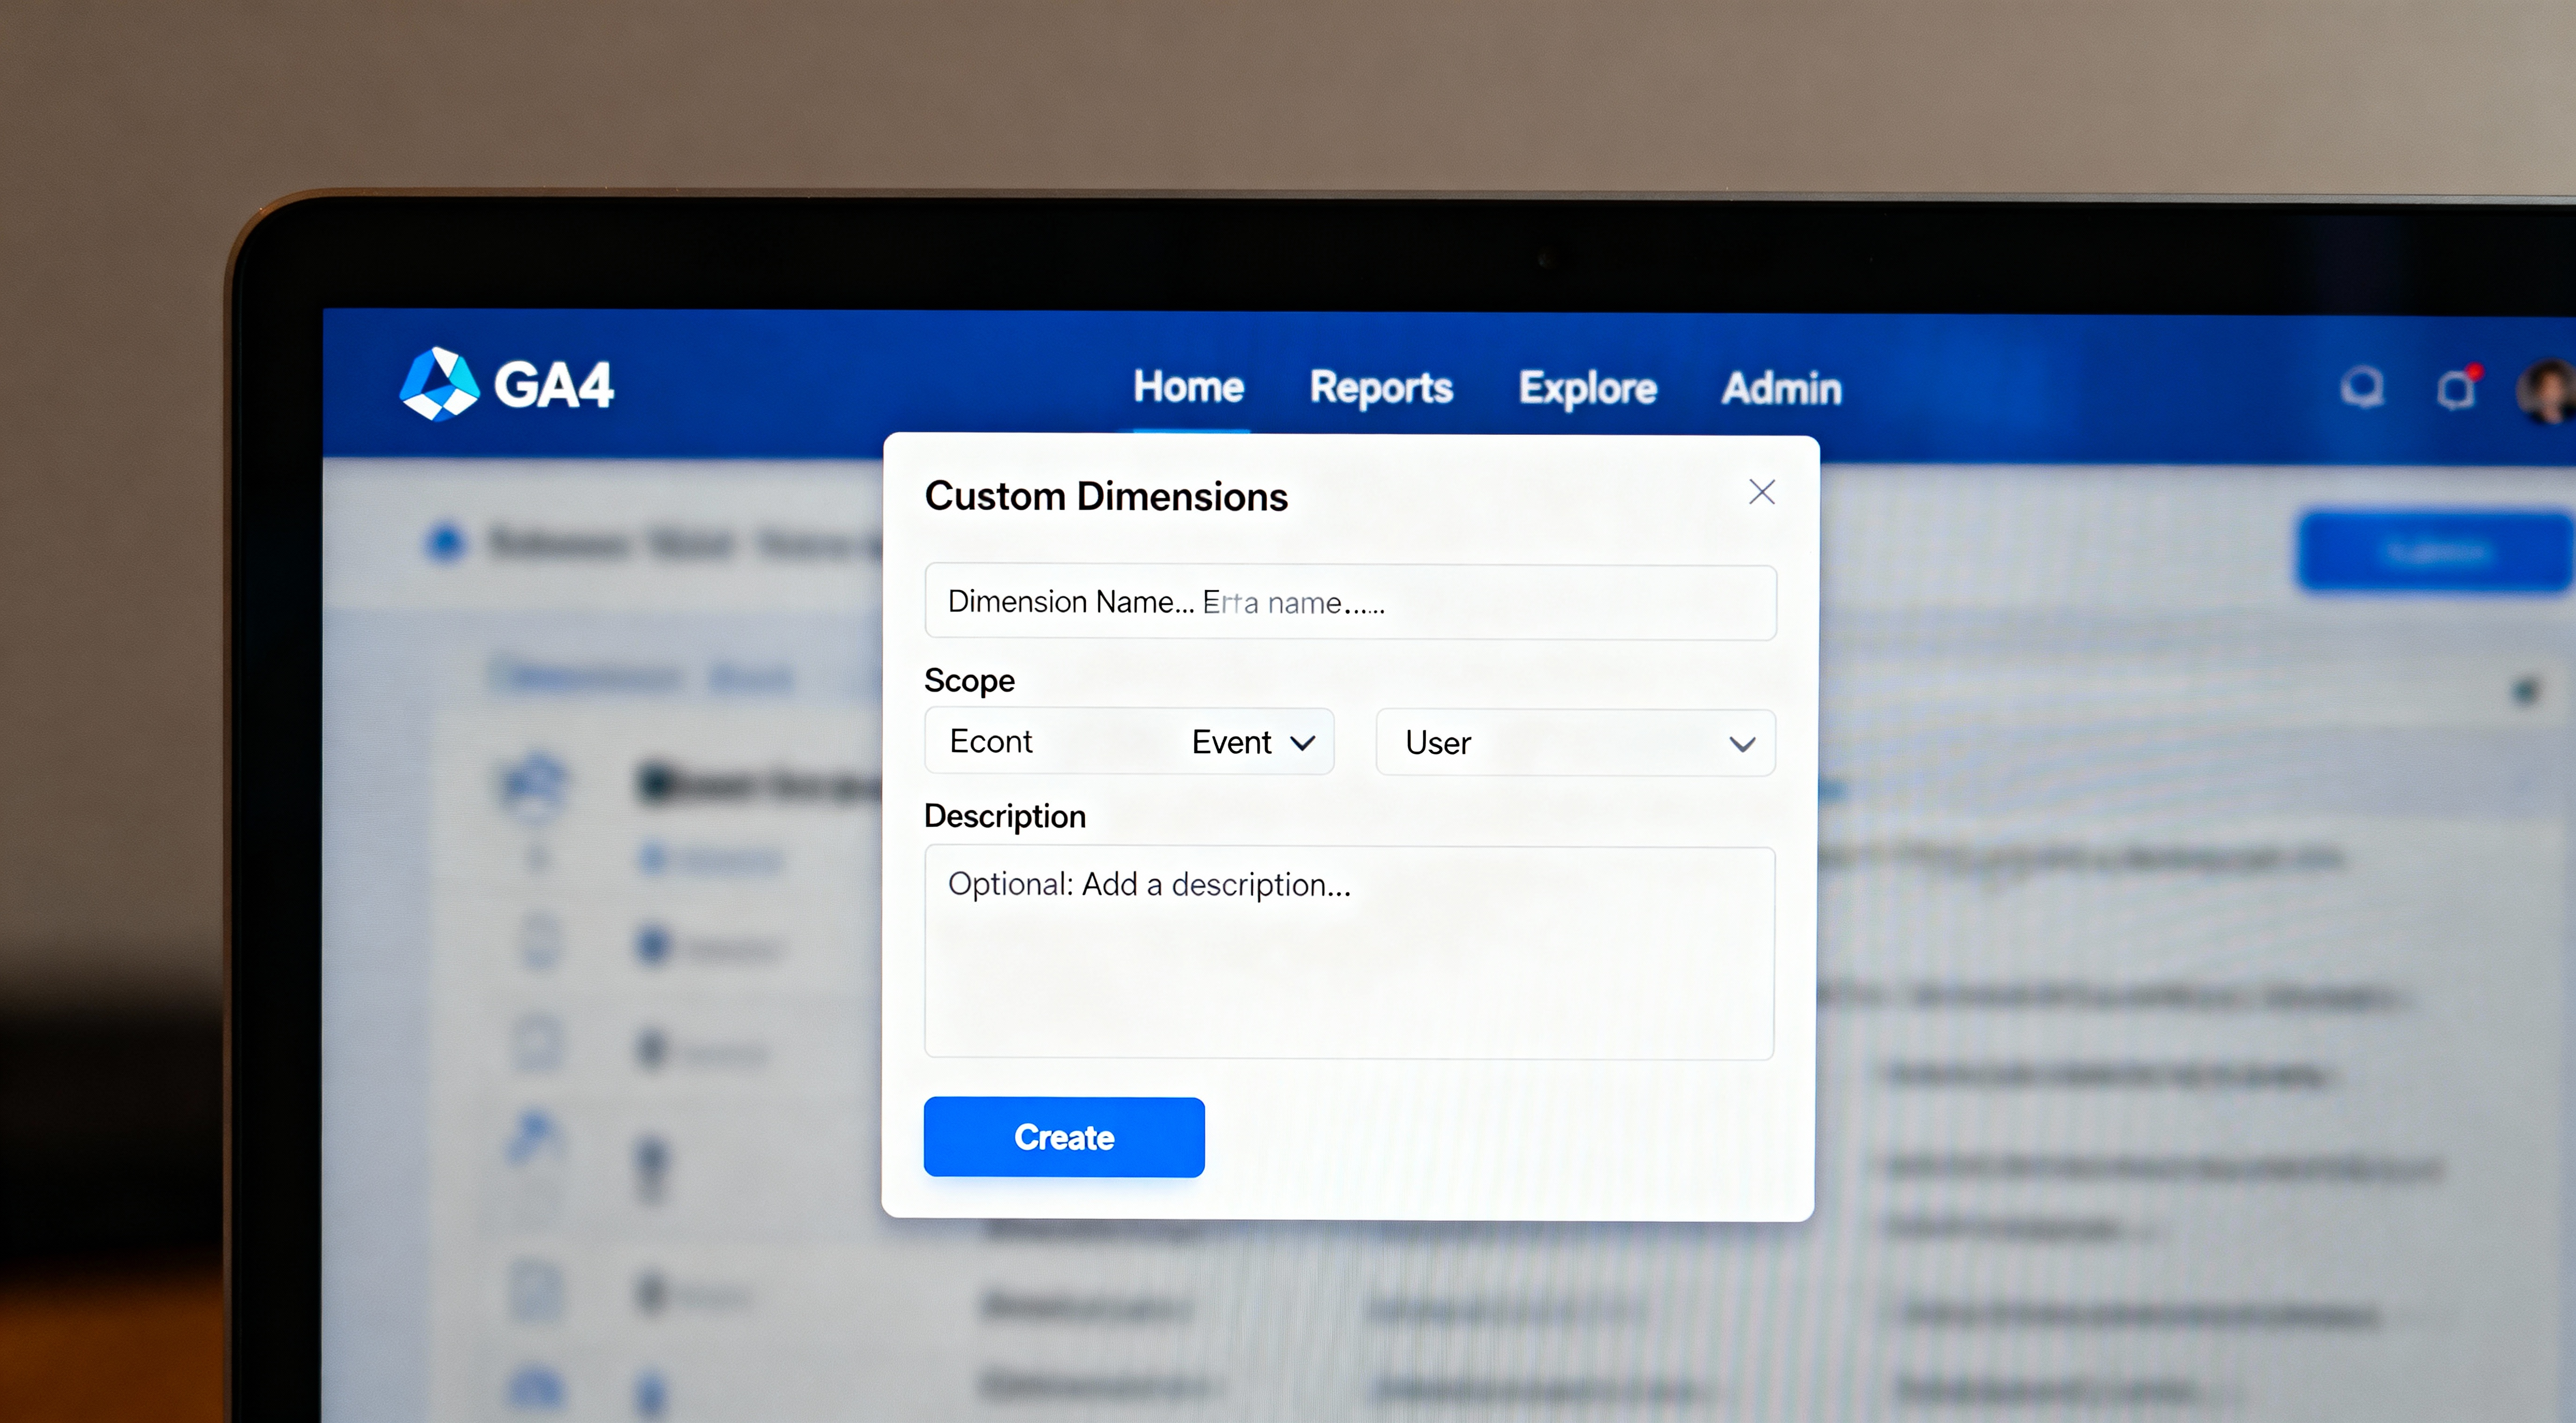
Screenshot of GA4 custom dimension creation form. Due to client privacy and copyright, we cannot show actual GA4 account screenshots. View more examples on Google Images.
6.4: Send Custom Dimension Data via GTM
To populate custom dimensions, send the data with your events. Example: Track user type (free vs. premium):
// Add to your website (usually in the header or after login)
window.dataLayer = window.dataLayer || [];
dataLayer.push({
    user_type: 'premium',  // or 'free'
    user_signup_date: '2024-01-15'
});
Then in GTM:
- Create a Data Layer Variable named "User Type" with key
user_type - In your GA4 Configuration tag, add User Properties:
- Property Name:
user_type - Value:
{{User Type}}(your GTM variable)
- Property Name:
- Save and publish
6.5: Common Custom Dimensions to Track
User-Scoped Dimensions
user_type: Free, Premium, Enterpriseuser_signup_date: When user registereduser_ltv_segment: Low, Medium, High valueuser_industry: Customer's industry
Event-Scoped Dimensions
content_type: Blog, Case Study, Product Pageproduct_category: Apparel, Electronics, etc.campaign_type: Email, Social, Paid Searchvideo_duration: Length of video watchedform_type: Contact, Quote, Demo Request
⚠️ Custom Dimension Limits
GA4 allows 50 custom user-scoped dimensions and 125 custom event-scoped dimensions per property. Plan carefully which dimensions are most valuable to your business before creating them.
Step 7: Configure Cross-Domain Tracking
If your business operates across multiple domains (e.g., main site at example.com, checkout at shop.example.com, blog at blog.example.com), you need cross-domain tracking to see the complete user journey.
7.1: When You Need Cross-Domain Tracking
- Main website and separate checkout domain
- Multiple regional sites (example.com, example.co.uk, example.ca)
- Separate blog or subdomain
- Third-party payment processors (PayPal, Stripe checkout pages)
- Booking systems or external platforms
7.2: Configure Cross-Domain Measurement in GA4
- In GA4, go to Admin > Data Streams
- Click on your web data stream
- Scroll to Configure tag settings and click
- Click Configure your domains
- Add all domains you want to track as one property:
- example.com
- shop.example.com
- blog.example.com
- Click Save
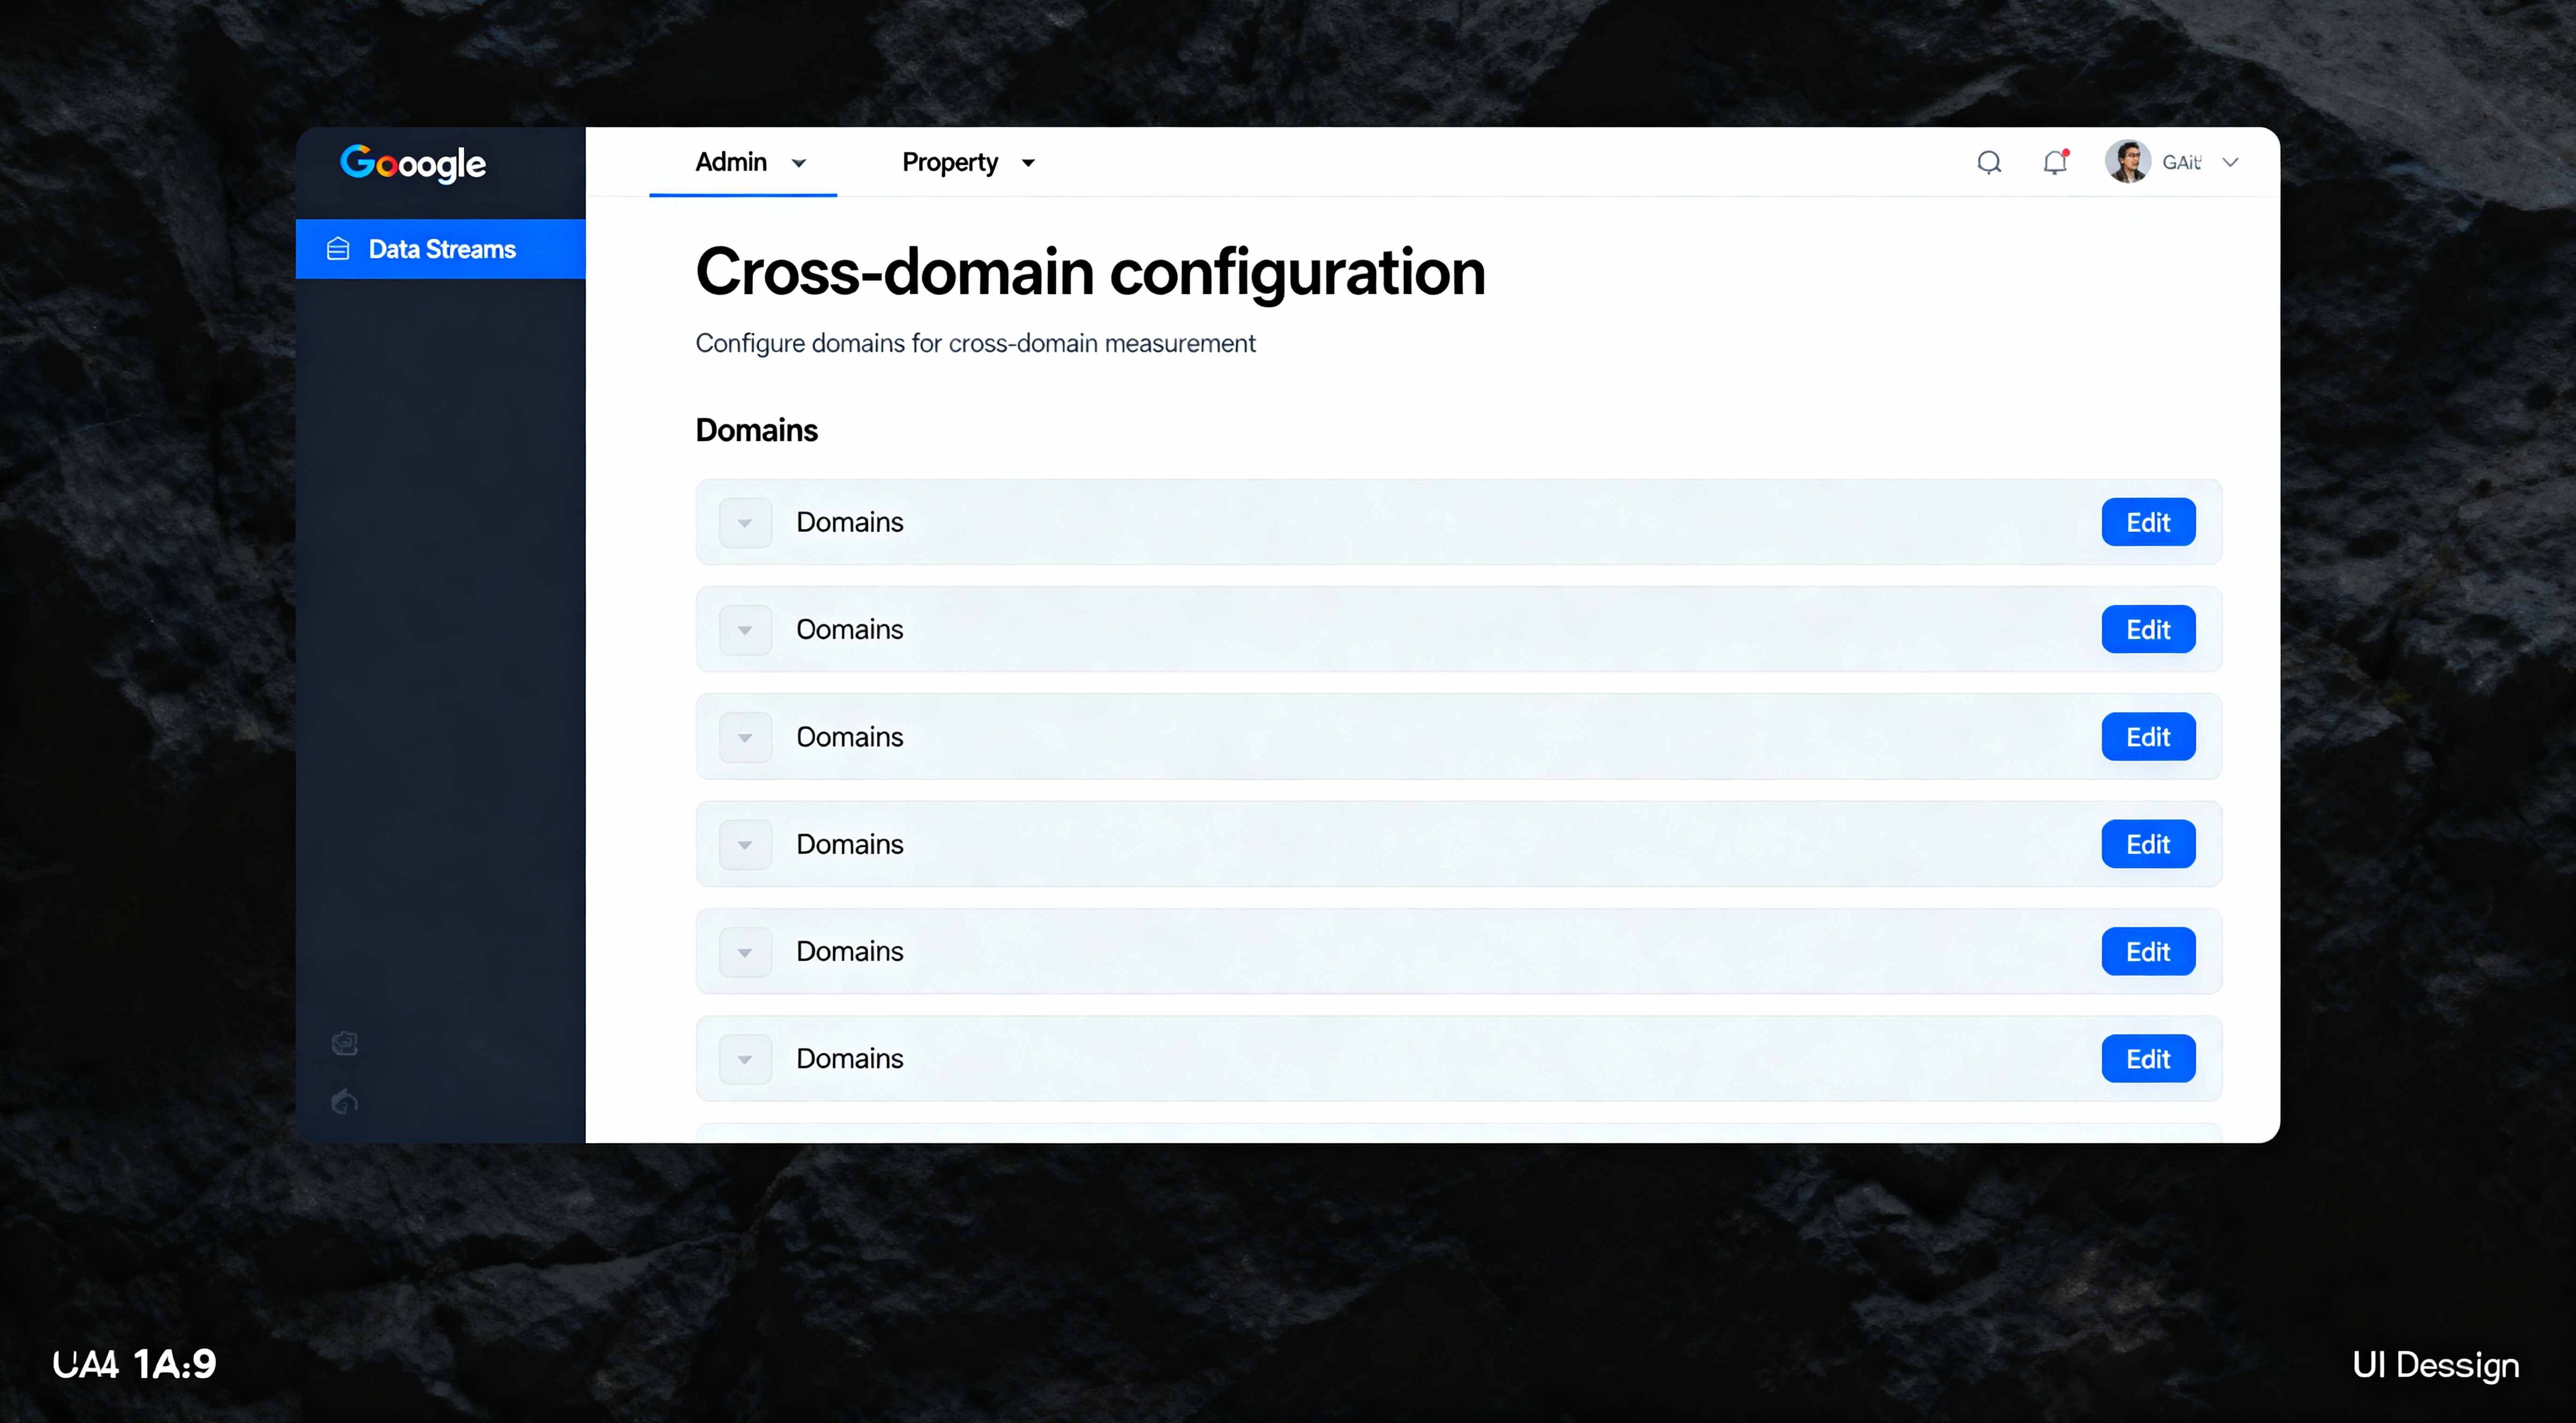
Screenshot showing GA4 cross-domain configuration with multiple domains listed. Due to client privacy and copyright, we cannot show actual GA4 account screenshots. View more examples on Google Images.
7.3: Update GTM Configuration for Cross-Domain
- In GTM, edit your GA4 Configuration tag
- Expand Configuration Settings
- Add a setting:
- Parameter Name:
linker - Value: Click the + icon, select "Variable" and create a new Constant variable
- Value for constant:
{"domains":["example.com","shop.example.com","blog.example.com"]}
- Parameter Name:
- Save the tag
- Publish the container
Alternative Method (Fields to Set):
- In GTM GA4 Configuration tag, go to Fields to Set
- Add field:
- Field Name:
link_domains - Value:
example.com,shop.example.com,blog.example.com
- Field Name:
7.4: Verify Cross-Domain Tracking
- Use GTM Preview mode
- Navigate from one domain to another (e.g., example.com → shop.example.com)
- Check the URL bar—you should see
?_gl=parameter appended - In GA4 Realtime, verify you appear as one user (not two separate sessions)
- Check that both domains appear under the same session in the user explorer
💡 Pro Tip: Test Cross-Domain in Incognito
Always test cross-domain tracking in an incognito/private browser window. Regular browsing may have cached cookies that hide tracking issues. In incognito, you're guaranteed a fresh test environment.
Step 8: Build Custom Reports & Explorations
GA4's default reports are good starting points, but the real power comes from custom Explorations—GA4's analysis workspace for building custom reports.
8.1: Access Explorations
- In GA4, click Explore in the left sidebar
- Click one of the templates or select Blank to build from scratch
8.2: Key Exploration Techniques
Funnel Exploration
Visualize drop-off at each step of a conversion funnel (e.g., homepage → product page → cart → checkout → purchase).
- Create new exploration, select Funnel exploration
- Define steps:
- Step 1:
page_viewwhere Page path = "/" - Step 2:
view_item - Step 3:
add_to_cart - Step 4:
begin_checkout - Step 5:
purchase
- Step 1:
- View completion rates and drop-off percentages
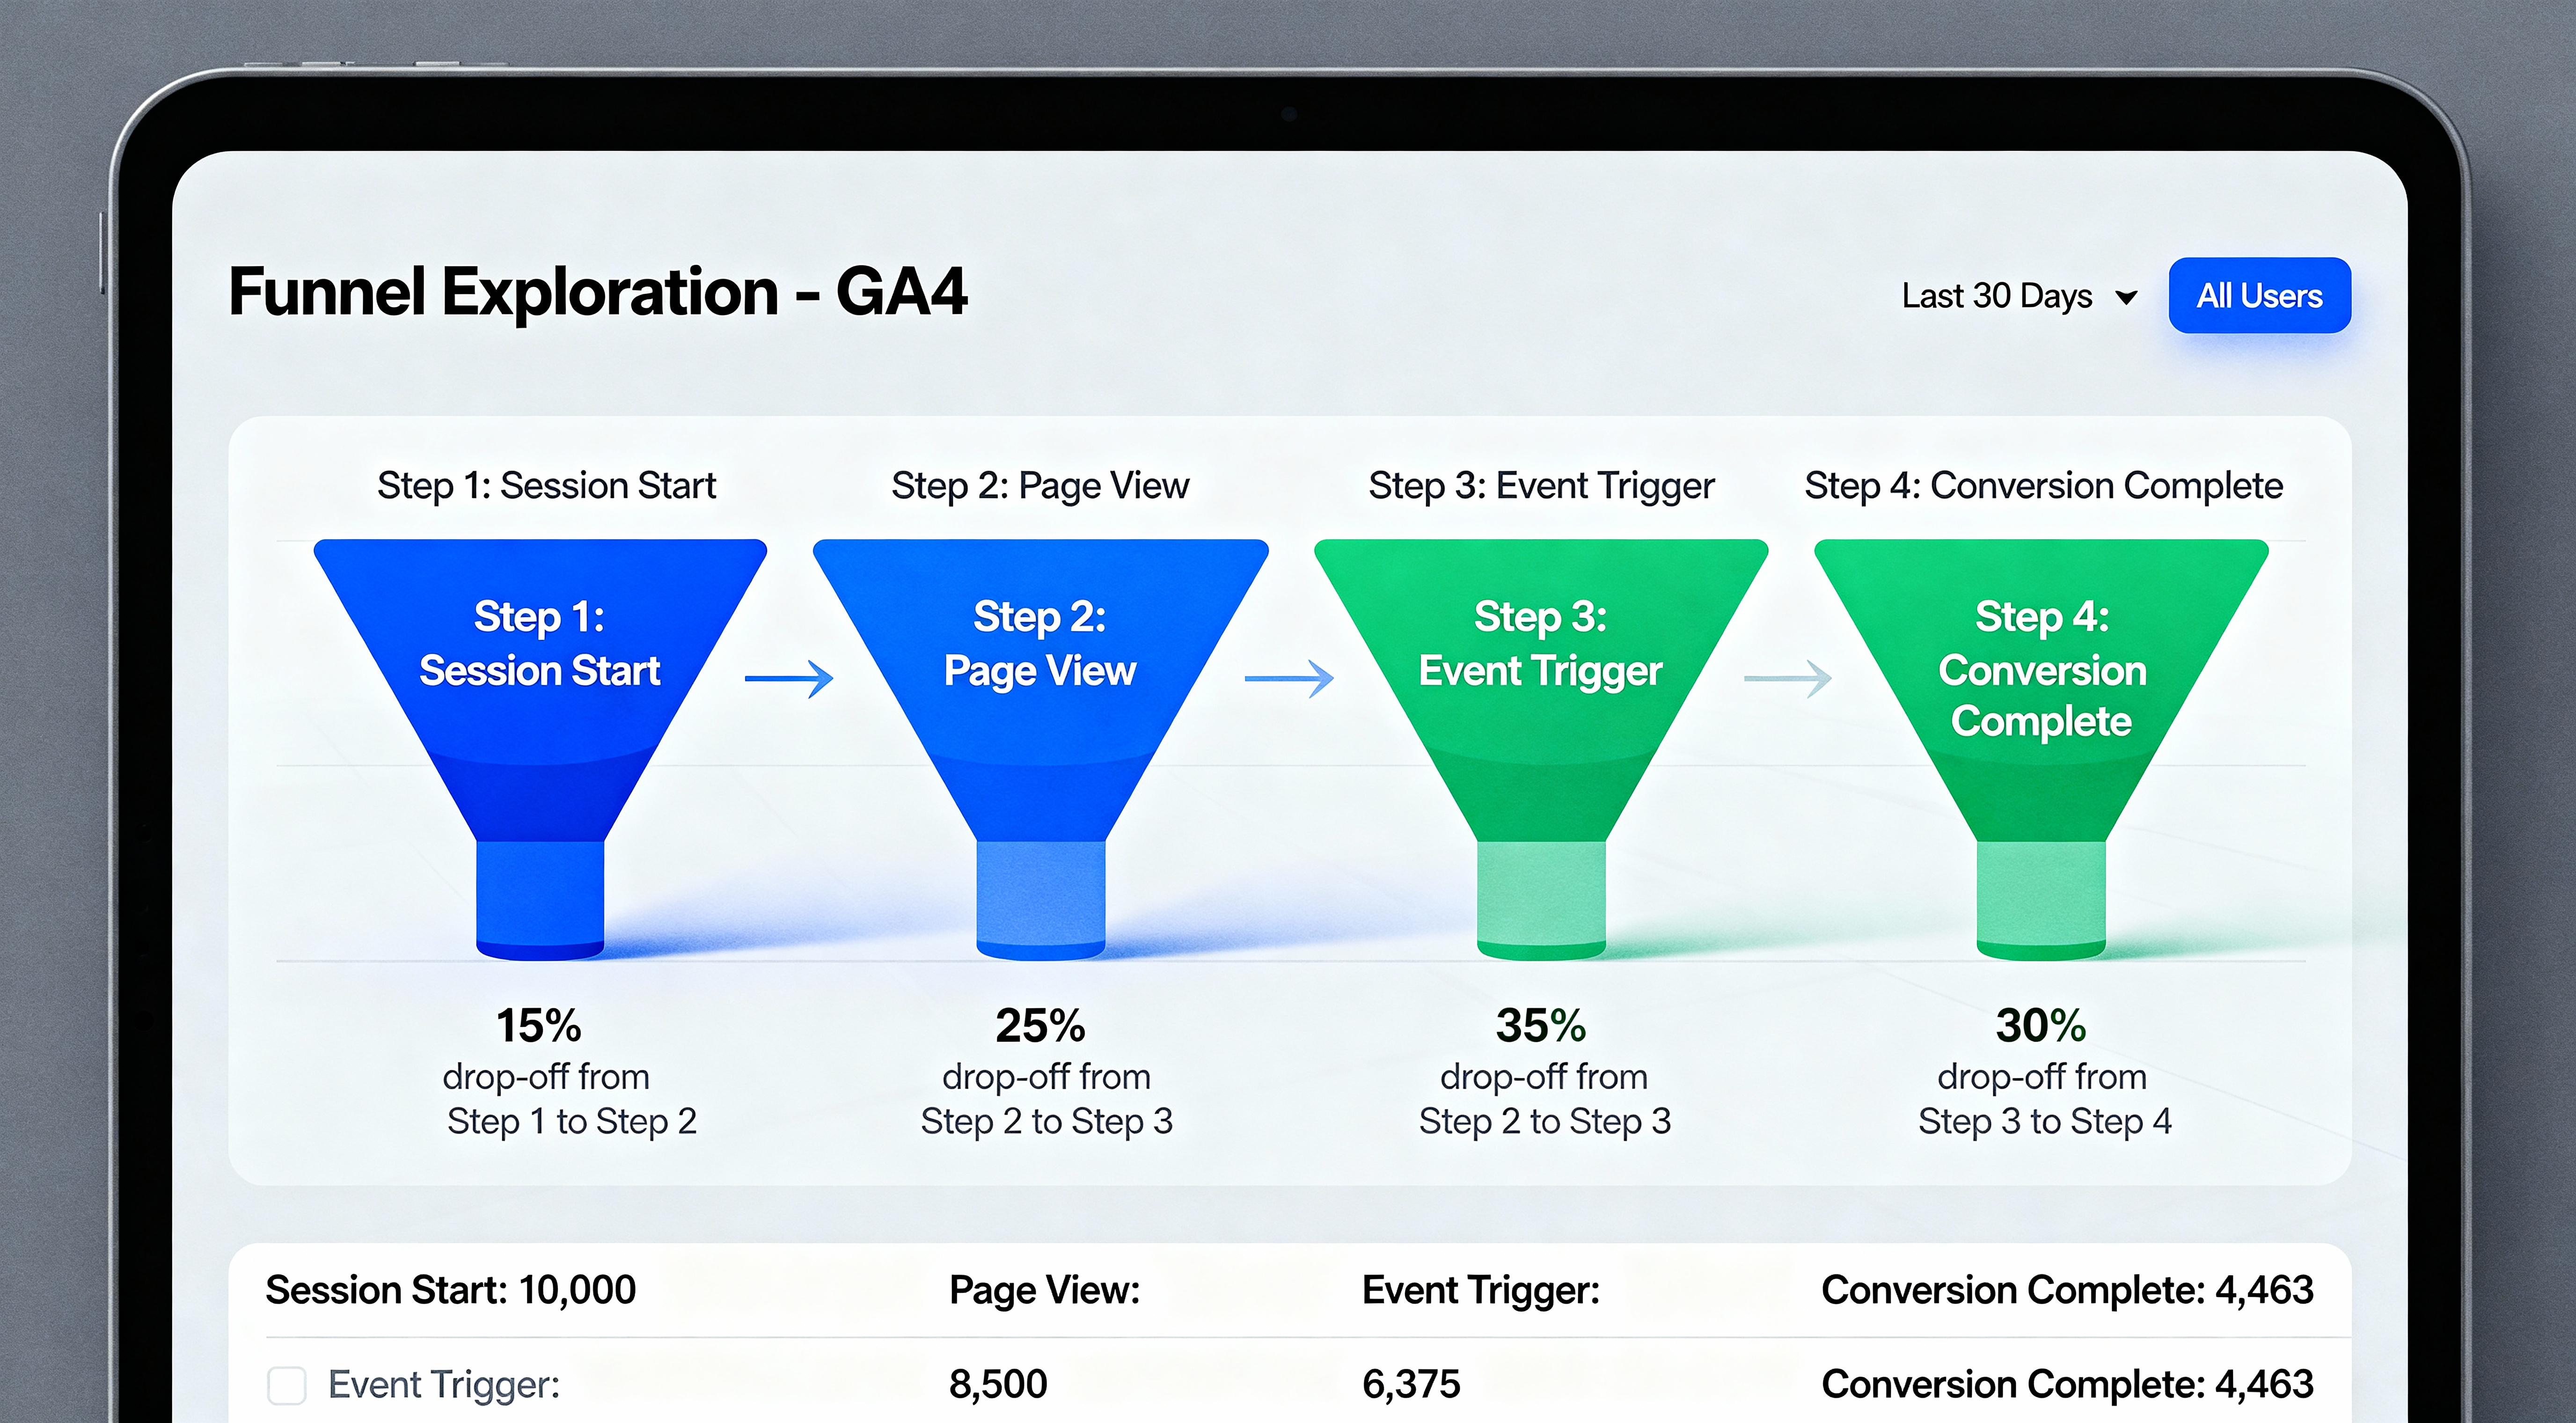
Screenshot of GA4 funnel exploration showing conversion steps and drop-off rates. Due to client privacy and copyright, we cannot show actual GA4 account screenshots. View more examples on Google Images.
Path Exploration
Visualize the paths users take through your site (which pages lead to conversions).
Segment Overlap
Compare characteristics of different user segments (e.g., converters vs. non-converters).
User Lifetime
Analyze long-term user behavior, lifetime value, and retention.
8.3: Create Essential Custom Reports
Report 1: Conversion Performance by Source/Medium
- Exploration type: Free form
- Dimensions: Session source/medium
- Metrics: Sessions, Conversions, Conversion rate, Revenue
- Use this to identify which traffic sources drive the most valuable conversions
Report 2: Product Performance Report
- Exploration type: Free form
- Dimensions: Item name, Item category
- Metrics: Item revenue, Items purchased, Item views, Add to carts
- Identify best-selling products and optimization opportunities
Report 3: User Engagement by Device
- Exploration type: Free form
- Dimensions: Device category
- Metrics: Users, Engagement rate, Average engagement time, Conversions
- Optimize UX for the devices driving the most value
8.4: Schedule Automated Reports
- Create an exploration or standard report
- Click the share icon (top-right)
- Select Schedule email
- Set frequency (daily, weekly, monthly)
- Add recipients
- Click Schedule
Screenshot of GA4 Exploration interface showing report builder with dimensions and metrics. Due to client privacy and copyright, we cannot show actual GA4 account screenshots. View more examples on Google Images.
Step 9: Troubleshooting & Debugging GA4
Even with perfect setup, tracking issues happen. Here's how to diagnose and fix common problems:
9.1: Use GA4 DebugView
DebugView shows events in real-time as they fire, with detailed parameter information.
- In GA4, go to Configure > DebugView
- Enable debug mode on your device:
- Via GTM Preview: Automatically enables debug mode
- Via URL parameter: Add
?gtm_debug=trueto your URL - Via Browser Extension: Install "Google Analytics Debugger" Chrome extension
- Perform actions on your site
- Watch events appear in DebugView with full parameter details
Screenshot of GA4 DebugView showing event stream with parameters. Due to client privacy and copyright, we cannot show actual GA4 account screenshots. View more examples on Google Images.
9.2: Common Issues & Solutions
Problem: No Data in GA4 Reports
Possible causes:
- GTM container not installed correctly
- GA4 Configuration tag not firing
- Incorrect Measurement ID
- Ad blockers preventing tracking
Solution:
- Check GTM Preview mode—is the GA4 Config tag firing?
- Verify Measurement ID matches between GTM and GA4
- Check browser console for JavaScript errors
- Test in incognito mode without ad blockers
- Verify GTM container code is in both
<head>and<body>
Problem: Conversions Not Recording
Possible causes:
- Event not marked as conversion in GA4
- Event name misspelled
- Trigger firing on wrong pages
- Data layer not populated before event fires
Solution:
- Check Admin > Events—is the event appearing?
- Is the conversion toggle enabled?
- Use DebugView to verify event fires with correct name
- Check GTM trigger conditions
- Verify data layer exists before GTM pushes events
Problem: Ecommerce Data Not Appearing
Possible causes:
- "Send Ecommerce Data" not checked in GTM
- Data layer structure incorrect
- Currency not specified
- Items array empty or malformed
Solution:
- In GTM, verify "Send Ecommerce Data" is checked
- Use GTM Preview > Data Layer tab to verify ecommerce object structure
- Verify currency is included in every ecommerce event
- Check that items array contains at least one item
- Use DebugView to see if ecommerce parameters are passed
Problem: Duplicate Transactions
Causes:
- Purchase event fires multiple times (page refresh, back button)
- No duplicate prevention mechanism
Solution:
- Implement
{% if first_time_accessed %}(Shopify) - Use server-side flags to track if purchase was recorded
- Set session storage flag:
sessionStorage.setItem('purchase_tracked', 'true') - Only fire if flag doesn't exist
Problem: Self-Referrals (Your Domain Appears as Referrer)
Cause: Payment gateways, redirects, or cross-domain tracking misconfiguration.
Solution:
- In GA4, go to Admin > Data Streams > Configure tag settings
- Click Configure your domains
- Add all your domains and subdomains
- Add payment processors to "unwanted referrals" list
9.3: Debugging Tools
Google Tag Assistant (Chrome Extension)
Official Google tool for debugging tags. Shows which tags fire, any errors, and configuration issues.
GA Checker (Browser Extension)
Lightweight extension showing active GA properties and tags on any page.
Browser Console
Check JavaScript console for errors. Type dataLayer to inspect data layer contents.
GA4 Best Practices for 2025
Data Quality & Accuracy
- Always test before publishing: Use GTM Preview mode and GA4 DebugView for every change
- Document your setup: Maintain documentation of custom events, conversions, and custom dimensions
- Regular audits: Quarterly review of tracking implementation to catch drift
- Bot filtering: Enable bot filtering in Admin > Data Settings > Data Filters
- Internal traffic exclusion: Create IP address filters to exclude your team's traffic
Privacy & Compliance
- Implement consent mode: Use Google Consent Mode v2 for GDPR/CCPA compliance
- Anonymize IP addresses: Enabled by default in GA4 (unlike UA)
- Respect user preferences: Honor Do Not Track signals where applicable
- Cookie consent: Implement proper cookie banners with granular consent options
- Data retention settings: Configure appropriate data retention periods (Admin > Data Settings)
Performance Optimization
- Minimize custom events: Only track what you'll actually use for decisions
- Batch event firing: Avoid firing 10+ events simultaneously on page load
- Use GTM properly: Don't use GTM as a content delivery system (images, CSS, etc.)
- Async loading: GA4 and GTM load asynchronously by default—don't change this
Conversion Optimization
- Funnel analysis: Build funnel explorations for every conversion path
- Attribution modeling: Use GA4's data-driven attribution (Admin > Attribution settings)
- Audience building: Create audiences for high-intent users to retarget
- Predictive metrics: Enable purchase probability and churn probability predictions
Reporting Strategy
- Start with business questions: What decisions need data to inform them?
- Build explorations, not just reports: Standard reports are limiting—use Explorations
- Scheduled reports: Automate weekly/monthly report delivery to stakeholders
- Dashboard consolidation: Create Looker Studio dashboards for executive reporting
✅ GA4 Setup Checklist
- ☑️ GA4 property created with correct timezone and currency
- ☑️ Google Tag Manager installed and verified
- ☑️ GA4 Configuration tag firing on all pages
- ☑️ Enhanced measurement configured
- ☑️ Key conversions defined and tracking
- ☑️ Ecommerce tracking implemented (if applicable)
- ☑️ Custom dimensions created for business-specific data
- ☑️ Cross-domain tracking configured (if applicable)
- ☑️ Internal traffic filtered
- ☑️ Bot filtering enabled
- ☑️ Custom reports and explorations built
- ☑️ Regular reporting schedule established
Conclusion: From Setup to Data-Driven Growth
You've now built a complete GA4 analytics implementation that goes far beyond basic pageview tracking. You have:
- A properly configured GA4 property with correct business settings
- Google Tag Manager managing all your tracking tags
- Enhanced measurement capturing automatic interactions
- Custom conversion tracking for your specific business goals
- Enhanced ecommerce tracking (if applicable) with complete transaction data
- Custom dimensions providing business-specific insights
- Cross-domain tracking connecting the complete user journey
- Custom reports and explorations for actionable insights
But implementation is just the beginning. The real value comes from using this data to make informed decisions:
Weekly Actions
- Review conversion performance and identify trends
- Analyze traffic source effectiveness
- Identify underperforming pages or products
- Check funnel drop-off points
Monthly Actions
- Deep-dive into user behavior patterns
- Segment analysis (device, location, user type)
- Landing page effectiveness review
- Campaign performance post-mortems
- Conversion rate optimization opportunities
Quarterly Actions
- Full tracking audit (verify everything still works)
- Add new custom dimensions as business needs evolve
- Review and refine conversion definitions
- Update stakeholder dashboards
The businesses winning in 2025 aren't the ones with the most data—they're the ones using data to make better decisions faster. GA4 gives you the visibility. What you do with that visibility is up to you.
If you're serious about analytics-driven growth, proper GA4 implementation is just the foundation. The next level involves connecting GA4 to Google Ads for smart bidding, building predictive audiences, implementing server-side tracking for enhanced accuracy, and creating data activation workflows that turn insights into automated actions.
Need help implementing advanced GA4 features, fixing tracking issues, or building custom analytics solutions? Let's talk. We specialize in analytics implementations that go beyond basic setup to drive measurable business growth.
Ready to Level Up Your Analytics?
Get expert help implementing GA4, conversion tracking, and analytics-driven optimization strategies that drive real business growth.